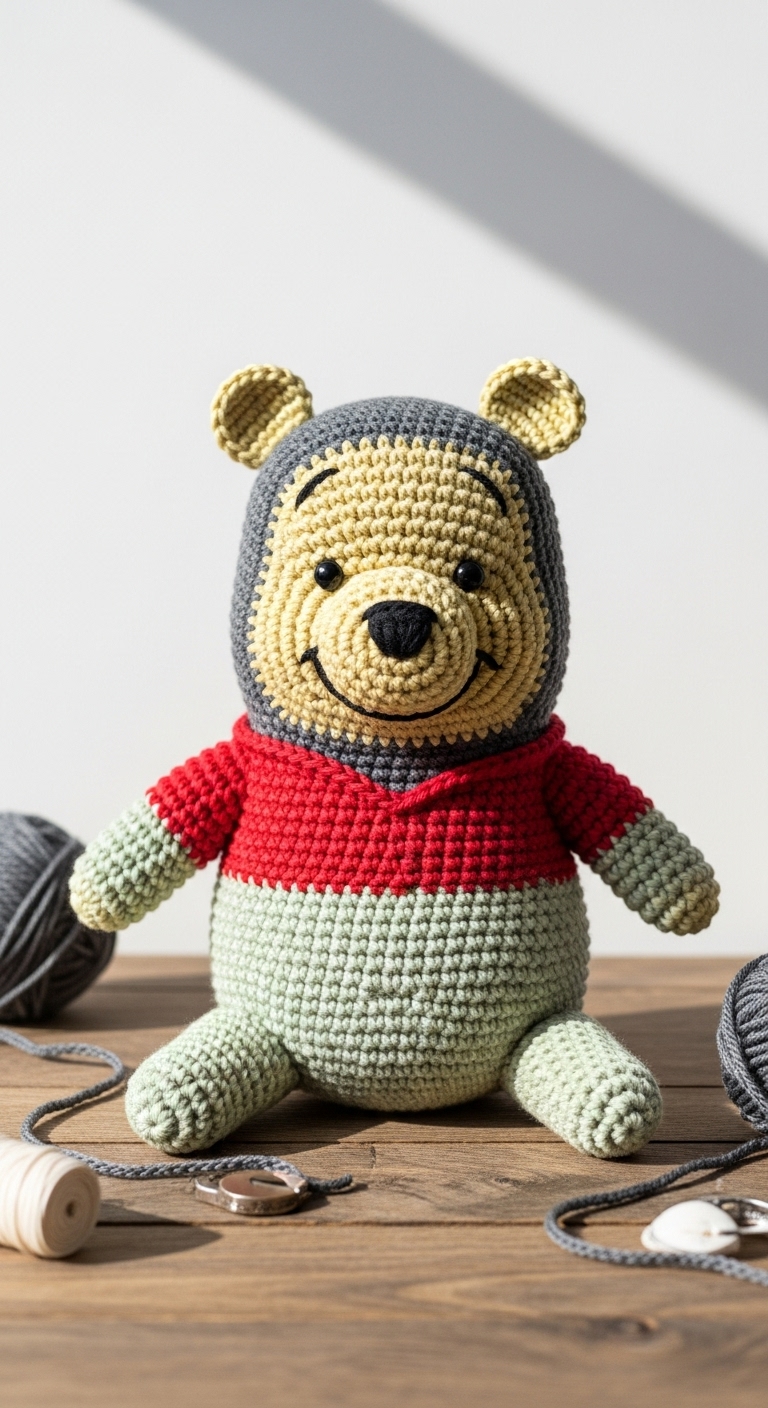
Winnie the Pooh – Free Crochet Pattern
2. Introduction
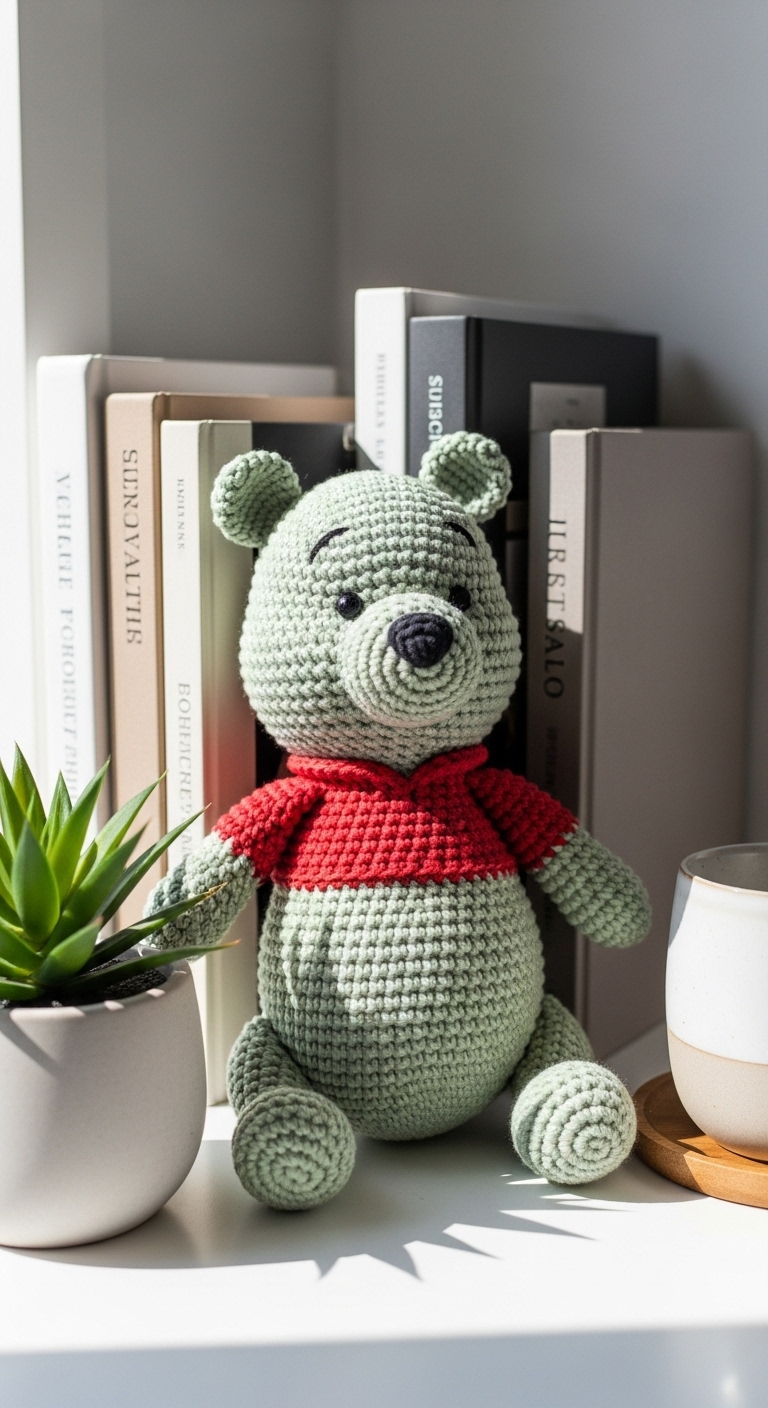
Welcome to your next delightful crochet adventure! In this pattern, we’ll be creating an adorable Winnie the Pooh plushie, approximately 12 inches tall when completed. This charming bear will bring a smile to anyone’s face, whether displayed on a shelf or given as a heartfelt gift.
For this project, we will be using soft worsted weight yarn in warm honey yellow, deep red, and a touch of cream for the accents. These adult-friendly colors not only resonate with the beloved character but also fit beautifully into modern decor. Whether you’re a fan of Winnie the Pooh or looking to make a thoughtful gift for someone special, this project is sure to be a joy to work on.
This pattern is perfect for beginners, as it combines simple stitches with a few fun techniques to keep things interesting. You’ll find that making this cuddly bear is a quick process, making it ideal for seasonal gifting or just because. Let’s get started on creating your new favorite plushie!
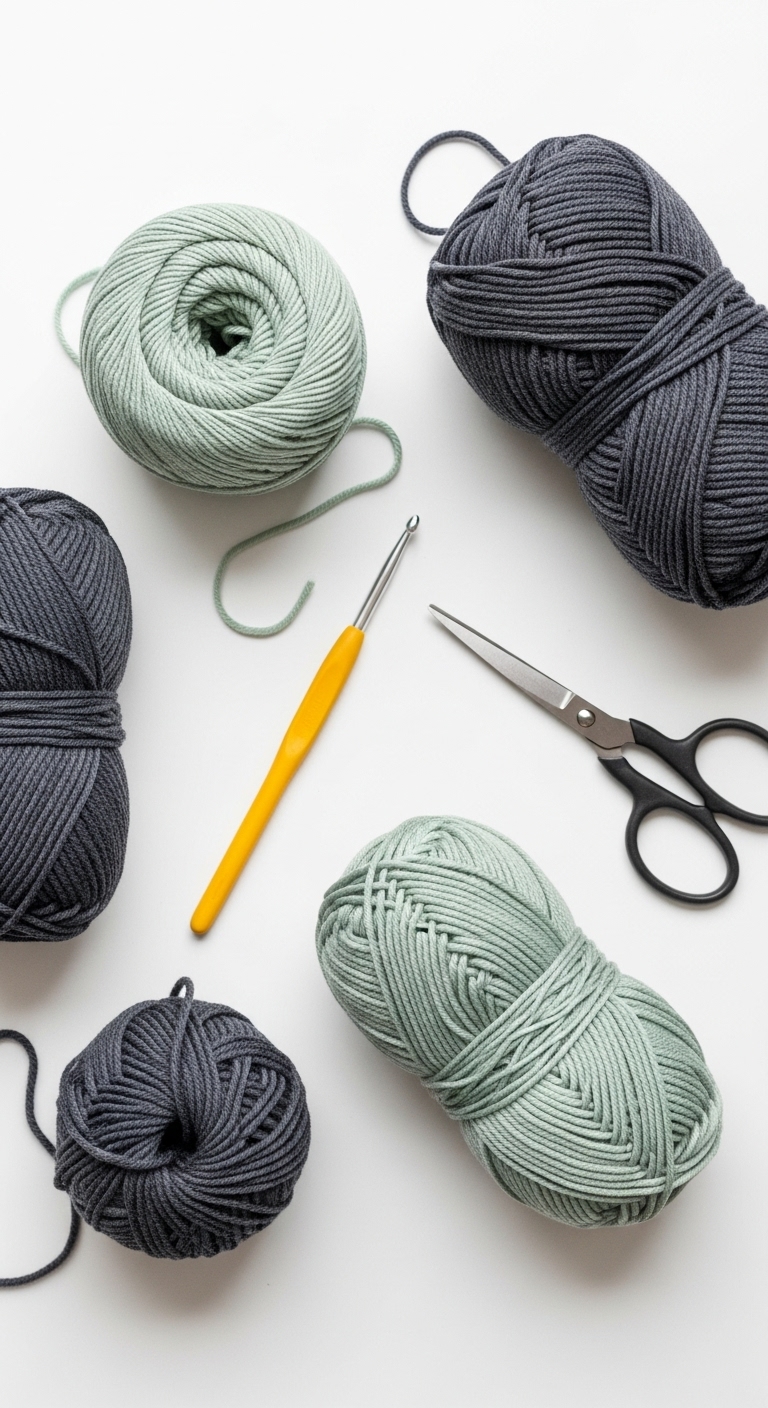
3. Materials Needed
– Yarn: Worsted weight (4) yarn in honey yellow (approx. 200 yards), deep red (approx. 50 yards), and cream (approx. 25 yards)
– Hook: 3.5mm or 4.0mm crochet hook
– Eyes: 12mm safety eyes (or black embroidery thread if preferred)
– Stuffing: Polyester fiberfill stuffing
– Needle: Tapestry needle for sewing
– Marker: Stitch marker
– Optional extras: Small piece of felt for the nose
4. Designer Notes / Tips
When starting this project, you’ll primarily be using single crochet (sc) stitches, which makes it quite beginner-friendly. For added texture, you may want to experiment with working into the back loops only (BLO) on some rounds, especially for the legs and arms, to create a subtle ridge effect.
When stuffing Pooh, aim for a firm yet cuddly density. This will help maintain his shape while still being soft enough for snuggling. I recommend stuffing the head and body as you go to ensure you achieve the desired fullness.
As you assemble your plushie, using a tapestry needle, sew securely but gently to avoid distorting the shapes. For yarn substitutions, any soft worsted weight yarn will work; just be sure to check the gauge if you wish to maintain the plushie’s size.
Be mindful of safety if this plushie is intended for small children. You can opt to embroider the eyes and nose instead of using safety eyes to minimize choking hazards.
5. Pattern Instructions
For Plushies:
Head:
Body:
Arms:
Legs:
Ears:
Assembly:
– Attach safety eyes to the head between rounds 6 and 7 of the head.
– Sew the ears to the top of the head.
– Attach arms to the sides of the body, and legs to the bottom.
– Sew the head onto the body securely.
– Use black embroidery thread to stitch a small ‘x’ for the nose on the snout area in cream yarn.
– Add a red yarn scarf around his neck for a cozy look.
6. Closing & Social Engagement
I hope you enjoy making your own Winnie the Pooh plushie! Remember, each stitch you make adds a little bit of love to your project. I’d love to see your version! Leave a comment below sharing your experiences, or let us know what color combination you’ll try for your own Pooh bear. Don’t forget to share your finished plushie on social media—happy crocheting!