triangle scarf stock the bean stitch
2. Introduction
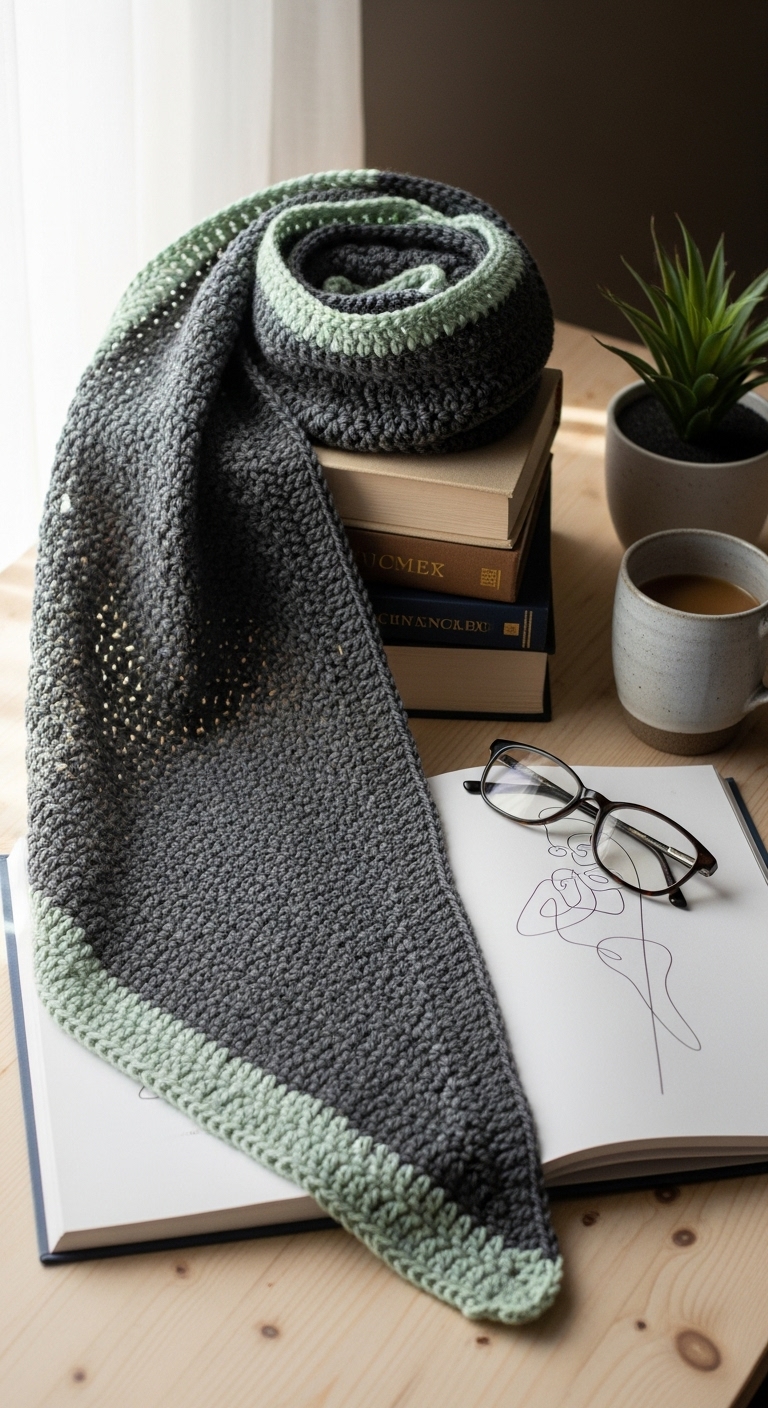
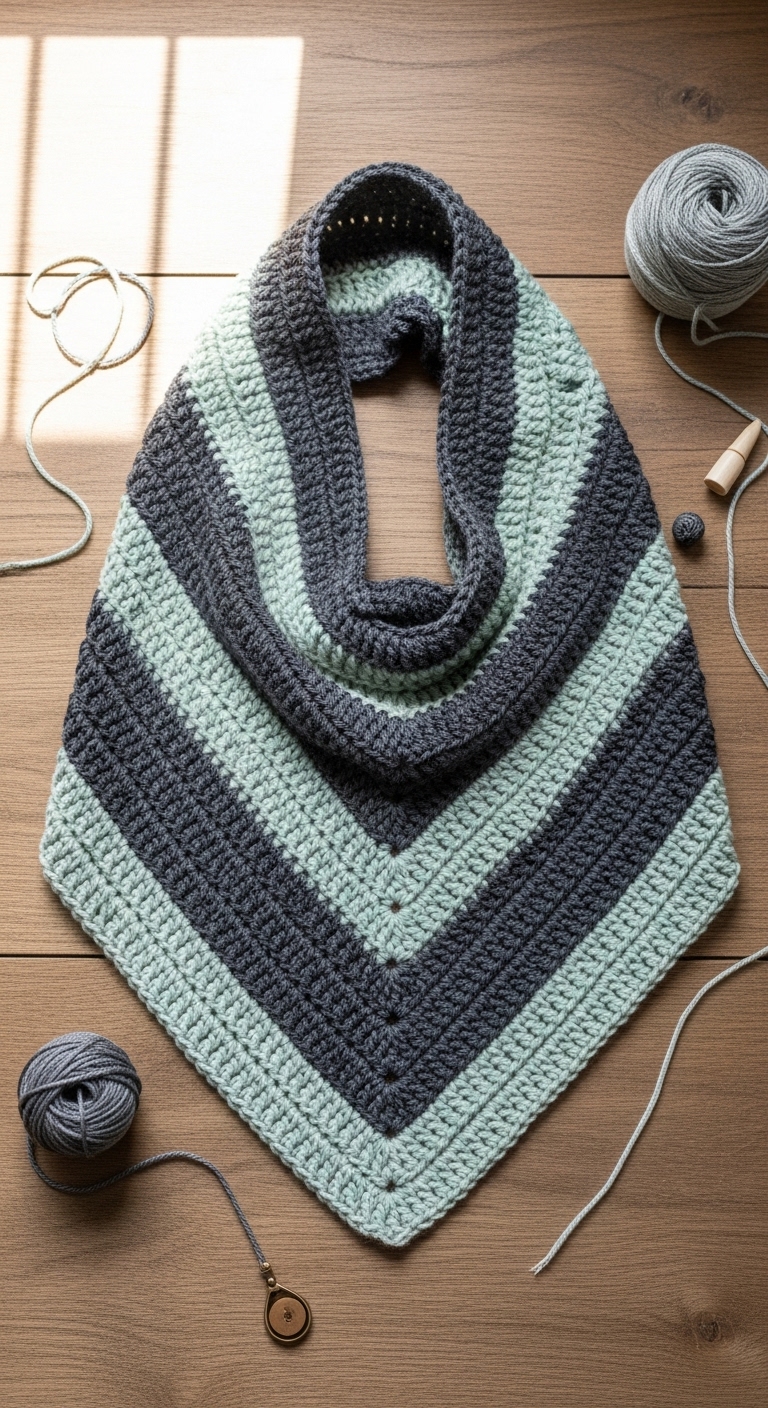
Welcome to the delightful world of crochet where we’ll be creating a beautiful triangle scarf using the charming bean stitch! This cozy accessory is perfect for wrapping around your neck on chilly days, measuring approximately 60 inches from tip to tip and 20 inches deep at its center. The triangle shape not only adds a touch of elegance to any outfit but also provides warmth in style.
For this project, I’ve chosen three complementary adult-friendly colors: a warm mustard yellow, a deep teal, and a soft cream. These hues not only blend harmoniously but also brighten up your wardrobe, making it a versatile addition. What makes this project extra special is the unique texture of the bean stitch, which creates a plush and squishy feel that is both fun to work with and delightful to wear. This pattern is beginner-friendly, making it a great project for crocheters looking to improve their skills while creating something beautiful. Whether for yourself or as a thoughtful gift for a loved one, this triangle scarf is perfect for any season!
3. Materials Needed
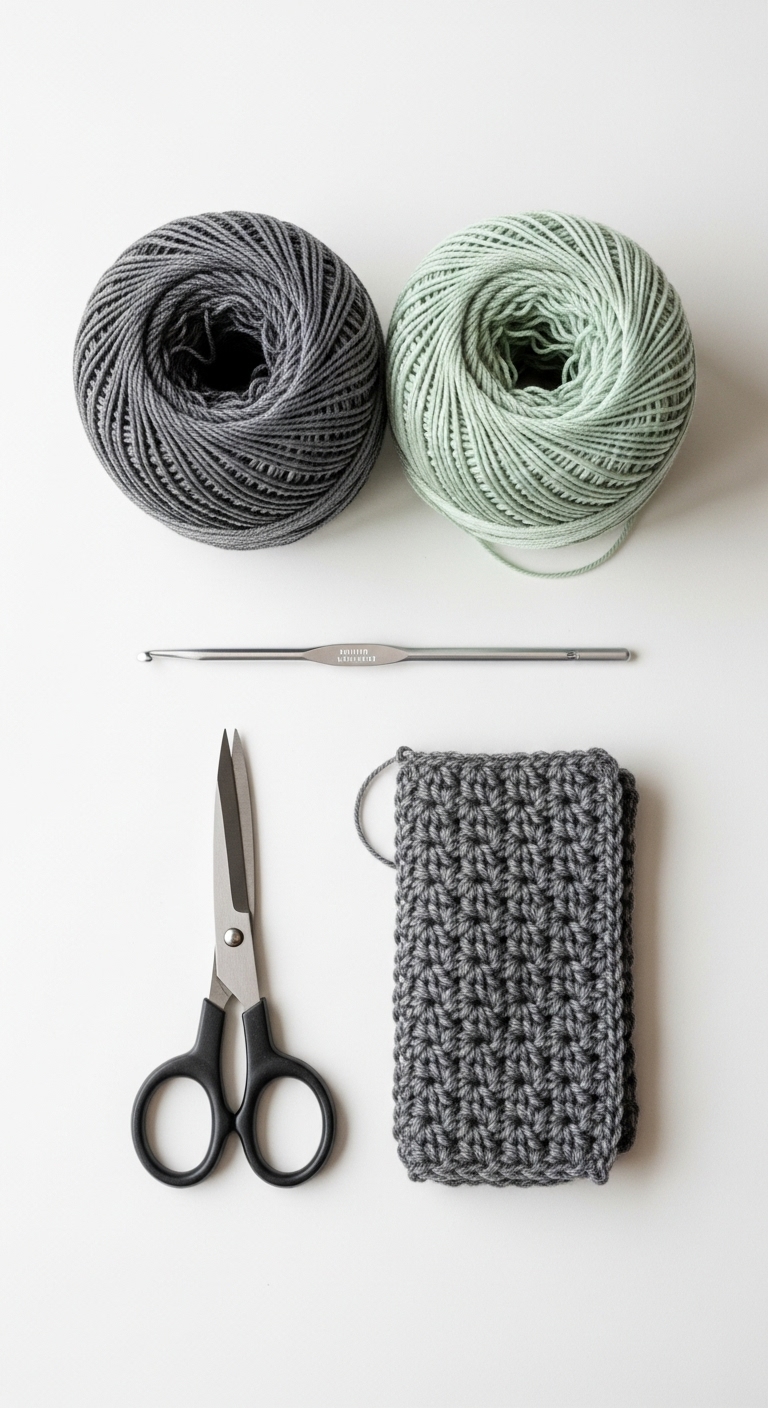
– Yarn: Worsted weight yarn in mustard yellow (approx. 200 yards), deep teal (approx. 200 yards), and soft cream (approx. 150 yards)
– Hook: 4.0mm crochet hook
– Marker: Stitch marker
– Needle: Tapestry needle for weaving in ends
– Optional extras: None for this project
4. Designer Notes / Tips
When working on this triangle scarf, the key stitch used is the bean stitch. This stitch creates a lovely, airy texture and is made by working multiple double crochets into one stitch, which can initially feel a bit tricky. Don’t worry if your stitches don’t look perfect right away—practice makes progress!
I recommend using a light stuffing density, meaning you won’t need to stuff this scarf, but ensure your tension remains relaxed for a soft drape. While this pattern encourages you to use the specified yarn, feel free to substitute any worsted weight yarn; just keep in mind that the final size may vary slightly based on your chosen yarn’s thickness.
For gauge, aim for about 14 stitches and 10 rows in 4 inches using the bean stitch. This will ensure your scarf stays true to size. Remember to keep your work loose for the best results, and if you’re making this for a child or someone with sensitive skin, opt for super soft yarn to avoid any itching.
5. Pattern Instructions
Triangle Scarf
Foundation:
1. Start with a slip knot, chain 5.
2. Join with a slip stitch to form a ring.
Row 1:
– Ch 1, work 8 bean stitches into the ring, join with a slip stitch to the top of the first bean stitch. (8 beans)
Row 2:
– Ch 1, *1 bean stitch in the next bean stitch, ch 1, 1 bean stitch in the same bean stitch* repeat across, join. (16 beans)
Row 3:
– Ch 1, *1 bean stitch in the next bean, ch 1, 1 bean in the next bean, ch 1* repeat across, join. (24 beans)
Row 4:
– Ch 1, *1 bean in the next three beans, ch 1* repeat across, join. (32 beans)
Continue increasing until you reach your desired width:
– Keep following the pattern by increasing the number of beans between chain spaces until your scarf reaches the desired depth, typically around 20 inches from the tip to the center.
Color Changes
– To change colors, simply finish your last bean of the previous color, drop the yarn, and pull through the new color on your final pull through. Don’t forget to weave in your ends as you go for a clean finish!
Finishing
Once you’ve reached your desired size, fasten off and weave in all ends using a tapestry needle. Consider blocking your scarf lightly to even out the stitches and enhance the shape.
6. Closing & Social Engagement
I’d love to see your version of this triangle scarf! Whether you follow my color scheme or invent your own, each piece will turn out uniquely beautiful. Don’t hesitate to leave a comment below sharing your progress or asking questions. What color combination will you try? I can’t wait to see your finished scarf on social media—tag me in your posts!