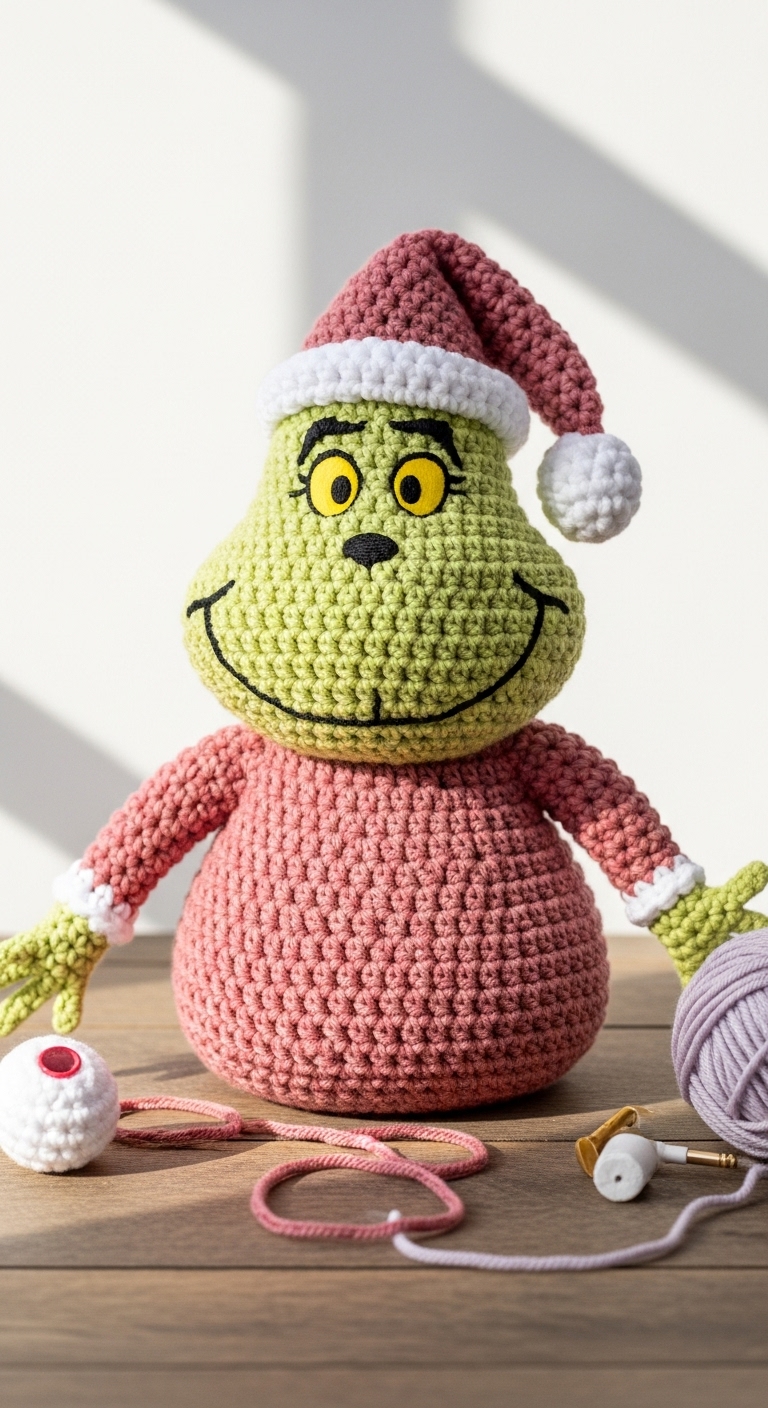
The Grinch – Free Crochet Pattern
2. Introduction
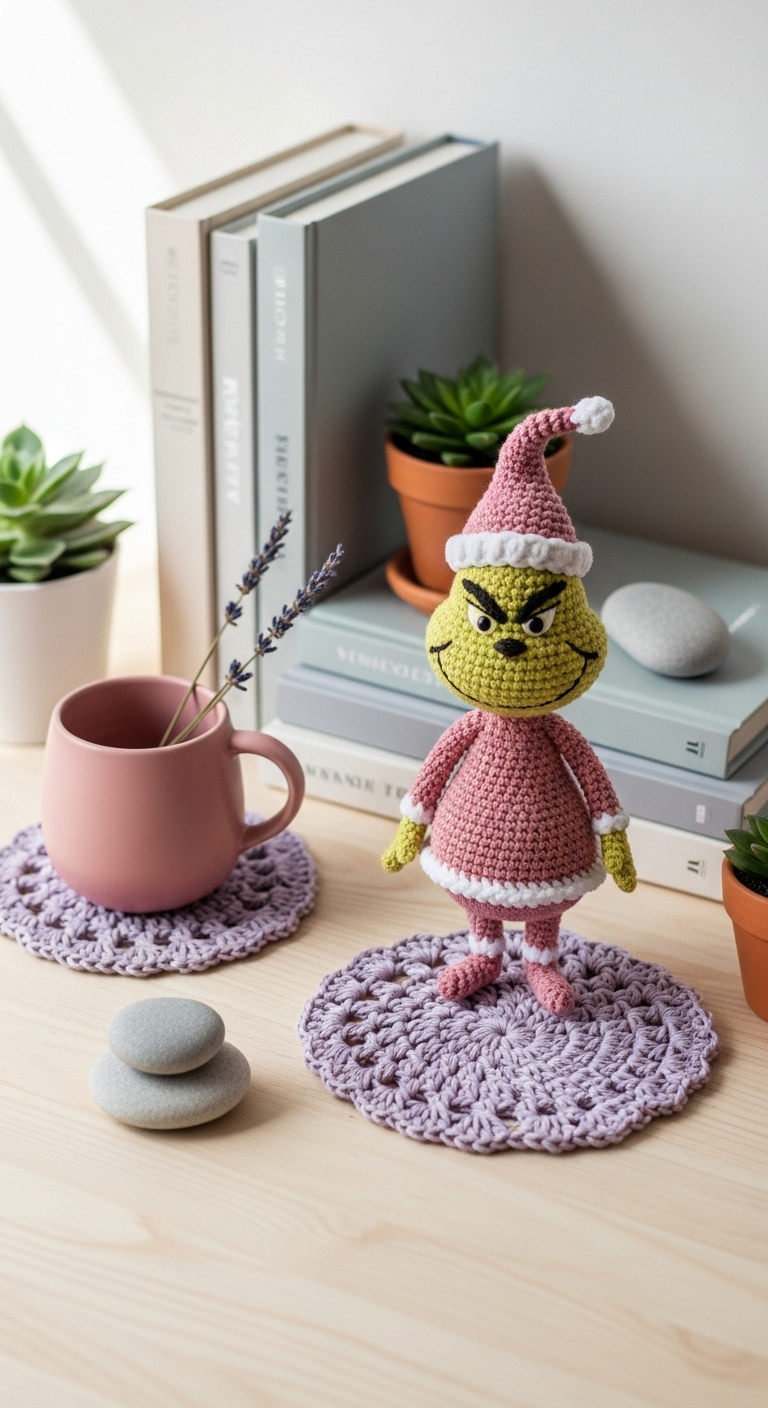
Welcome to the whimsical world of crochet! Today, we’re diving into a fun and festive project: a delightful plushie inspired by the beloved character, The Grinch. This adorable creation stands approximately 10 inches tall and is perfect for holiday decorating or as a cuddly gift for friends and family.
For this project, we’ll be using a soft worsted-weight yarn in a vibrant green complemented by rich reds and whites that capture the Grinch’s iconic look. The combination of these sophisticated colors makes this plushie suitable for adults who appreciate a touch of holiday cheer in their home decor. What sets this project apart is its quick construction—ideal for last-minute gifts or seasonal crafting. This pattern is beginner-friendly, making it accessible for those new to crochet, while still offering enough challenge to keep more experienced crafters engaged.
This Grinch plushie is not only a charming addition to your holiday décor but also a thoughtful gift for those who adore this cheeky character. So gather your materials and let’s get started on this fun crochet adventure!
3. Materials Needed
– Yarn: Worsted weight yarn in green (approximately 200 yards), red (approximately 50 yards), and white (approximately 25 yards)
– Hook: 3.5mm or 4.0mm crochet hook
– Eyes: Safety eyes (12mm) OR black embroidery thread for a stitched look
– Stuffing: Polyester fiberfill stuffing
– Needle: Tapestry needle for sewing
– Marker: Stitch marker to mark the beginning of rounds
– Optional extras: Pipe cleaners for added support in the ears, fabric glue for embellishments
4. Designer Notes / Tips
As you embark on creating your Grinch, keep in mind that the plushie features some simple stitches, mainly single crochet (sc) and increases (inc). This pattern focuses on basic techniques, making it a great project to practice tension and consistency.
When it comes to stuffing, I recommend using a light hand to ensure a soft and squishy texture. The Grinch should feel cuddly and huggable, so avoid over-stuffing. For assembly, it’s best to join pieces using a whip stitch or slip stitch, which keeps seams neat and secure.
If you’re considering yarn substitutions, any soft worsted weight yarn would work beautifully, but keep in mind that color choices will impact the overall aesthetic. For gauge, I recommend checking that your stitches are consistent; an even tension will yield a neater finish. Lastly, if this plushie is intended for small children, consider using embroidered eyes instead of safety eyes for added peace of mind.
5. Pattern Instructions
For Plushies:
Head:
Body:
Arms (Make 2):
Legs (Make 2):
Assembly:
– Attach the head to the body using the long tail from the head.
– Position the arms at the sides and the legs at the bottom, sewing securely.
– Attach safety eyes between rounds 7 and 8 of the head or embroider eyes with black thread.
– Use red yarn to create a small scarf around the neck for added charm.
6. Closing & Social Engagement
Congratulations on completing your very own Grinch plushie! I’d love to see your version! Leave a comment below with your thoughts or any modifications you made. What color combination will you try? Feel free to share your finished Grinch on social media, and let’s spread the holiday cheer together!