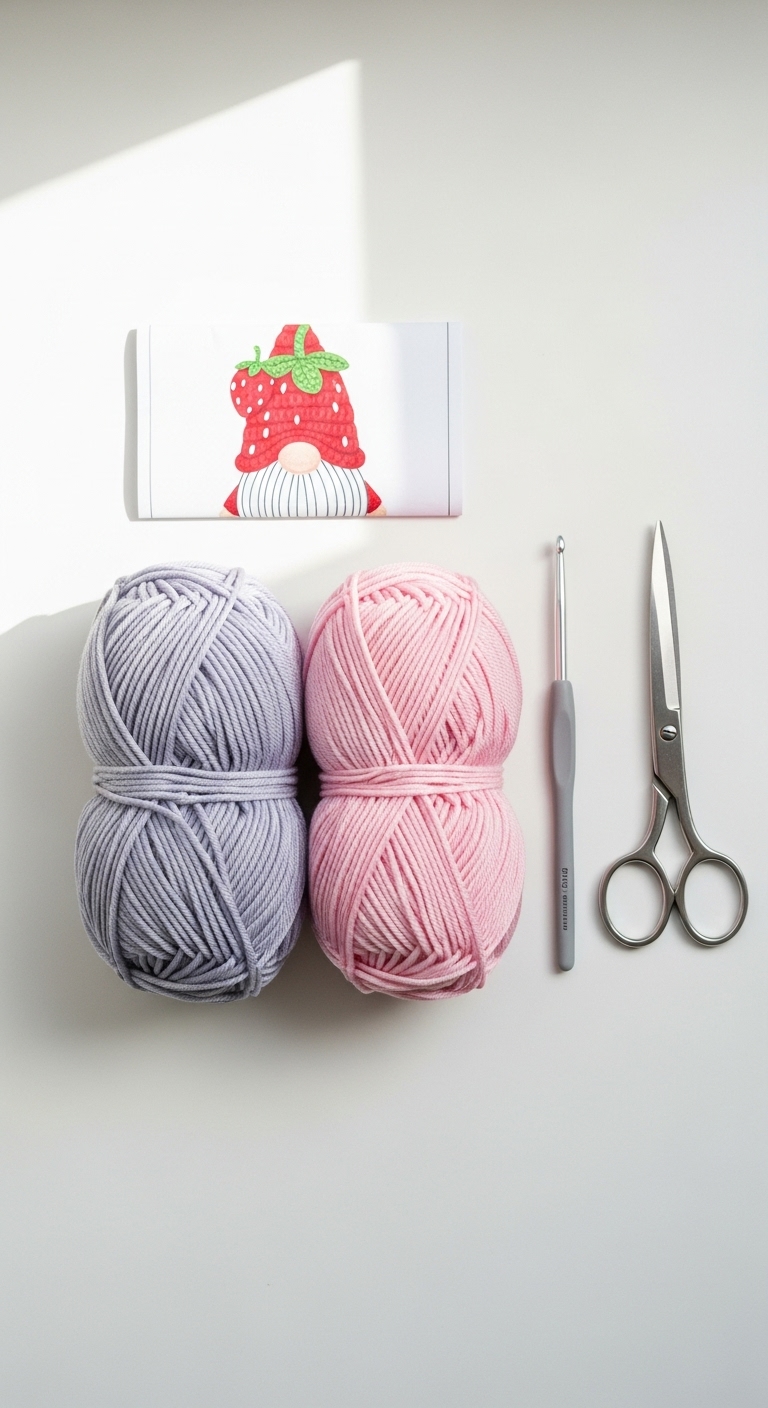
strawberry gnome crochet pattern
2. Introduction
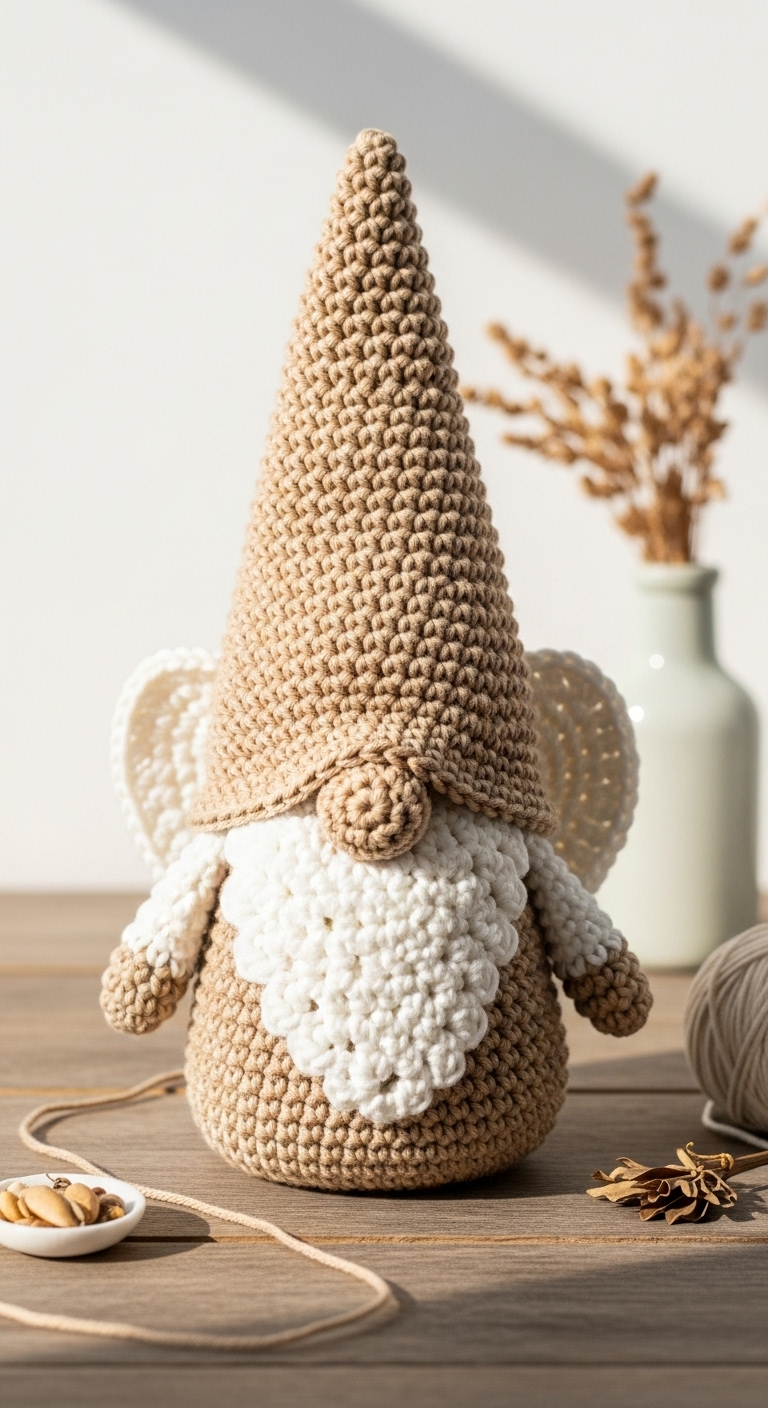
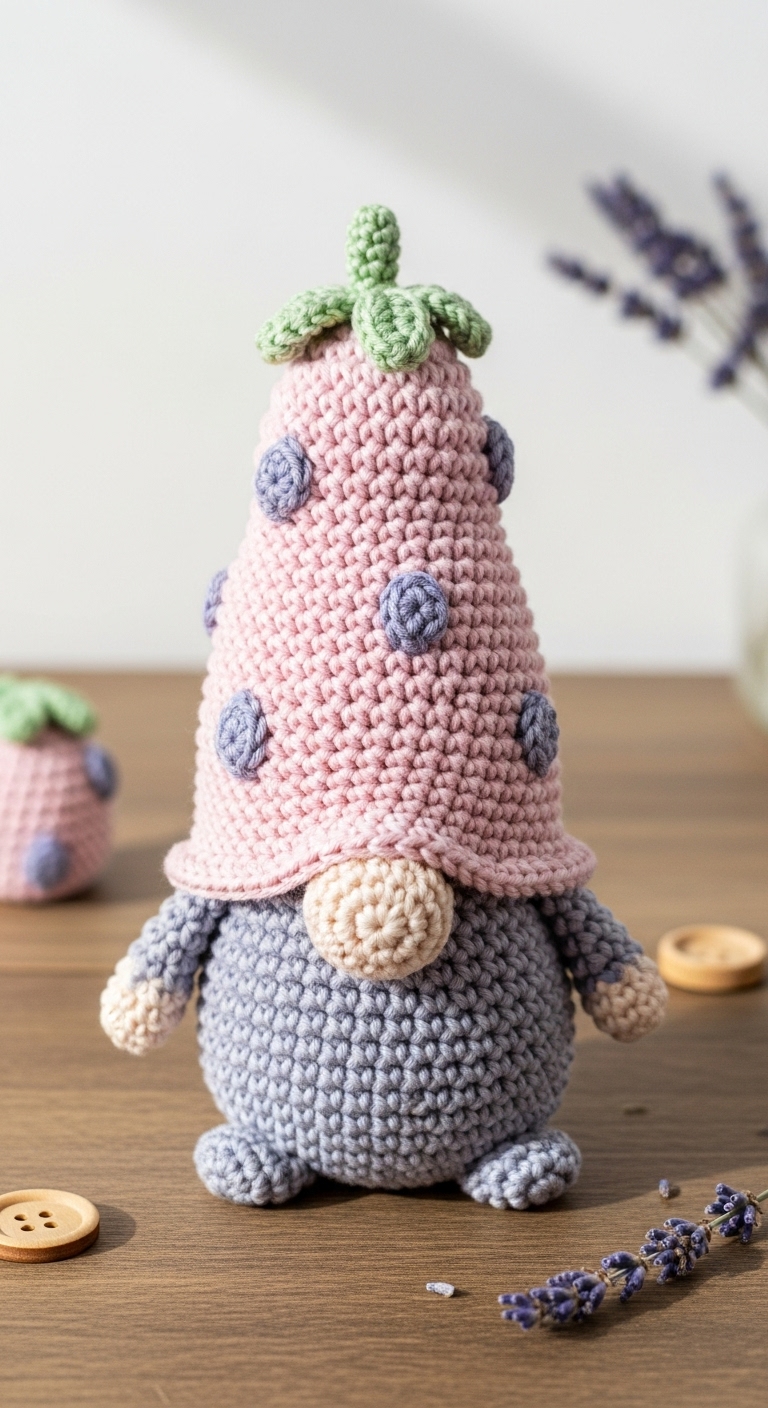
Welcome to the delightful world of crochet with our charming Strawberry Gnome pattern! Standing at around 9 inches tall, this adorable gnome is the perfect accent for summer decor or a whimsical gift for friends and family. With its vibrant red hat, green foliage, and sweet strawberry accents, this plushie will surely bring a smile to anyone who encounters it.
For this project, we recommend using soft worsted weight yarn in a vibrant red, a fresh green, and a creamy beige. These color choices not only complement our gnome’s strawberry theme but also lend a modern touch that appeals to adult crocheters. This project is designed to be beginner-friendly, making it a wonderful introduction to amigurumi techniques. Plus, it’s a quick project that you can complete in just a few evenings!
The Strawberry Gnome is not only a fun crochet project but also offers great potential as a thoughtful gift. Whether for a birthday, holiday, or just-because surprise, this cute gnome will add a cheerful touch to any space.
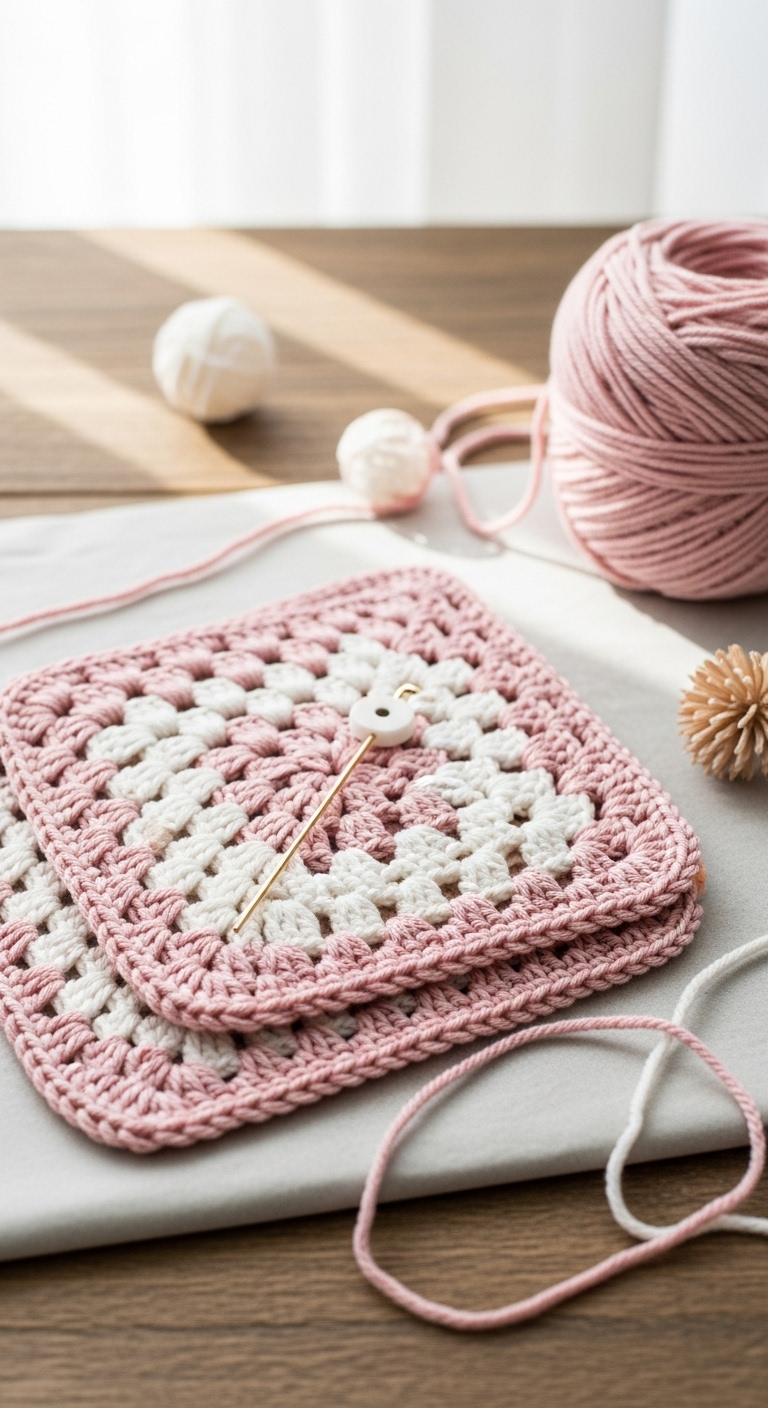
3. Materials Needed
– Yarn: Worsted weight yarn in red (approx. 150 yards), green (approx. 50 yards), and beige (approx. 50 yards)
– Hook: 3.5mm or 4.0mm crochet hook
– Eyes: 12mm safety eyes OR black embroidery thread
– Stuffing: Polyester fiberfill stuffing
– Needle: Tapestry needle for sewing ends
– Marker: Stitch marker
– Optional extras: Small buttons for decoration, felt for added details
4. Designer Notes / Tips
When creating your Strawberry Gnome, you’ll be working primarily in single crochet stitches, which are perfect for creating the tight fabric needed for amigurumi. To add texture, feel free to use a combination of front post and back post stitches for the gnome’s hat.
For stuffing, a light filling will give your gnome a soft and squishy feel, while a firmer stuffing will help maintain its shape. If you’re using safety eyes, place them between rounds 15 and 16, approximately 6 stitches apart to ensure even spacing.
Should you wish to substitute yarn, consider using cotton yarn for a sturdier finish, or a blend with acrylic for a softer touch. Remember to check your gauge; this pattern is based on a tension of 5 stitches per inch. If you’re making this for a child, ensure that any embellishments are securely attached to prevent choking hazards.
5. Pattern Instructions
For Plushies:
Head:
*Stuff the head firmly before closing.*
Body:
*Leave a long tail for sewing.*
Arms (make 2):
*Stuff lightly and leave a long tail for sewing.*
Hat:
*Fasten off, leaving a long tail to sew to the head.*
Assembly:
1. Sew the head to the body securely.
2. Attach the arms to the sides of the body.
3. Position the hat on the head and sew in place.
4. If adding safety eyes, insert them now.
5. Optionally, sew on small buttons or felt details for added charm.
6. Closing & Social Engagement
Congratulations on your lovely Strawberry Gnome! I would absolutely love to see your finished version. Please leave a comment below sharing your thoughts or any color combinations you tried. What delightful twist will you add to your gnome? Don’t forget to share your finished project on social media—let’s celebrate your hard work together!