Stitch – Free Crochet Pattern
2. Introduction
Welcome to the world of crochet with this delightful project: the “Stitch” plushie! This adorable stuffed creature stands approximately 12 inches tall, making it the perfect companion for both young and old alike. Crafted with soft, squishy yarn, this plushie is designed to bring a smile to anyone’s face, whether it’s for a child’s playtime or as a charming decorative piece for your home.
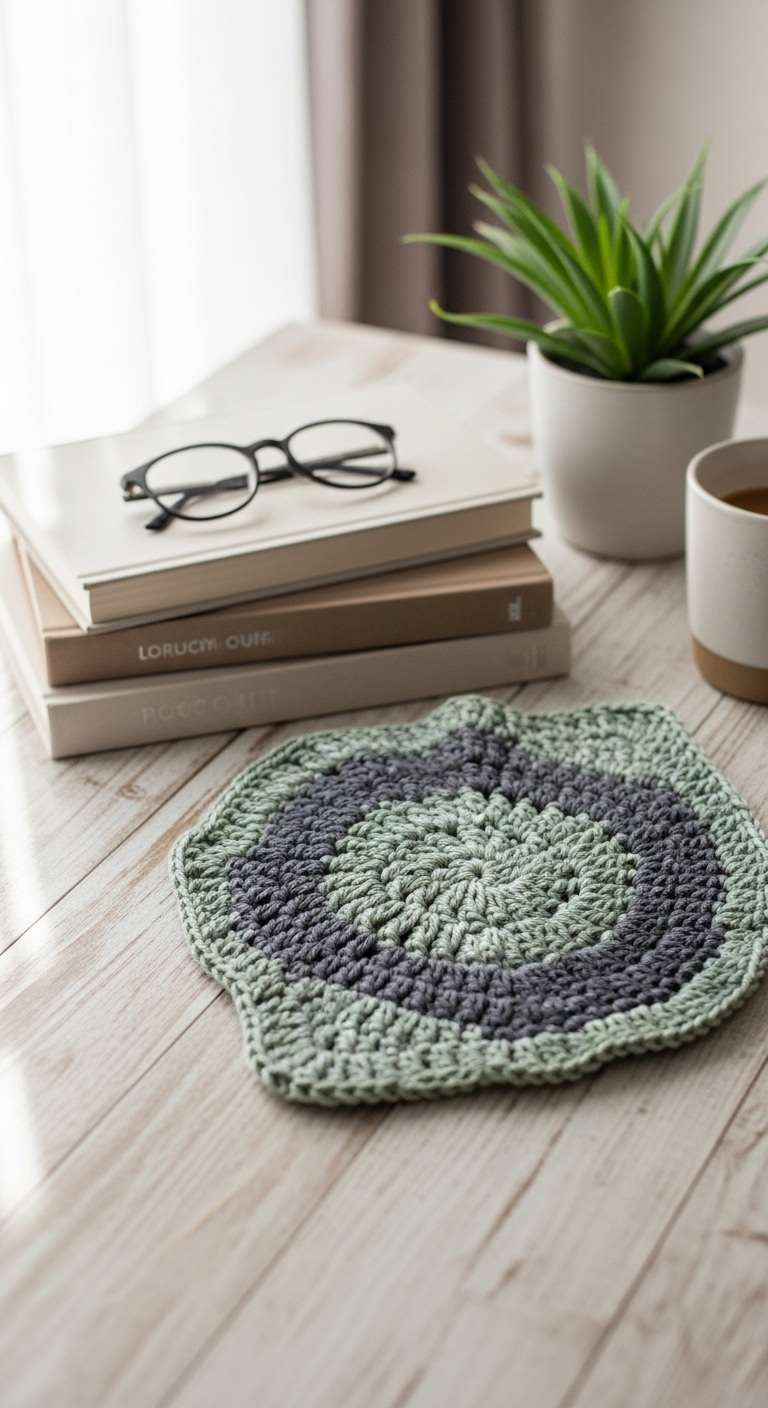
For this project, we’ll be using medium-weight yarn in soothing, adult-friendly colors: a lovely teal, a soft cream, and a warm gray. These complementary shades not only work beautifully together but also add a modern touch to your handmade creation. The best part? This project is not only fun and quick to make, but it also offers an excellent way to practice your crochet skills. Suitable for beginners, this pattern will guide you through each step with ease, allowing you to create a special gift for a loved one or a festive addition to your seasonal décor.
3. Materials Needed
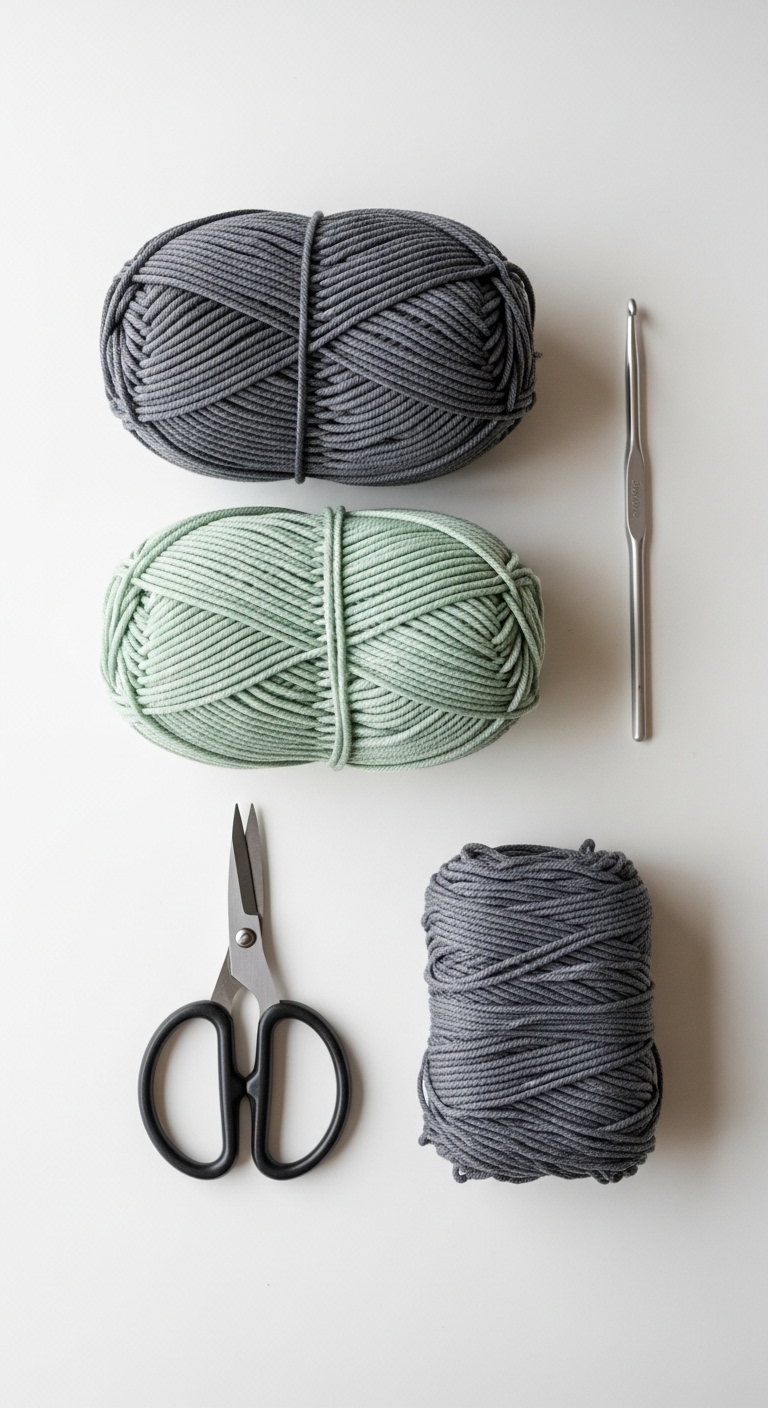
– Yarn: Medium-weight yarn (Worsted weight) in teal (approx. 200 yards), cream (approx. 100 yards), and gray (approx. 50 yards)
– Hook: 3.5mm or 4.0mm crochet hook
– Eyes: 12mm safety eyes (or you can use black embroidery thread for added detail)
– Stuffing: Polyester fiberfill stuffing
– Needle: Tapestry needle for sewing
– Marker: Stitch marker
– Optional extras: Pipe cleaners for added structure in limbs, buttons for decorative embellishments
4. Designer Notes / Tips
Before diving into the pattern, here are some helpful tips to enhance your crocheting experience:
– Stitch technique: You’ll be working primarily in single crochet (sc) stitches, which are simple and great for beginners. For added texture, consider using a half double crochet (hdc) in some areas to create a softer look.
– Stuffing density: It’s recommended to stuff your plushie lightly to maintain its shape without making it overly firm. This allows for a cuddly feel.
– Assembly: When joining different parts, use a whip stitch or slip stitch to create seamless connections. Ensure that the pieces are securely attached, especially if the plushie will be handled frequently.
– Yarn substitutions: If you can’t find the suggested yarn, any medium-weight yarn will work well. However, be mindful of the yarn’s texture as it plays a role in the overall feel of the plushie.
– Gauge tips: While gauge is not critical for this project, aiming for a consistent tension will ensure that the finished plushie looks neat.
– Safety considerations: If making this plushie for a young child, consider embroidering the eyes instead of using safety eyes, as they can pose a choking hazard.
5. Pattern Instructions
For Plushies:
Head:
*At this point, stuff the head lightly before closing.*
Body:
*Stuff the body well before closing.*
Arms/Legs:
*Make 4 pieces (2 arms, 2 legs). Stuff lightly before closing.*
Ears:
*Make 2 ears. These can be sewn directly onto the head.*
Assembly:
1. Sew the head to the body securely.
2. Attach the arms and legs using a whip stitch. Position the arms so they are slightly angled.
3. Sew the ears to the top of the head.
4. If using safety eyes, position them before fully closing the head, making sure they are placed symmetrically.
5. Weave in any loose ends and give your plushie a gentle squeeze to shape it.
6. Closing & Social Engagement
Congratulations on completing your very own Stitch plushie! I would love to see your version! Leave a comment below sharing your experiences and any color combinations you chose. What colors will you try next? Don’t forget to share your finished plushie on social media using the hashtag #StitchPlushie, and inspire others in our crochet community!