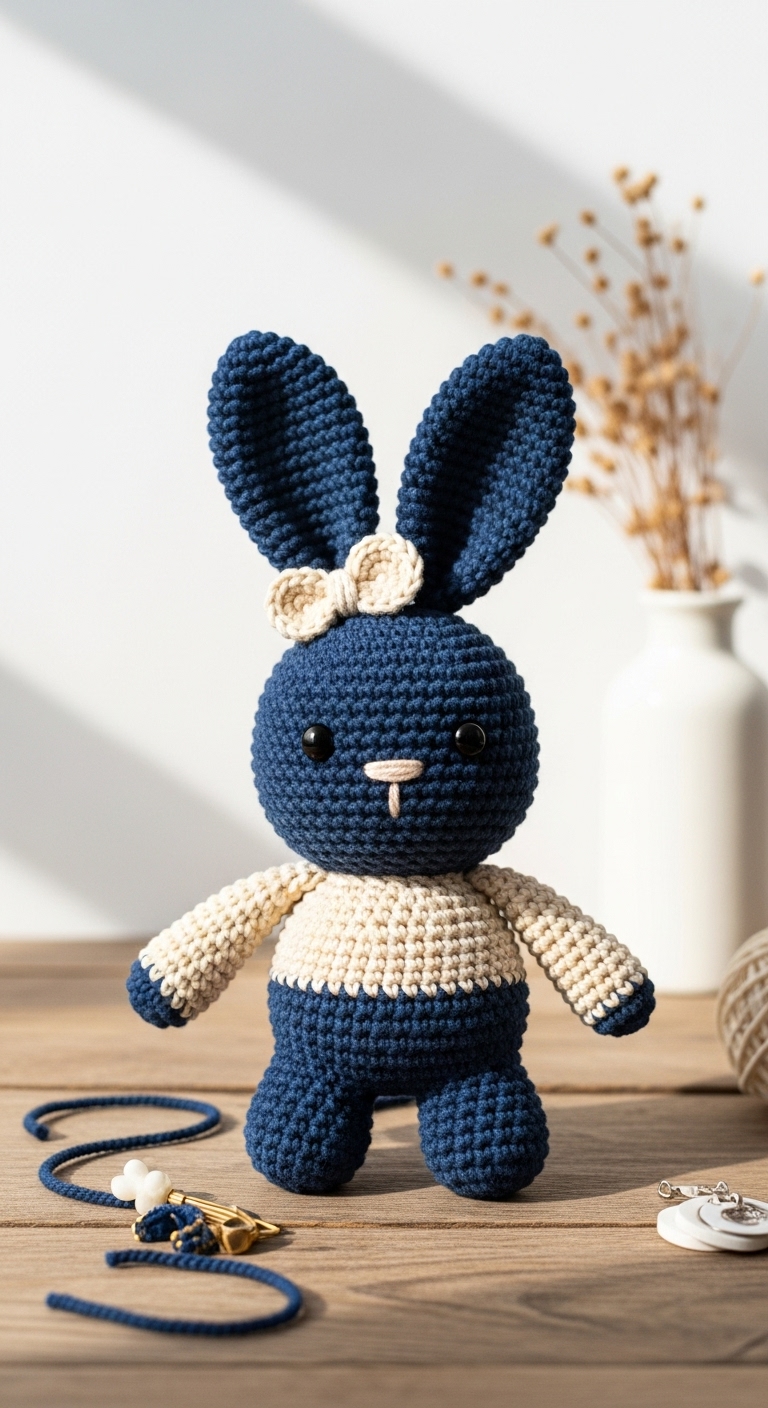
Spring Bunny – Free Crochet Pattern
2. Introduction
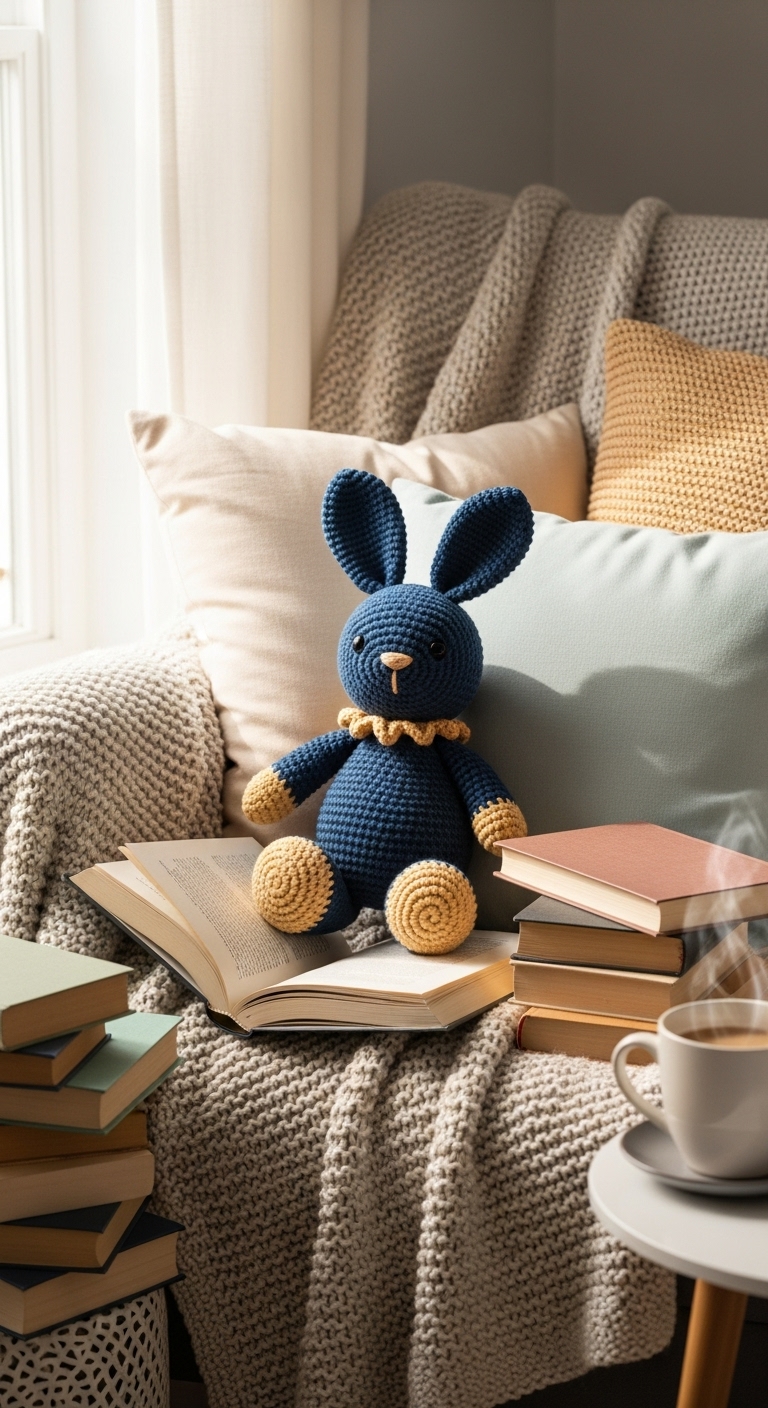
Welcome to the delightful world of crochet with this charming Spring Bunny pattern! This adorable plushie measures approximately 10 inches tall when completed, making it the perfect companion for both kids and adults alike. Crafted with soft, plush yarn, this bunny will quickly become a cherished friend or a lovely decorative piece for your spring celebrations.
For this project, you’ll want to choose a soft worsted weight yarn in cheerful, adult-friendly colors. I recommend a gentle mint green for the body, a warm cream for the belly and inner ears, and a lovely lavender for the accents. These colors not only embody the spirit of spring but also harmonize beautifully, giving your bunny an elegant look. This fun, quick, and rewarding pattern is beginner-friendly, making it accessible for crafters at any skill level. Whether you’re making it as a thoughtful gift for Easter or a sweet addition to your home décor, this Spring Bunny is sure to bring a smile!
3. Materials Needed
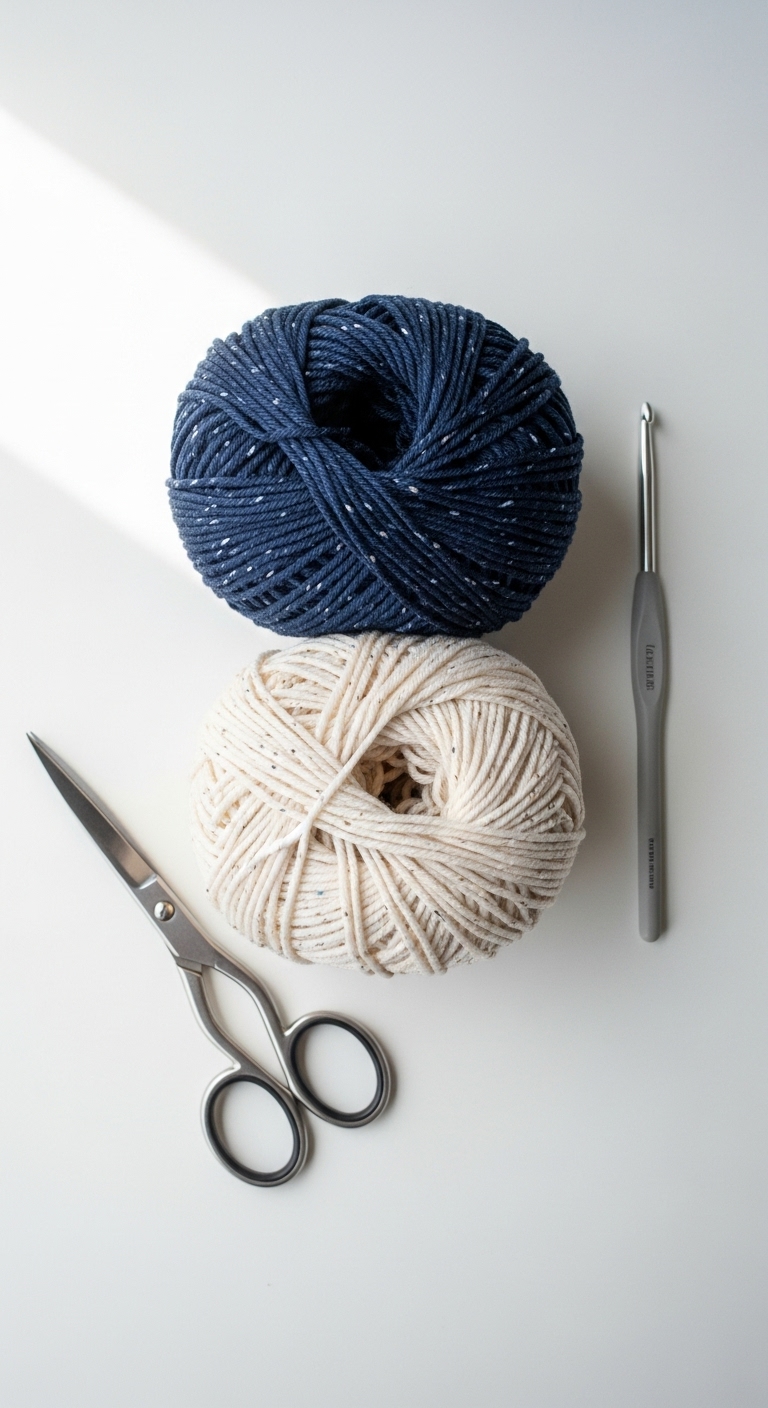
– Yarn: Worsted weight yarn in mint green, cream, and lavender – approximately 200 yards total
– Hook: 3.5mm or 4.0mm crochet hook
– Eyes: 12mm safety eyes OR black embroidery thread
– Stuffing: Polyester fiberfill stuffing
– Needle: Tapestry needle for sewing
– Marker: Stitch marker
– Optional extras: None
4. Designer Notes / Tips
When working on your Spring Bunny, you’ll primarily use single crochet stitches, which are perfect for both beginners and those looking to create a smooth finish. Don’t hesitate to experiment with the density of your stuffing; a light stuffing will give your bunny a more floppy feel, while firm stuffing will create a sturdier plushie.
For assembly, I recommend using a stitch marker to keep track of your rounds, especially when joining the head to the body. This helps maintain alignment and ensures a neat finish. If you’re considering alternative yarns, any soft worsted weight yarn will work well; just be mindful of gauge to maintain the bunny’s proportions.
For safety considerations, if your Spring Bunny is intended for young children, consider using embroidered features instead of safety eyes to avoid any choking hazards.
5. Pattern Instructions
For Plushies:
Head:
Body:
Arms (make 2):
Legs (make 2):
Ears (make 2):
Assembly:
– Attach the head to the body using the tapestry needle, aligning the stitches for a seamless look.
– Position the arms on either side of the body and sew in place.
– Attach the legs to the bottom of the body, ensuring they are evenly spaced.
– Finally, attach the ears to the top of the head. Place the safety eyes between rounds 8 and 9, about 6 stitches apart, and secure them well.
6. Closing & Social Engagement
Congratulations on completing your Spring Bunny! I’d love to see your version! Leave a comment below and share the unique color combinations you chose. What other cute accessories or features will you add? Don’t forget to share your finished bunny on social media using #SpringBunnyCrochet!