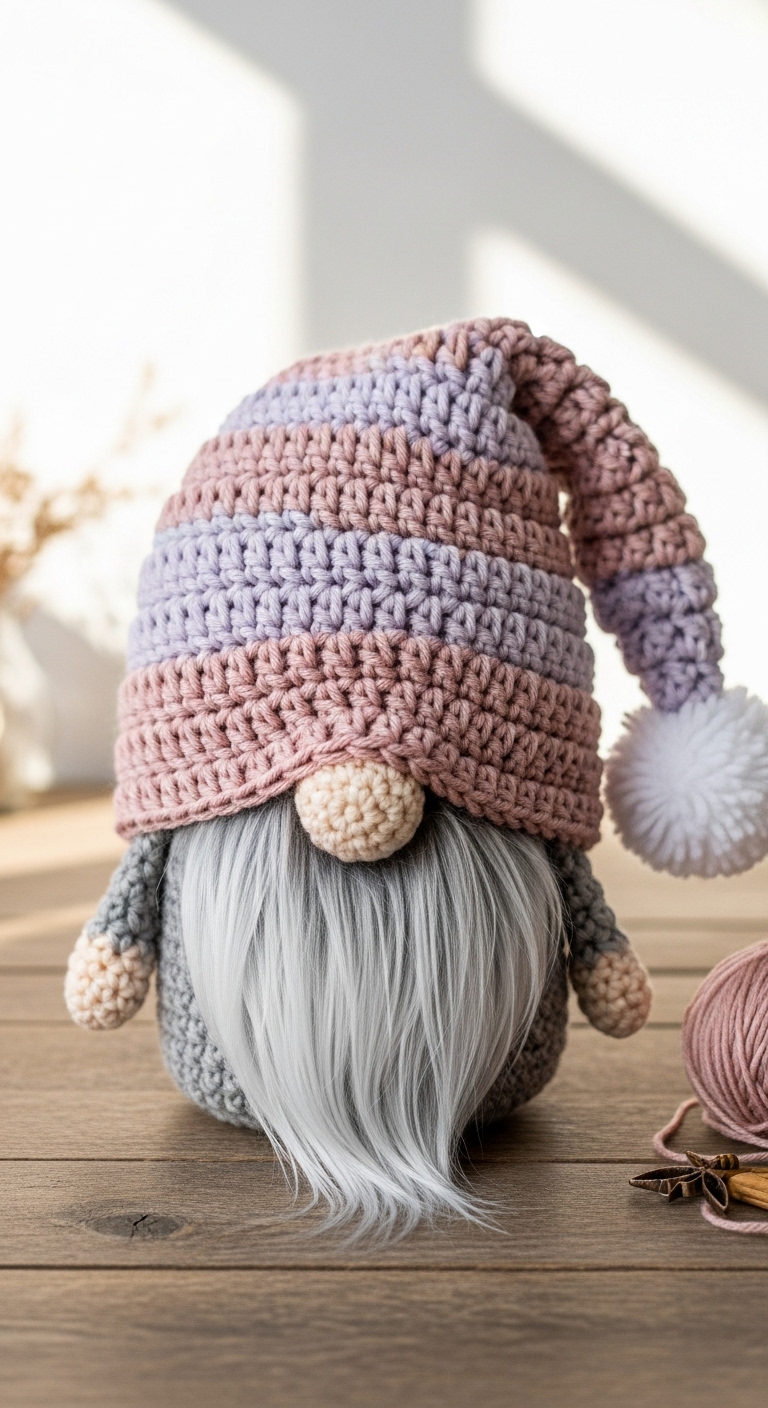
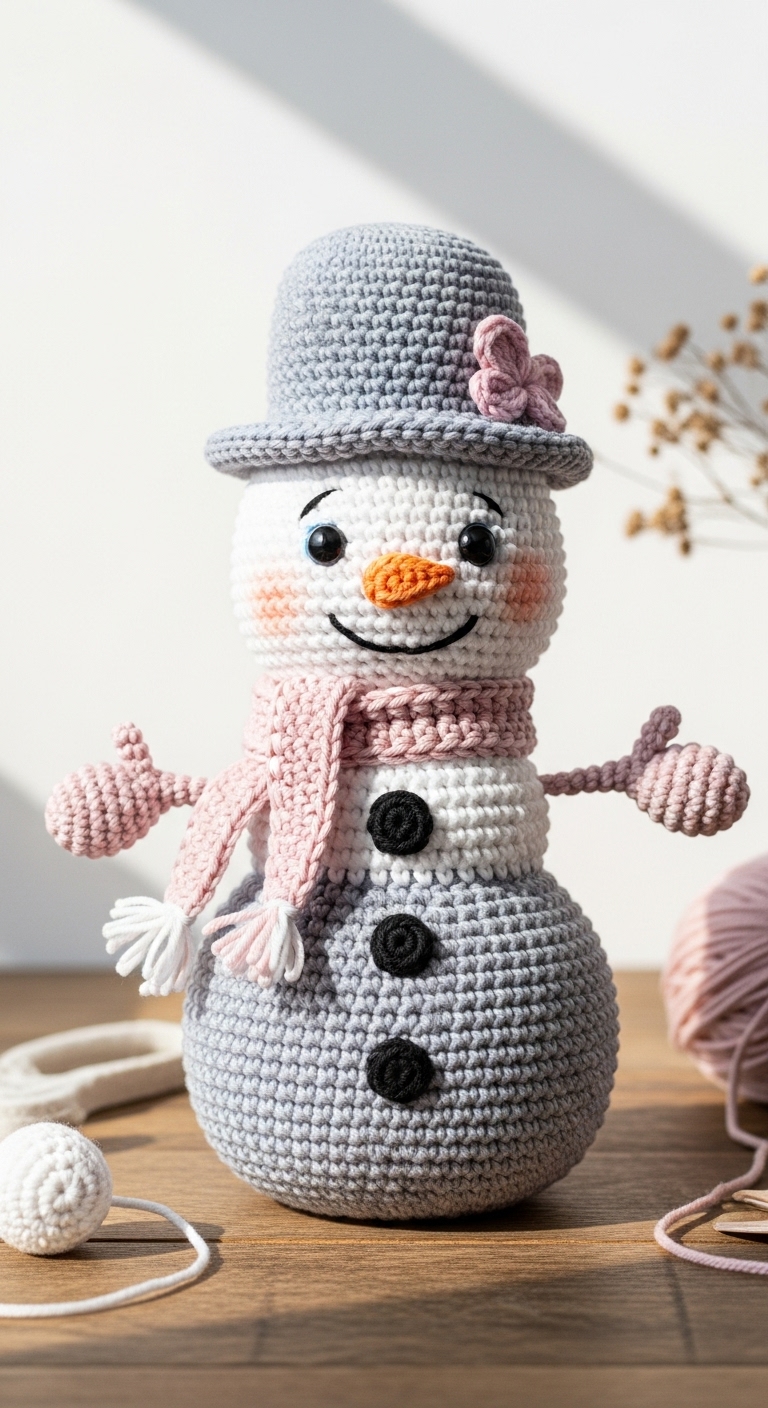
snowman gnome free crochet christmas pattern
2. Introduction
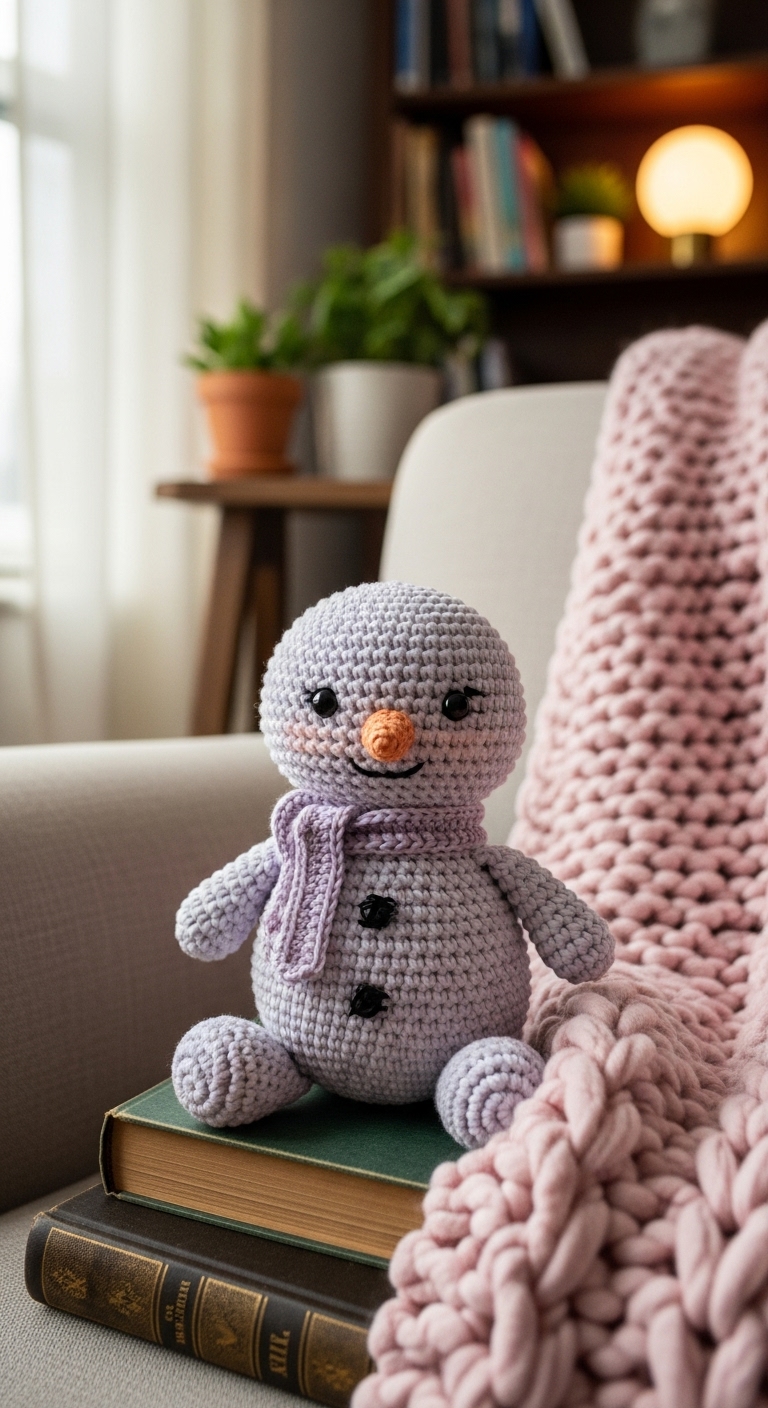
Get ready to embrace the holiday spirit with this delightful Snowman Gnome crochet pattern! Standing at approximately 10 inches tall, this whimsical plushie combines the charm of a gnome with the frosty allure of a snowman. With its rounded shape, cheerful expression, and festive accessories, this gnome is sure to bring smiles and warmth to your home this Christmas season.
For this project, you’ll want to select a soft, worsted weight yarn in classic winter colors. I recommend using a bright white for the body, a cheerful red for the scarf and hat, and a touch of orange for the carrot nose. These adult-friendly colors not only evoke the spirit of the season but also make it easy to coordinate with your existing holiday decor. You’ll find that this project is fun and quick to make, perfect for both gifting and decorating. It is beginner-friendly, making it a great choice for those who may be newer to crocheting or looking to brush up on their skills.
Whether you’re crafting for yourself or creating handmade gifts for loved ones, this Snowman Gnome is a charming addition to any holiday collection. Its playful design is sure to be a conversation starter at any festive gathering!
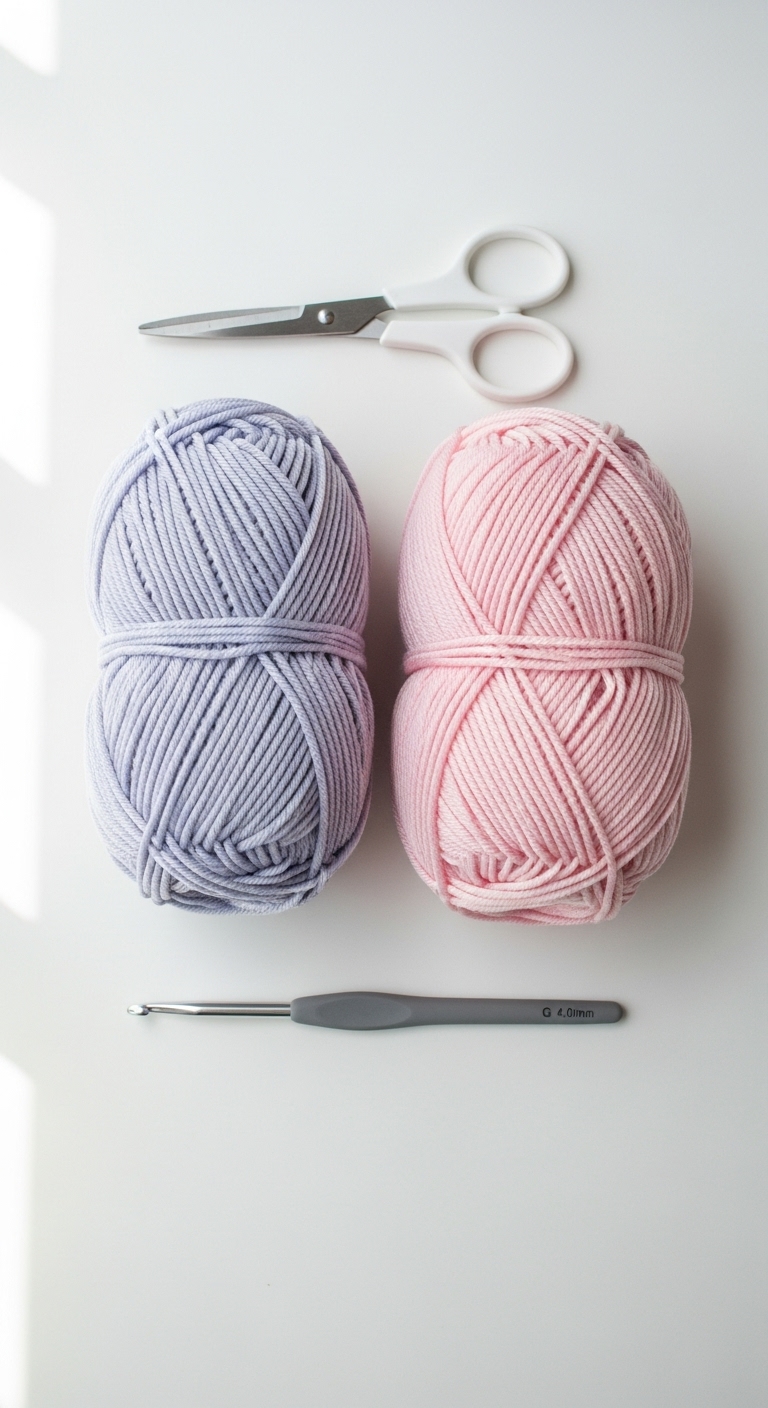
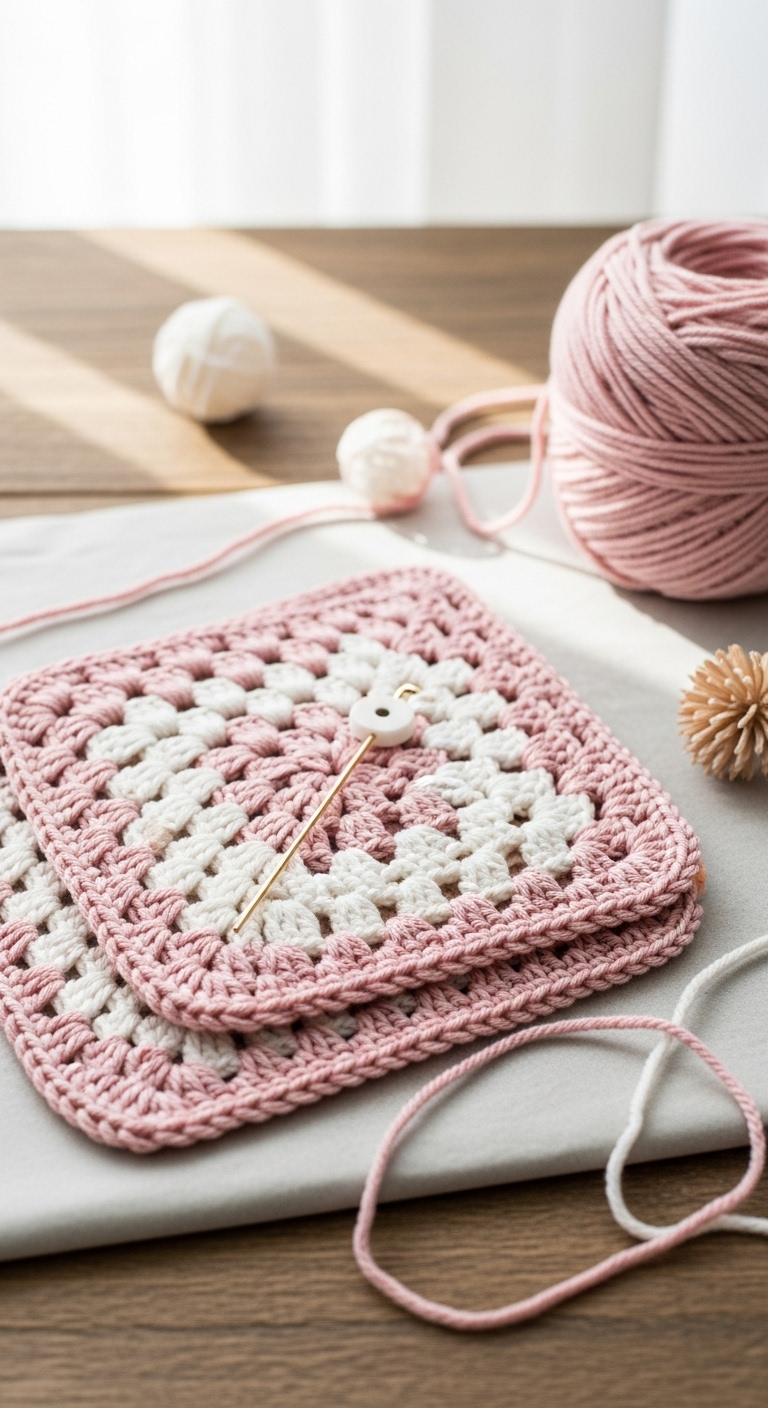
3. Materials Needed
– Yarn: Worsted weight yarn in white (approx. 150 yards), red (approx. 50 yards), and orange (approx. 10 yards)
– Hook: 3.5mm or 4.0mm crochet hook
– Eyes: 12mm safety eyes OR black embroidery thread for stitching
– Stuffing: Polyester fiberfill stuffing
– Needle: Tapestry needle for sewing
– Marker: Stitch marker
– Optional extras: Small buttons (for decoration), felt (for accents), and a pipe cleaner (for the gnome’s hat)
4. Designer Notes / Tips
When crocheting the Snowman Gnome, you’ll use mostly single crochet stitches, which create a smooth, dense texture. This will help your gnome hold its shape nicely. For stuffing, I recommend a light filling for a squishy feel, but you can opt for a firmer stuffing if you prefer a sturdier plushie.
Assembly is key! Make sure to securely attach all pieces, especially the hat and scarf, as gnome hats can be floppy. If you’re substituting yarn, try to stick with worsted weight yarn to maintain the same dimensions. For gauge, aim for about 4 inches in width and the same in height for your pieces. Keep in mind that if you’re making this as a gift for children, you might want to use embroidery for the eyes instead of safety eyes for added safety.
5. Pattern Instructions
For Plushies:
Head:
Body:
Arms:
Hat:
Assembly:
– Attach the head to the body, ensuring it’s centered. Securely stitch the arms to the sides of the body.
– Place the safety eyes on the head before stuffing it completely. If using embroidery, stitch eyes and a smile.
– Position the hat on the head and use the long tail from the hat to stitch it in place.
– Wrap the scarf around the neck and tie it in a knot.
6. Closing & Social Engagement
Congratulations on creating your very own Snowman Gnome! I’d love to see your version! Leave a comment below sharing your color combinations or any unique touches you added. What color combination will you try? Don’t forget to share your finished gnome on social media—let’s inspire others with our holiday creations!