Snow Cone Plush – Free Crochet Pattern
2. Introduction
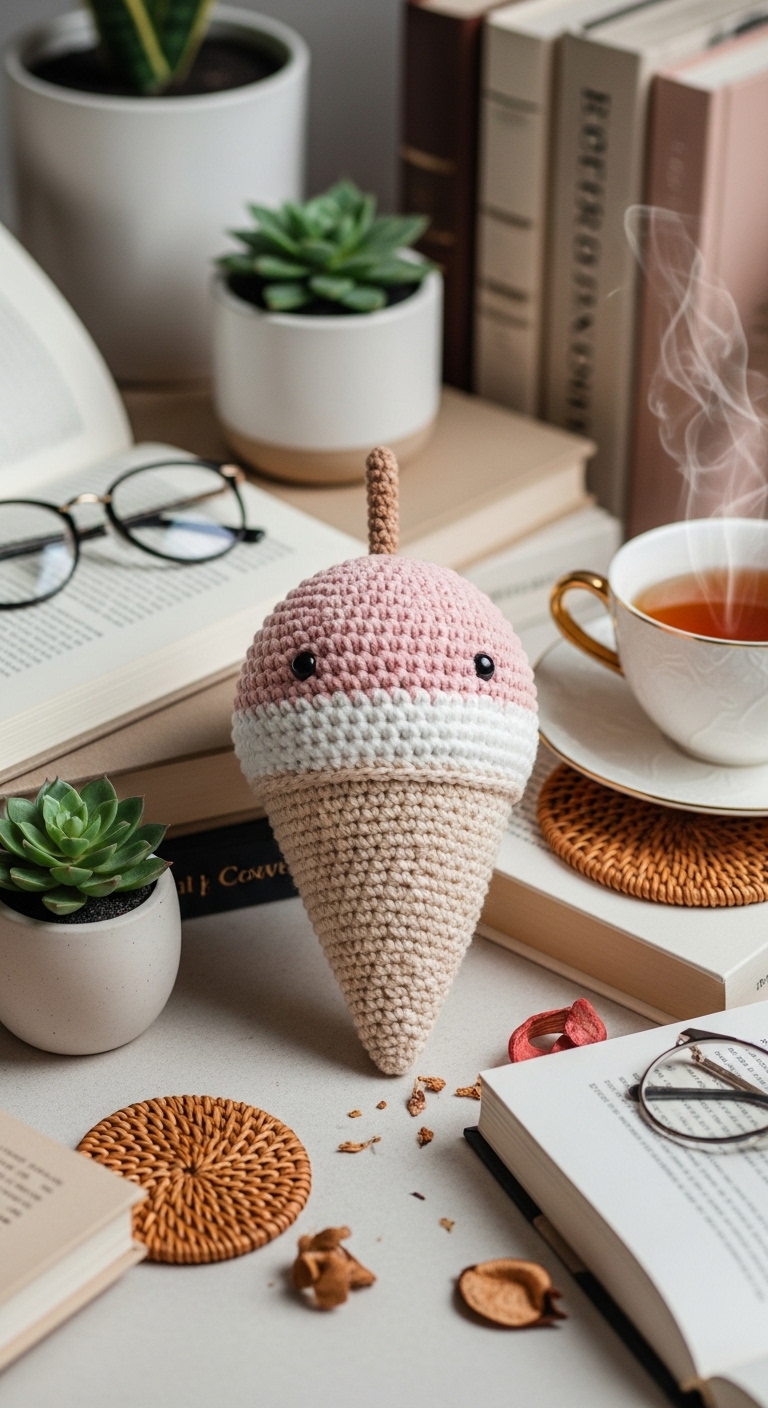
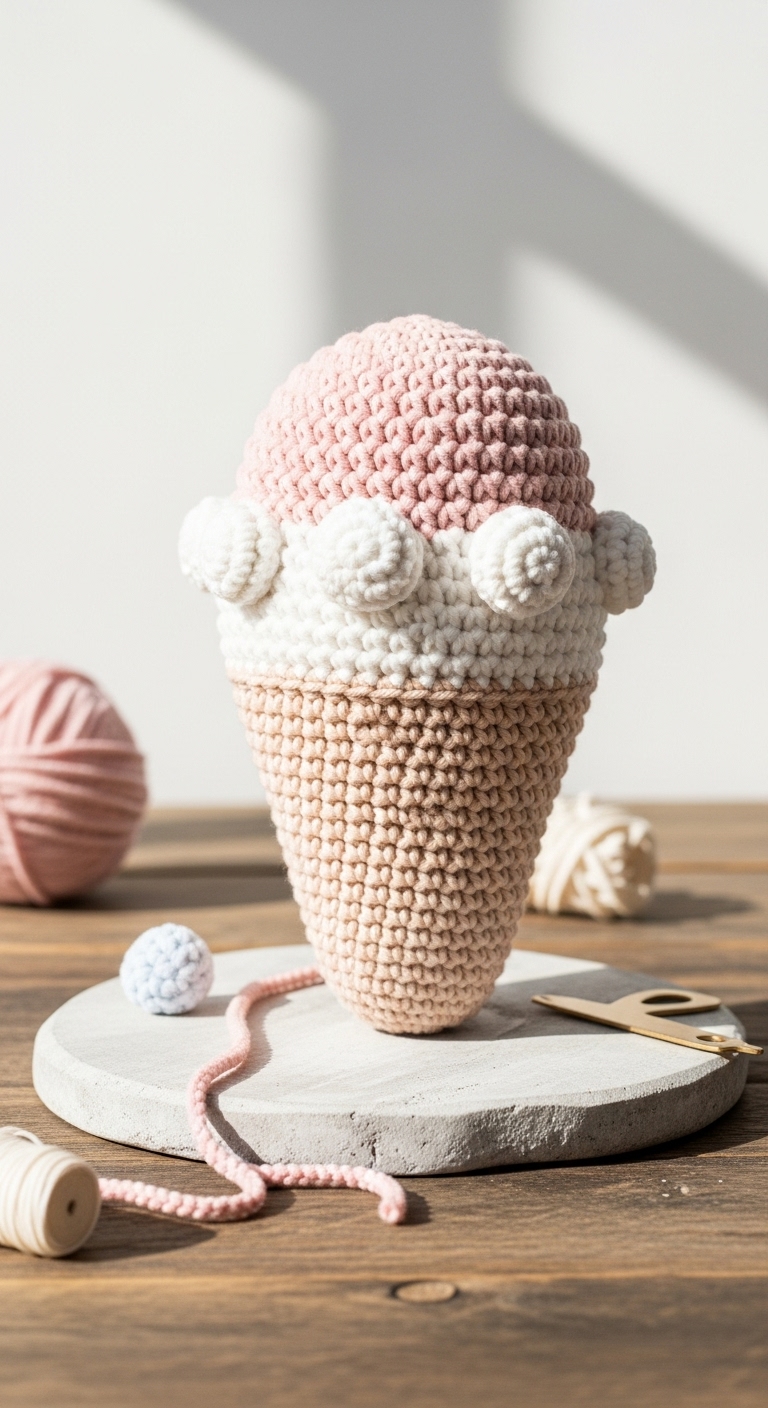
Welcome to the delightful world of crochet with our Snow Cone Plush! This charming little plushie, measuring about 6 inches tall, is an adorable addition to any collection and is sure to bring a smile to anyone’s face. The Snow Cone Plush is not only a fun project but also a wonderful way to practice your crochet skills while creating an eye-catching piece.
For this project, we will use soft, acrylic yarn in three complementary colors: a bright white for the fluffy ice, a vibrant pink for the strawberry syrup, and a cheerful mint green for the cone. These adult-friendly colors create a modern and sophisticated look, making the Snow Cone Plush a perfect gift for birthdays or summer celebrations. It’s a quick project, taking only a few hours, making it perfect for a last-minute gift or a relaxing afternoon of crafting. This pattern is beginner-friendly, so don’t worry if you’re new to crochet; I’ll guide you every step of the way!
3. Materials Needed
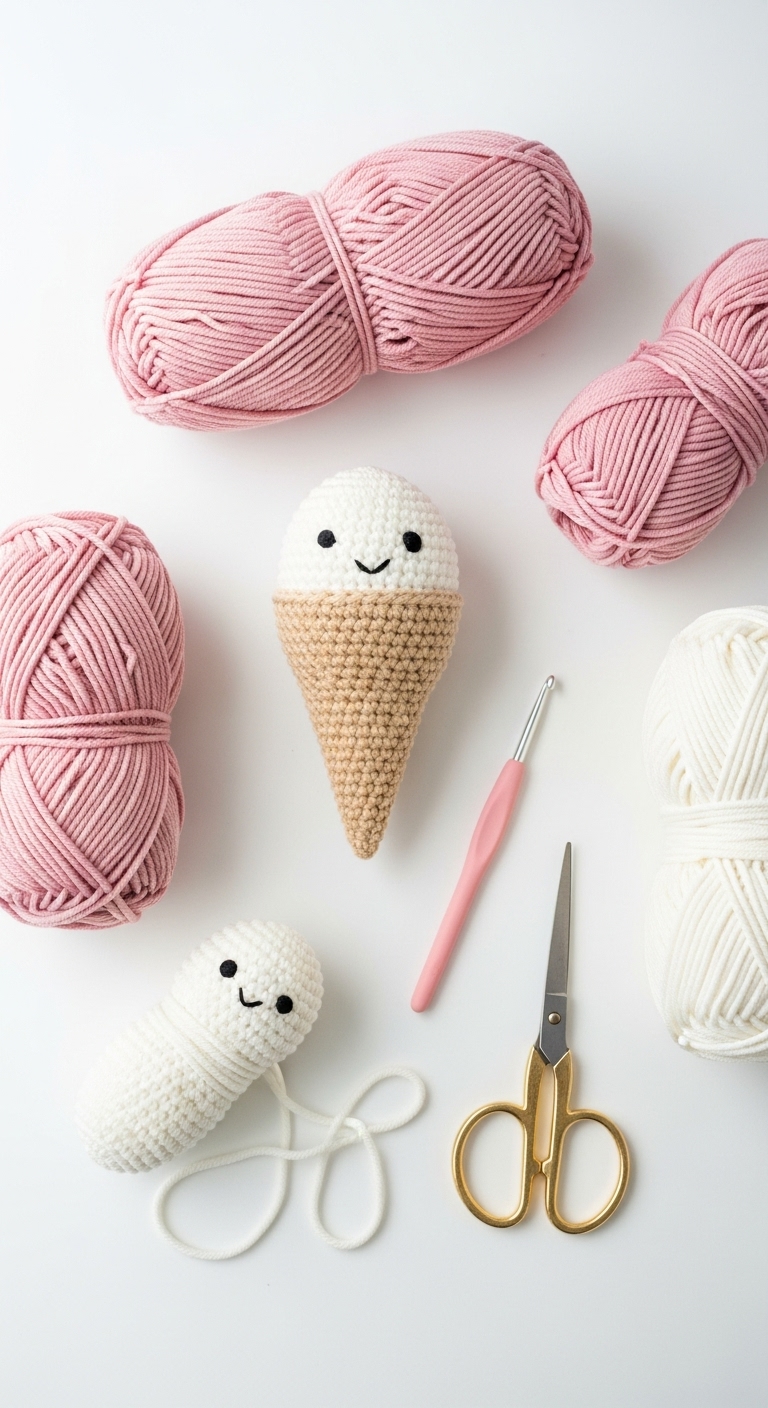
– Yarn: Worsted weight yarn in white (approx. 80 yards), pink (approx. 30 yards), and mint green (approx. 40 yards)
– Hook: 3.5mm or 4.0mm crochet hook
– Eyes: 12mm safety eyes
– Stuffing: Polyester fiberfill stuffing
– Needle: Tapestry needle for sewing
– Marker: Stitch marker
– Optional extras: Small pom-poms for added decoration
4. Designer Notes / Tips
As you embark on creating your Snow Cone Plush, here are some helpful tips to ensure success:
– Stitch Technique: We will be using basic single crochet (sc) stitches throughout the pattern, which is great for beginners. If you’re looking to add a little texture, try using a half double crochet (hdc) for the cone part!
– Stuffing Density: Aim for a light to medium stuffing density. You want your plushie to have some squish but still hold its shape nicely.
– Assembly: When joining pieces, use a whip stitch for seamless connections. Make sure to secure your stitches well to avoid any openings.
– Yarn Substitutions: If you prefer a different texture, consider using cotton yarn for a more durable plushie, or a chunky yarn for a larger size.
– Gauge Tips: While gauge isn’t crucial for this plushie, ensure your stitches are tight enough to prevent stuffing from poking through.
– Safety Considerations: For a child-safe version, ensure that eyes are securely attached, or opt for embroidered features instead.
5. Pattern Instructions
For Plushies:
Head:
At this point, stuff the head lightly before closing it up.
Body:
Stuff the body firmly before finishing.
Arms:
Make two arms, and stuff lightly.
Cone (Mint Green):
Stuff lightly and leave a long tail for sewing.
Assembly:
– Attach safety eyes to the head between rounds 6 and 7.
– Sew the head to the body, followed by attaching the arms to either side.
– Position and attach the cone to the top of the head.
– You can add small pom-poms or embroidery for additional decoration.
6. Closing & Social Engagement
Congratulations on completing your Snow Cone Plush! I hope you enjoyed the process and are excited about your new creation. I’d love to see your version! Leave a comment below sharing your color combinations or any modifications you made. What color combination will you try?
Don’t forget to share your finished Snow Cone Plush on social media—happy crocheting!