rudolph the red nose reindeer ragdoll free pattern

2. Introduction
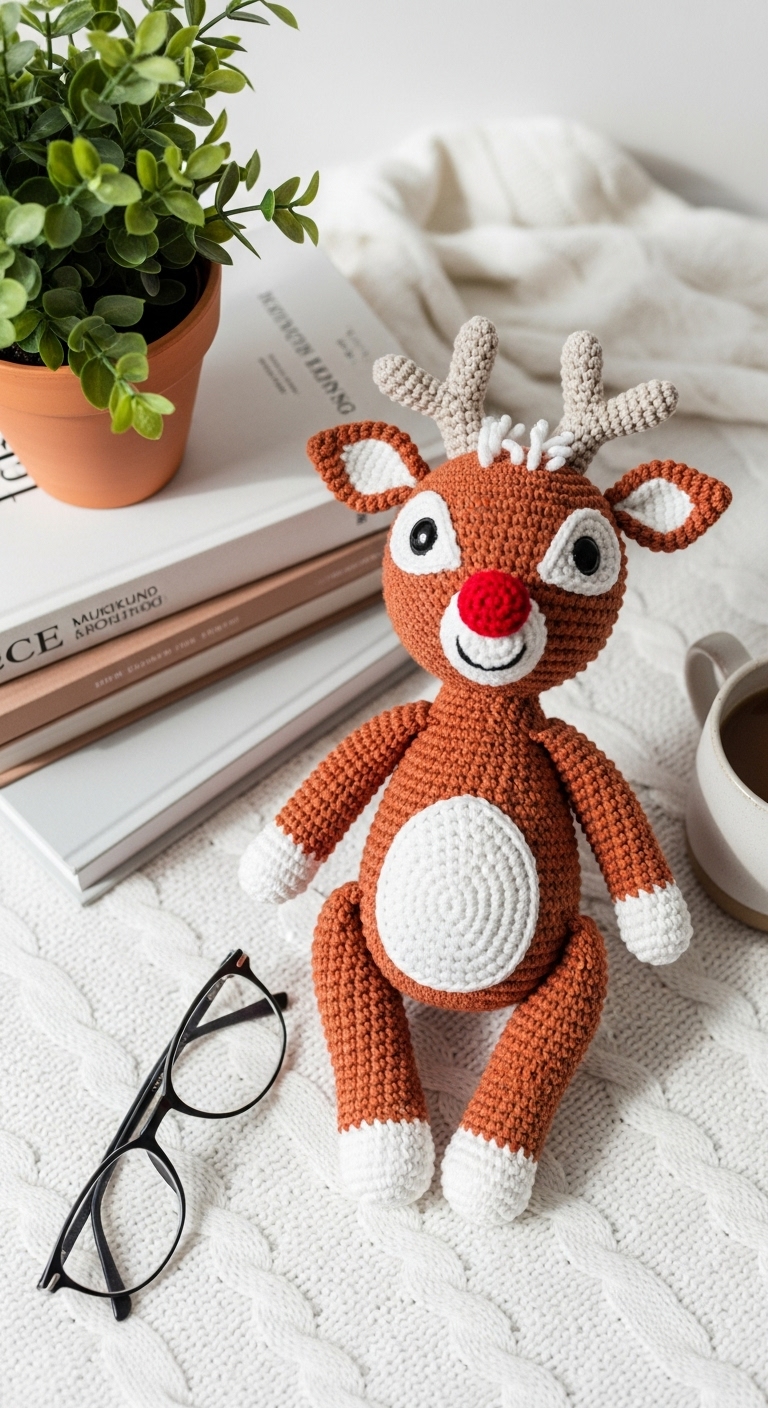
Welcome to the festive world of crochet with this delightful pattern for a Rudolph the Red-Nosed Reindeer ragdoll! This lovable plushie measures approximately 12 inches from top to toe, making it a perfect size for cuddling or decorating for the holiday season. Crocheted in soft, cozy yarn, this charming reindeer will add a touch of whimsy to your home, and its bright red nose is sure to bring a smile to anyone who sees it.
For this project, you’ll want to choose a soft worsted-weight yarn in adult-friendly colors such as rich brown, creamy beige, and a pop of vibrant red for Rudolph’s famous nose. The combination of these colors not only captures the essence of this beloved character but also ensures that your finished doll will be a sophisticated addition to any holiday decor. This pattern is designed for beginners, making it an excellent choice for those who are new to crocheting or looking to expand their skills. With its quick assembly and cheerful result, this ragdoll also makes a thoughtful gift for anyone who loves holiday traditions.
3. Materials Needed
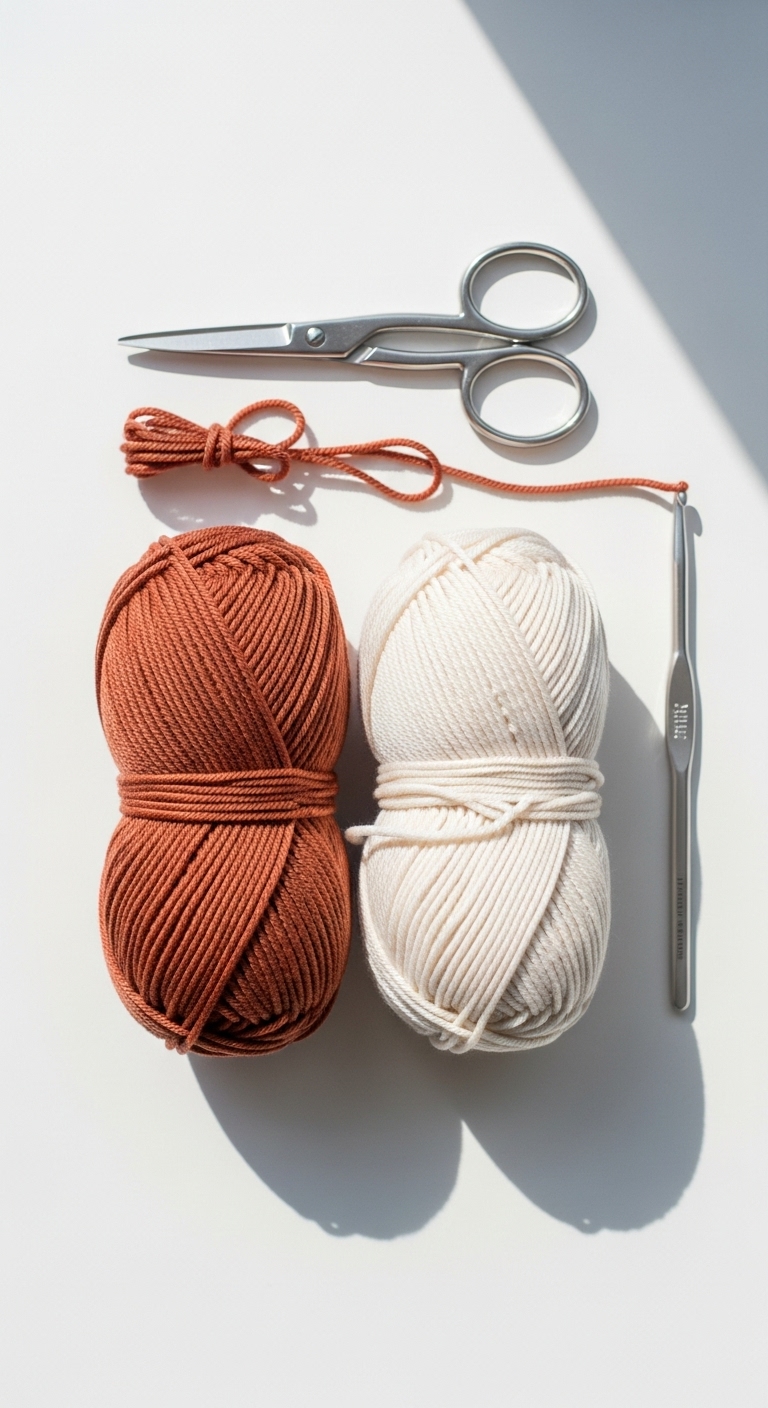
– Yarn: Worsted weight yarn in brown (approx. 200 yards), beige (approx. 50 yards), and red (approx. 20 yards)
– Hook: 3.5mm or 4.0mm crochet hook
– Eyes: Safety eyes (10mm) OR black embroidery thread for stitching
– Stuffing: Polyester fiberfill stuffing
– Needle: Tapestry needle for sewing
– Marker: Stitch marker
– Optional extras: Pipe cleaners for antlers
4. Designer Notes / Tips
When crocheting this ragdoll, you will be using basic stitches such as single crochet (sc) and increases. Don’t worry if you’re not familiar with these techniques; I’ll provide clear instructions to guide you through each step! For texture, you can use a slip stitch for some parts, like the hooves, to give them a distinct look.
Regarding stuffing, I recommend filling the plushie to a medium firmness; this will make it cuddly yet sturdy enough to hold its shape. When assembling the parts, it’s best to sew them together securely, ensuring that the limbs and head are well-attached for durability while little ones play with it. If you’re looking for yarn substitutions, any soft acrylic or cotton blend will work beautifully. Just keep in mind the gauge should remain consistent for the best results.
For safety, if you’re making this for a small child, you might consider embroidering the eyes instead of using safety eyes to eliminate any choking hazard. Additionally, if you choose to add pipe cleaners in the antlers, ensure they are securely enclosed within the yarn to avoid exposure.
5. Pattern Instructions
For Plushies:
Head:
Body:
Arms (make 2):
Legs (make 2):
Ears (make 2):
Assembly:
1. Attach the head to the body using the long tail from the head.
2. Sew the arms onto the sides of the body.
3. Attach the legs to the bottom of the body.
4. Sew the ears to the top of the head.
5. Add safety eyes before closing the head.
6. For the nose, embroider or attach the red yarn in a small circle for Rudolph’s iconic look.
6. Closing & Social Engagement
I hope you enjoy making your very own Rudolph the Red-Nosed Reindeer ragdoll! This pattern is a wonderful way to add a touch of holiday spirit to your home or to create a heartfelt gift for someone special. I’d love to see your version! Leave a comment below and share your experience. What color combination will you try? Don’t forget to share your finished reindeer on social media; let’s spread the joy of handmade crafts this holiday season! You’ve got this! Happy crocheting!