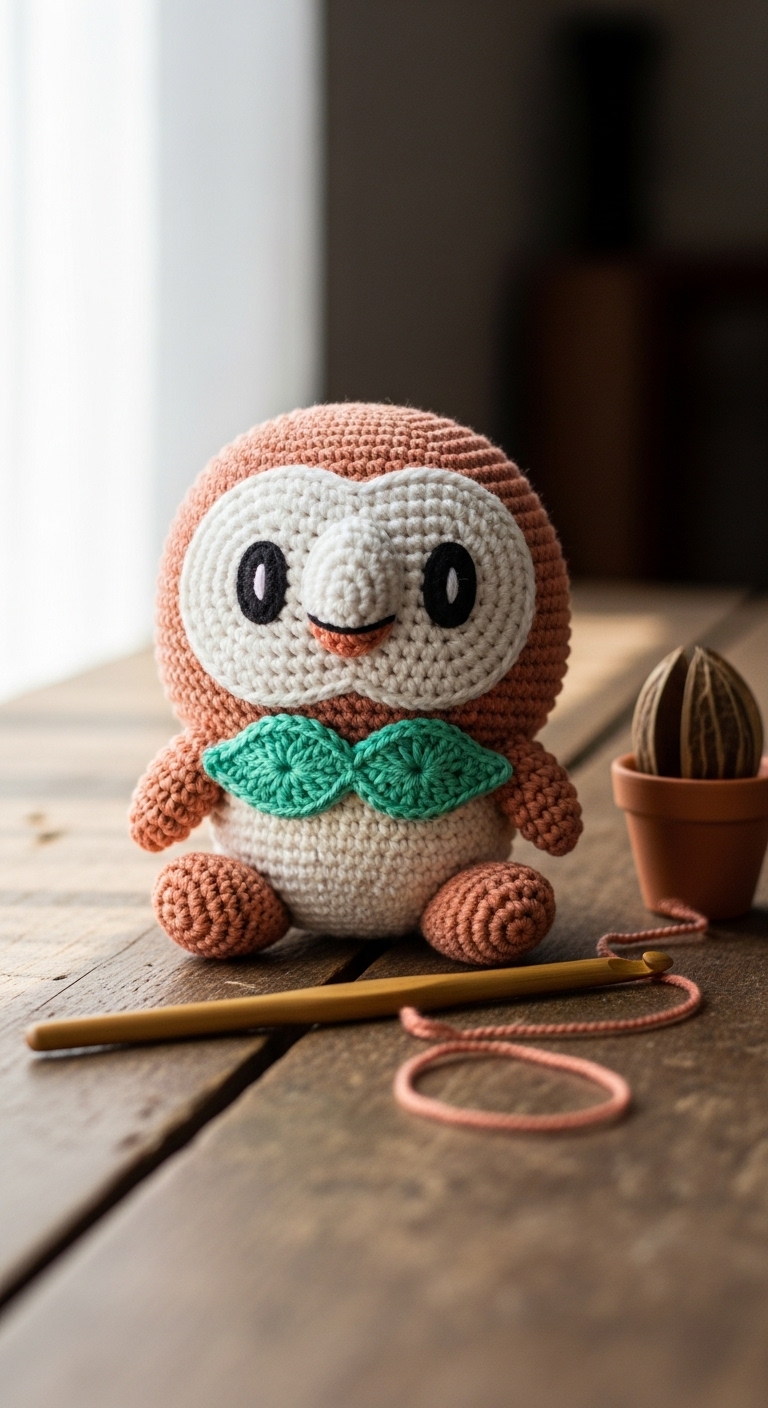
Rowlet Plush – Free Crochet Pattern
2. Introduction
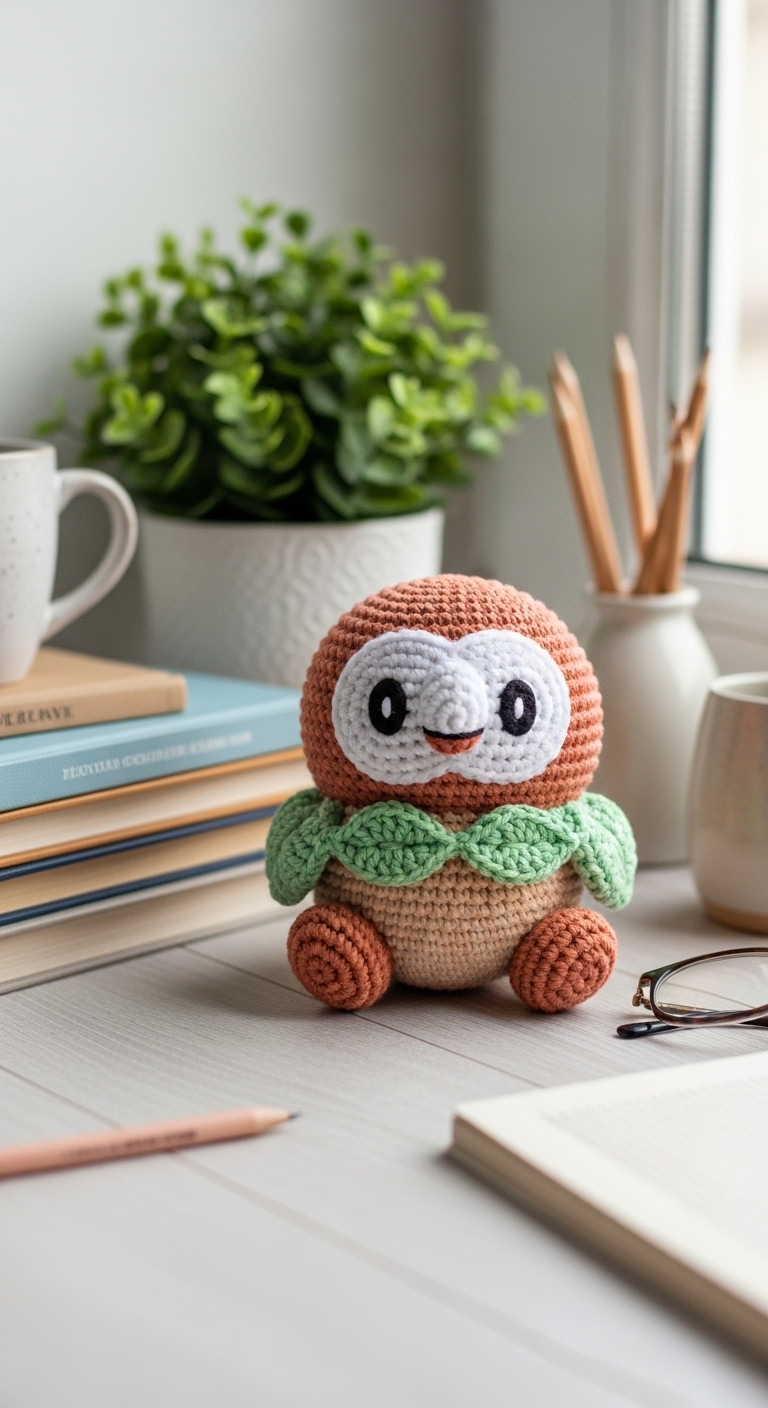
Welcome to the world of crochet with this delightful Rowlet Plush pattern! This charming little owl measures approximately 8 inches tall and 6 inches wide, making it a perfect cuddly companion for both children and adults alike. The soft, rounded form of Rowlet not only brings comfort but also serves as an adorable decorative piece for your home or office.
For this project, we’ll be using soft, worsted weight yarn in three complementary colors: a rich moss green for Rowlet’s body, a crisp white for its belly, and a warm caramel for its beak and feet. These adult-friendly hues create a sophisticated yet whimsical finish that will appeal to a wide range of crochet enthusiasts. This plushie is a quick project that’s not only fun to make but also an excellent gift for fans of all ages, especially those who appreciate the magic of creatures from the Pokémon universe.
This pattern is designed to be beginner-friendly, breaking down each step clearly to ensure you feel confident as you create your very own Rowlet. Whether you’re looking to add to your collection or gift this plushie for a special occasion, you’re sure to enjoy the process of bringing this little character to life!
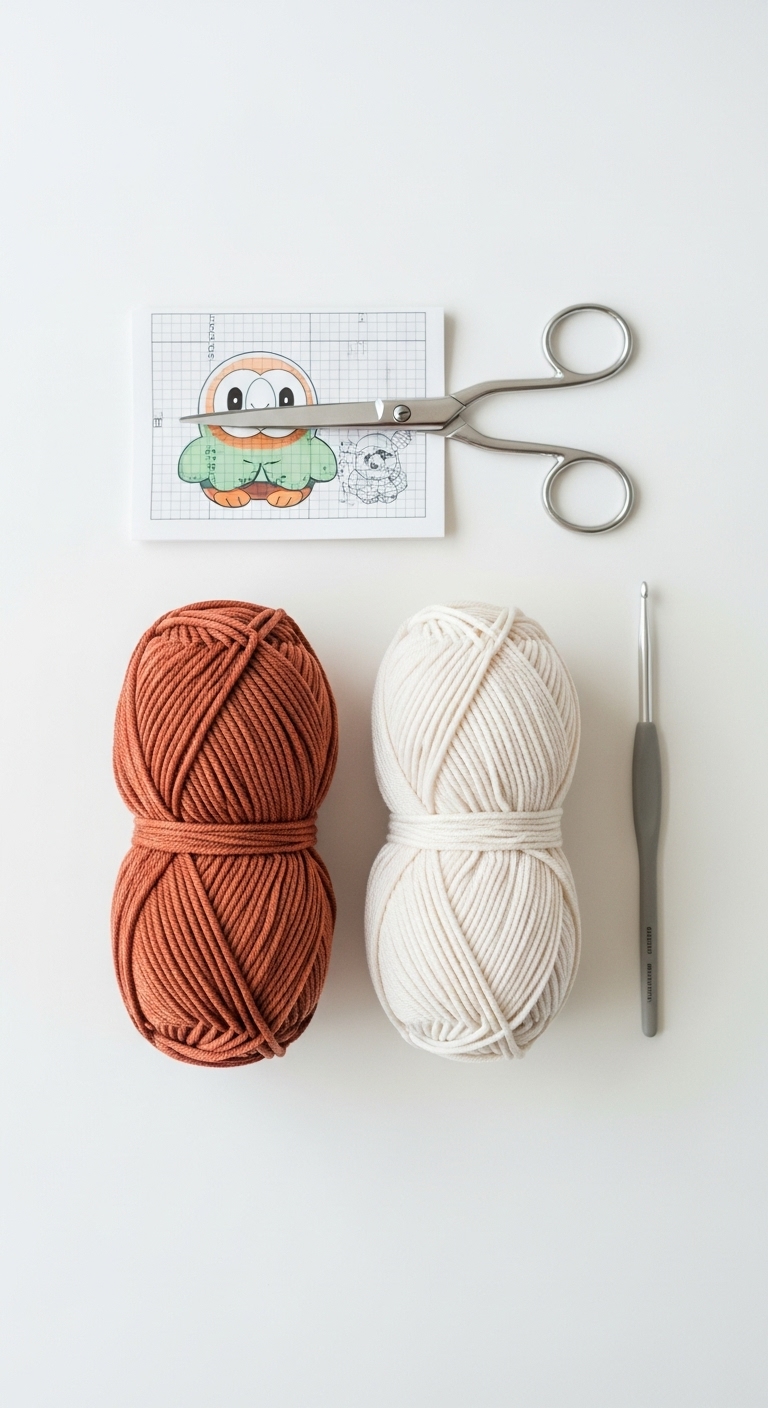
3. Materials Needed
– Yarn: Worsted weight yarn in the following colors:
– Moss green: approximately 150 yards
– White: approximately 50 yards
– Caramel: approximately 30 yards
– Hook: 3.5mm or 4.0mm crochet hook
– Eyes: 12mm safety eyes or black embroidery thread
– Stuffing: Polyester fiberfill stuffing
– Needle: Tapestry needle for sewing
– Marker: Stitch marker for tracking rounds
– Optional extras: Pipe cleaners for added structure (if desired)
4. Designer Notes / Tips
As you work on this plushie, pay special attention to your stitch technique. Using tight stitches will help maintain the shape of Rowlet, especially if you choose to use lighter stuffing. When stuffing, aim for a medium density; you want Rowlet to be soft but still hold its form without sagging.
During assembly, it’s best to attach the safety eyes before you close up the head to ensure the placement is correct. If you prefer to use embroidery thread for eyes, consider stitching them on after stuffing to avoid any stuffing obstruction.
For yarn substitutions, any similar worsted weight yarn in your preferred colors will work well. Just be sure to match your tension to maintain the size of the plushie. If you’re new to crochet, use a stitch marker to help maintain your stitch count and keep track of your rounds while you work.
5. Pattern Instructions
Head:
Body:
Arms:
Legs:
Ears:
Tail:
Assembly:
1. Start by attaching the head to the body. Use the long tail from the head to sew it securely.
2. Position the arms and legs on the body and sew them in place.
3. Attach the ears towards the top of the head, and the tail at the back.
4. Place safety eyes between rounds 6 and 7 of the head. If using embroidery for eyes, stitch them on now.
5. Finally, use the caramel yarn to create the beak and sew it onto the head between the eyes.
6. Closing & Social Engagement
I can’t wait to see your finished Rowlet plushies! Don’t worry if yours looks a little different—every creation is unique and special in its own way. Leave a comment below to share your version, or ask any questions you might have while crocheting. What fun color combinations will you try for your Rowlet? Be sure to share your finished creations on social media; I would love to see them!