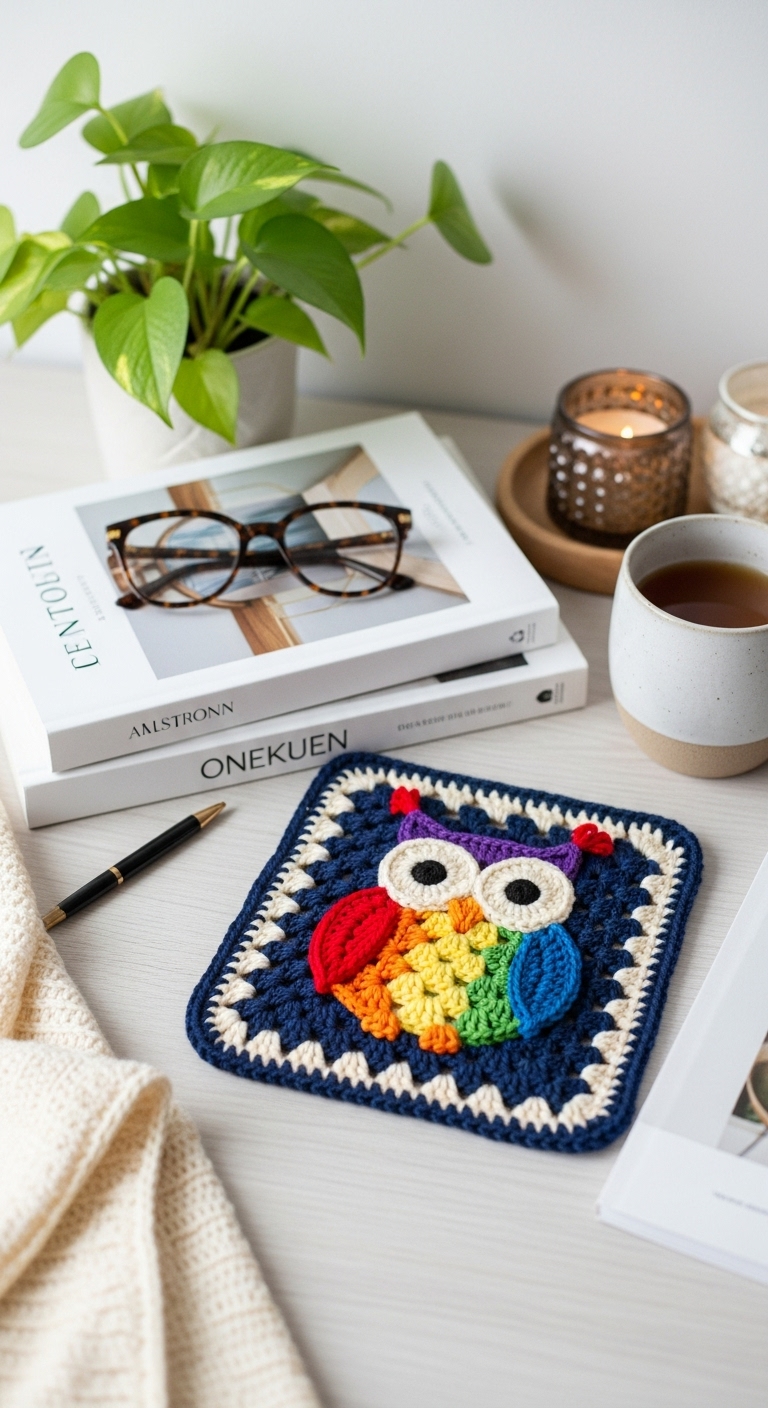
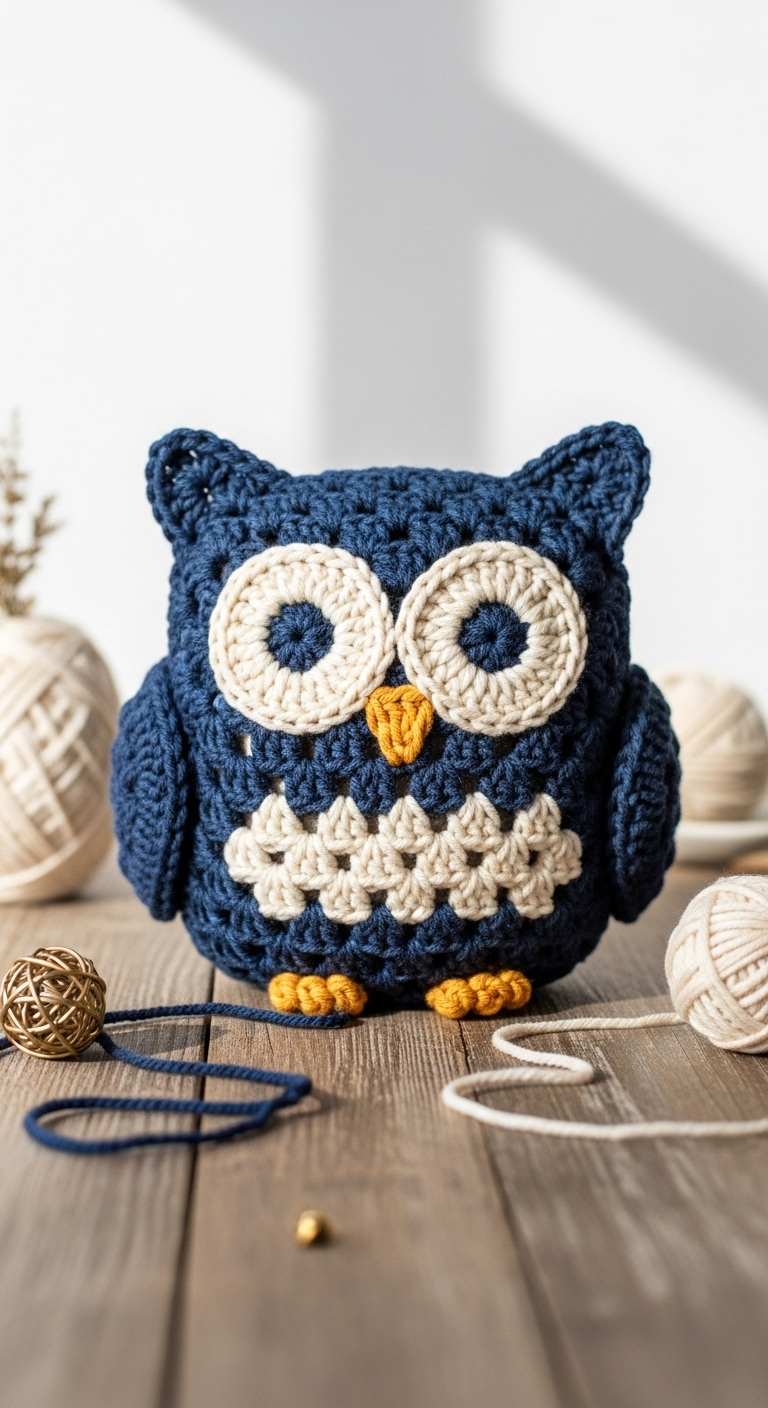
rainbow owl granny square free pattern
2. Introduction
Welcome to the magical world of crochet with this delightful Rainbow Owl Granny Square pattern! This cheerful square measures approximately 10 inches (25 cm) once completed, making it a versatile size for blankets, coasters, or even wall art. Each square is made using a combination of bright, uplifting colors, perfect for adding a touch of whimsy to any space.
For this project, we will be using a medium-weight yarn (Category 4), with a recommended palette that includes a vibrant teal, sunny yellow, and a soft lavender. These colors not only complement each other beautifully but also cater to an adult aesthetic, ensuring your finished piece will be a stylish addition to your home décor. This pattern is engaging and quick to work up, making it ideal for both seasoned crocheters and beginners looking to explore new techniques.
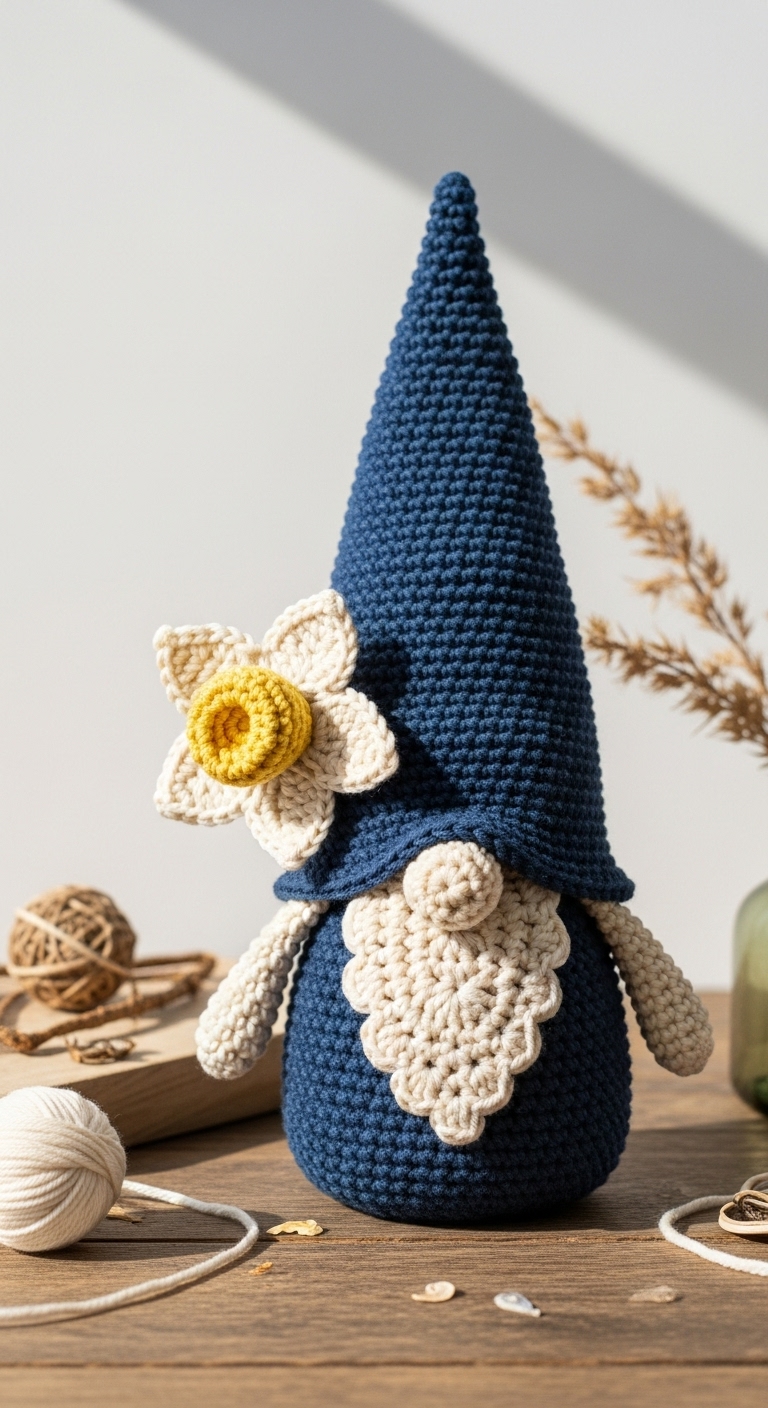
As a beginner-friendly project, the Rainbow Owl Granny Square is perfect for gifting or seasonal decor. Imagine stitching several of these squares together to create a cozy throw for a loved one or using them as bright accent pieces for spring and summer gatherings. Whether you keep it for yourself or share it with someone special, this project is sure to bring joy!
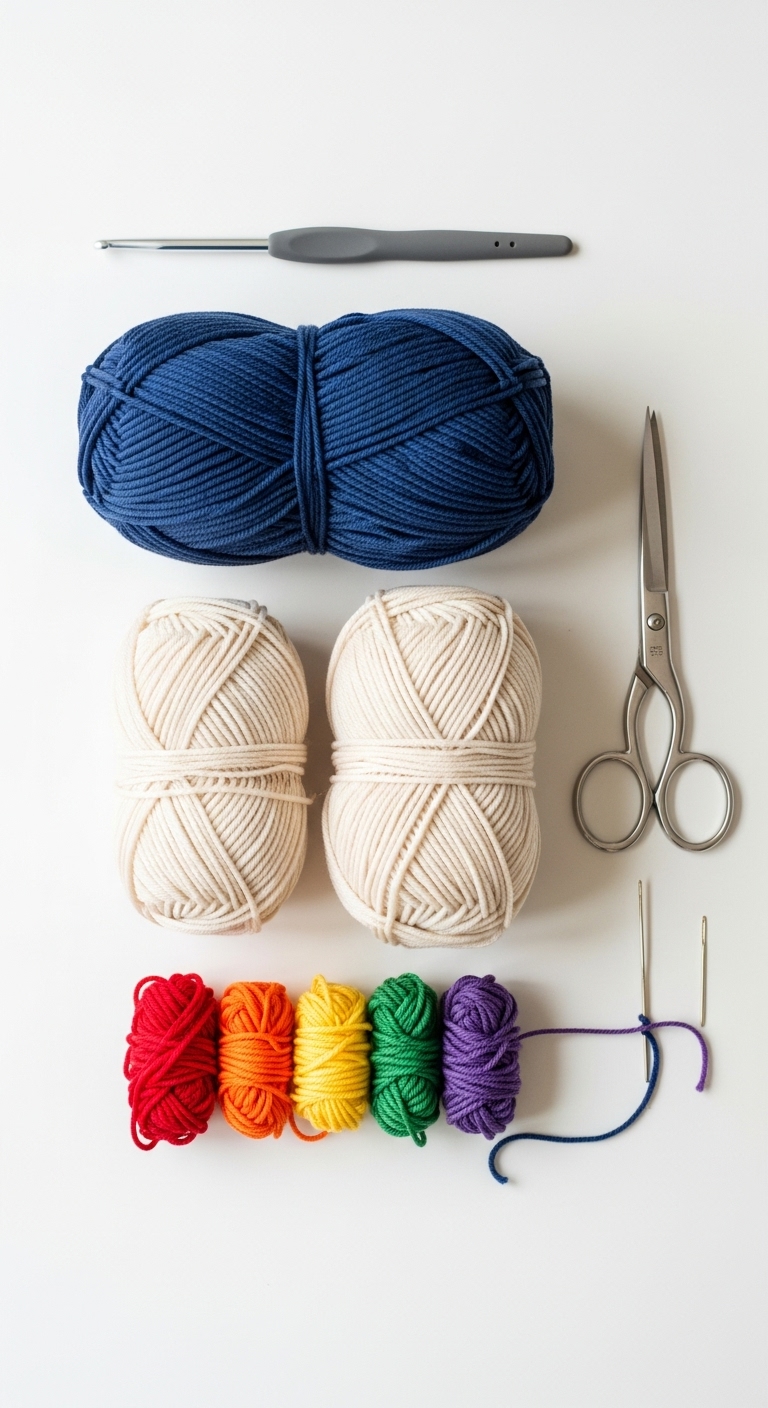
3. Materials Needed
– Yarn: Medium (Category 4) yarn in teal, yellow, and lavender – approximately 200 yards total
– Hook: 3.5mm or 4.0mm crochet hook
– Eyes: 12mm safety eyes OR black embroidery thread for detailing
– Stuffing: Polyester fiberfill stuffing (if making a plush version)
– Needle: Tapestry needle for weaving in ends
– Marker: Stitch marker to keep track of rounds
– Optional extras: Buttons for added decoration
4. Designer Notes / Tips
– Stitch technique: This pattern utilizes basic stitches such as single crochet (sc) and double crochet (dc), along with color changes to create the vibrant effect. Be sure to keep your tension consistent for a lovely finished square.
– Stuffing density: If you choose to make the owl plush, using a light stuffing will maintain a soft feel, while firmer stuffing will help the owl retain its shape.
– Assembly: When joining pieces, use a whip stitch to seamlessly connect your squares. Remember to place stitch markers where indicated to help keep track of your rounds.
– Yarn substitutions: If you want a softer texture, consider using a cotton blend yarn. It will enhance the overall look while still maintaining durability.
– Gauge tips: Although gauge is not crucial for this pattern, aiming for a tight tension will help keep the shape of your granny square.
– Safety considerations: For children, consider embroidering the eyes instead of using safety eyes to eliminate any choking hazard.
5. Pattern Instructions
For Plushies:
Head:
Body:
Arms:
Make 2.
Ears:
Make 2.
Assembly:
– Stuff the head, body, and arms lightly. Attach the arms to the body and the head to the body using the tapestry needle.
– Sew on the ears on top of the head and attach the safety eyes before completely closing.
For Accessories:
Main Panel:
Straps:
Finishing:
– Weave in all ends and block the panel for even edges.
– Optionally, attach buttons to the center of the square for decoration.
6. Closing & Social Engagement
I’d love to see your version of the Rainbow Owl Granny Square! Please leave a comment below to share your thoughts or any creative tweaks you made. What color combination will you try? Remember, every stitch you make adds to the charm of your project. Share your finished squares on social media with the hashtag #RainbowOwlGrannySquare and inspire others in our crochet community!