pumpkin gnome free crochet pattern
2. Introduction
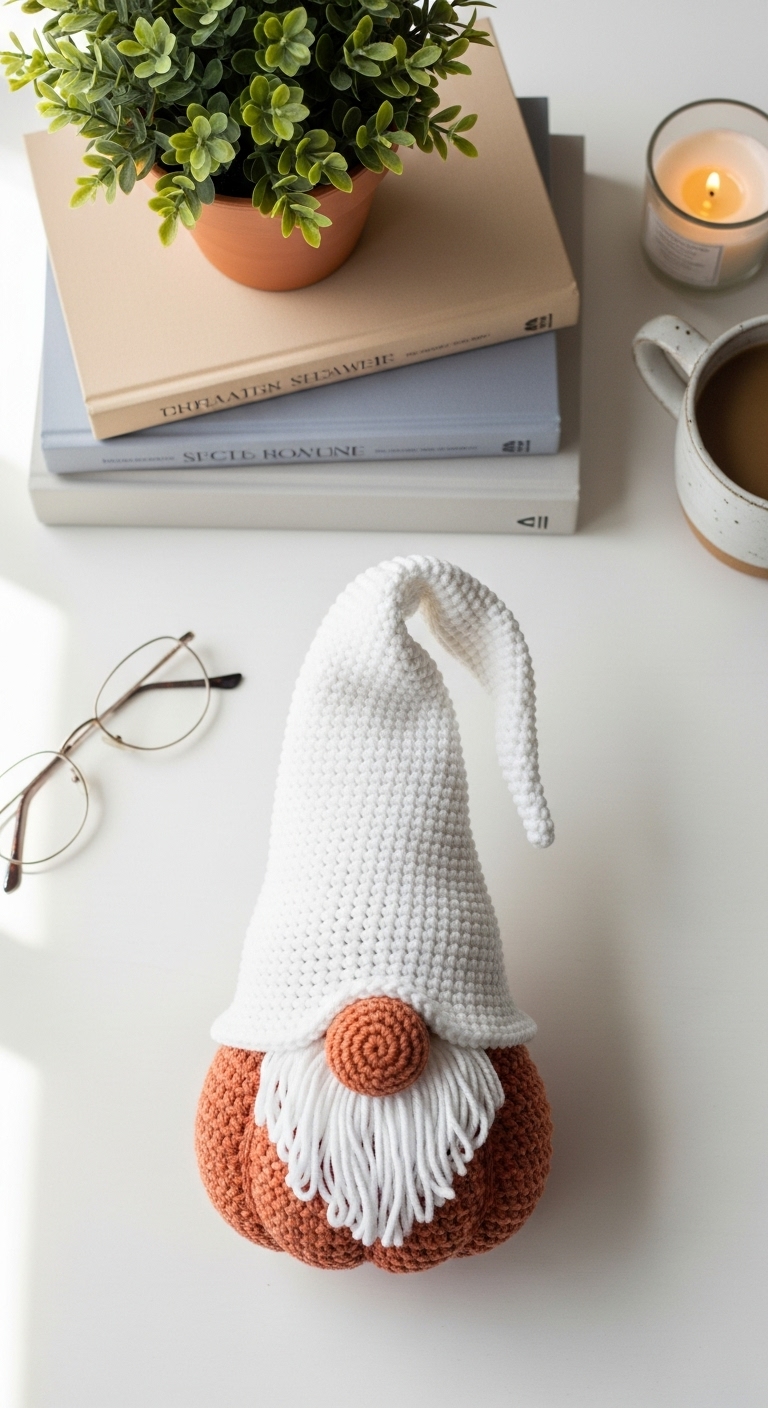
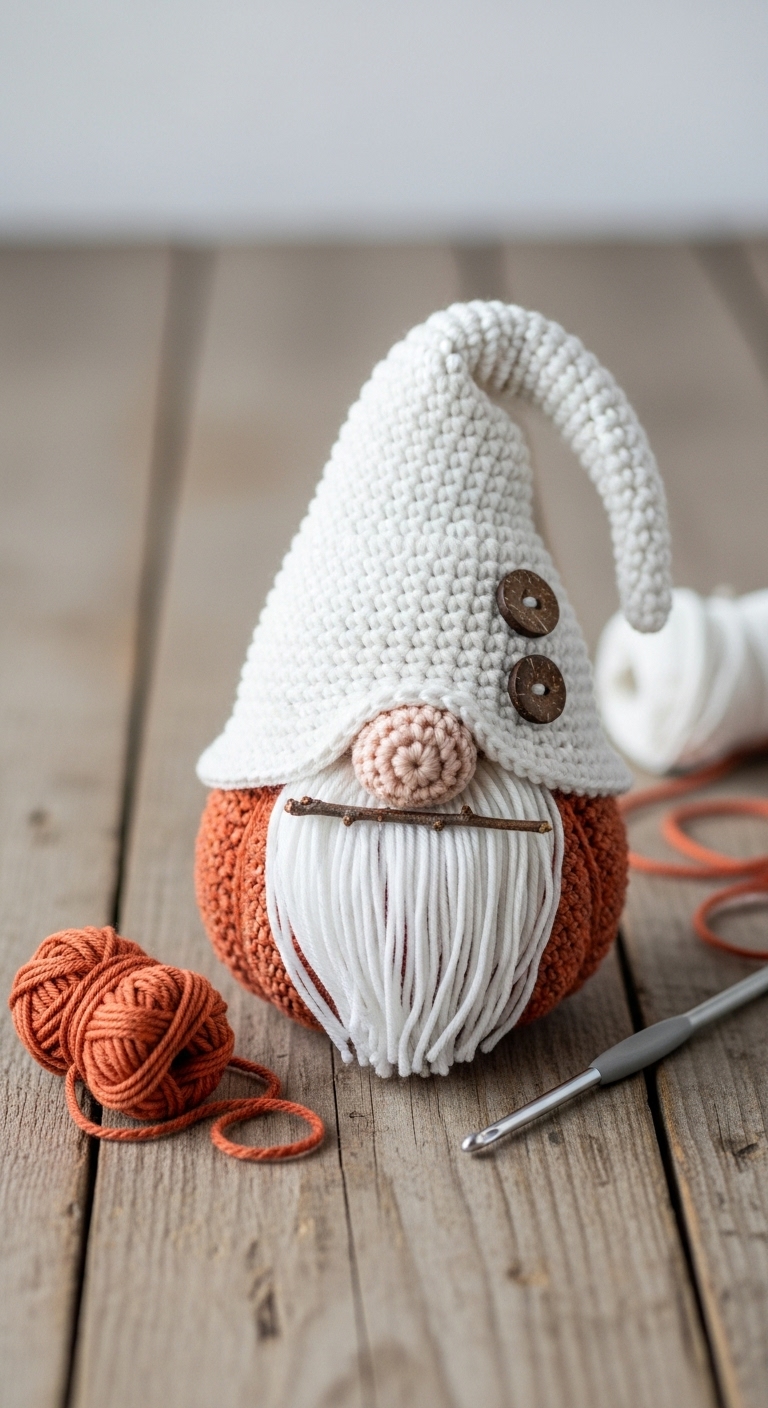
Get ready to welcome the fall season with this delightful Pumpkin Gnome crochet pattern! This charming plushie stands approximately 10 inches tall and features a whimsical gnome design complete with a pumpkin-shaped body and a fun floppy hat. Perfect for your autumn decor or as a unique gift, this gnome is sure to spread joy and warmth during the cozy months ahead.
For this project, I used a soft worsted weight yarn in three adult-friendly colors: a rich orange for the pumpkin body, a muted green for the gnome’s hat, and a creamy beige for the beard. These colors come together beautifully to create a visually appealing and sophisticated piece that fits seamlessly into any home decor. The best part? This pattern is beginner-friendly, making it accessible for crocheters who are just starting their crafting journey.
Whether you are looking to add a touch of whimsy to your seasonal decorations or searching for a heartfelt handmade gift, this Pumpkin Gnome is the perfect project. With its quick construction and charming details, you’ll find yourself wanting to make a whole family of gnomes!
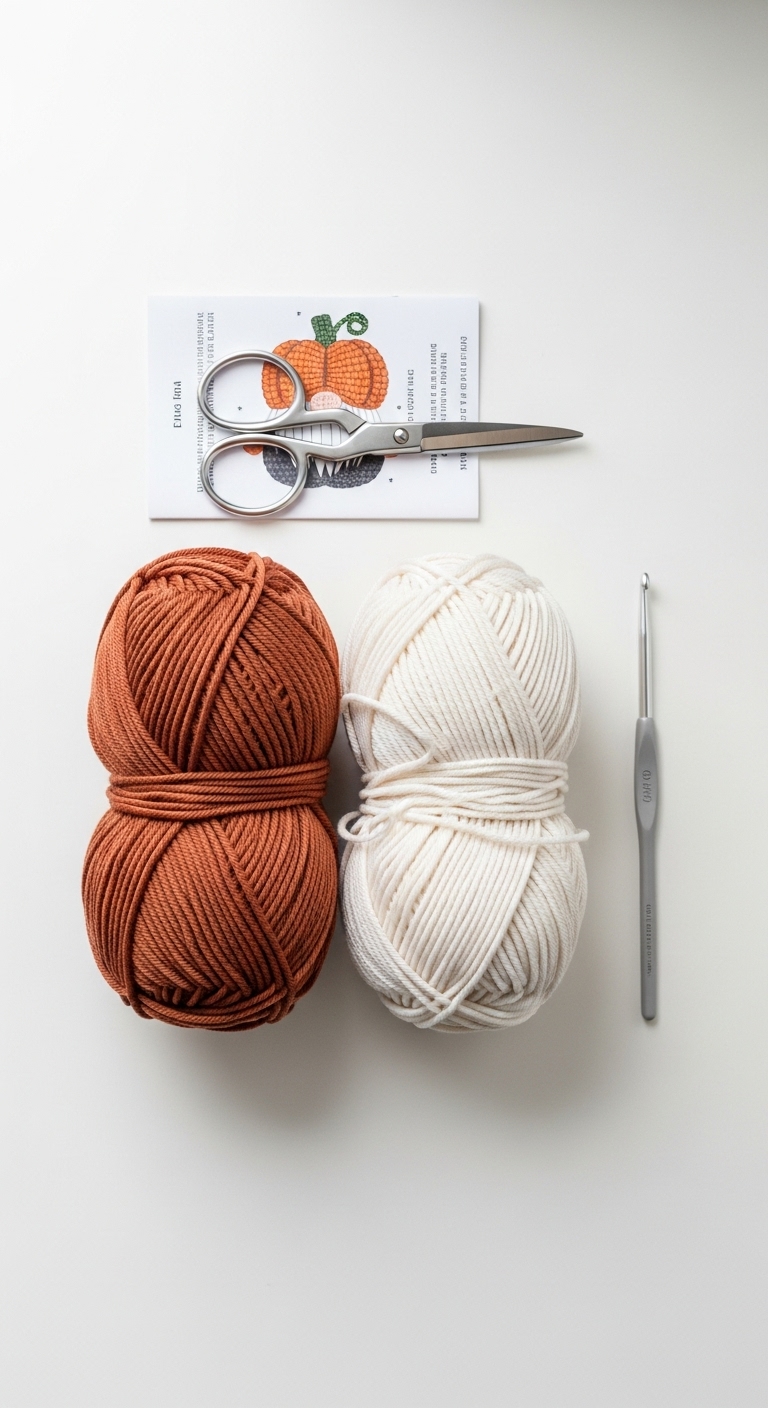
3. Materials Needed
– Yarn: Worsted weight yarn in orange (200 yards), green (50 yards), and beige (50 yards)
– Hook: 3.5mm or 4.0mm crochet hook
– Eyes: 12mm safety eyes or black embroidery thread
– Stuffing: Polyester fiberfill stuffing
– Needle: Tapestry needle for sewing
– Marker: Stitch marker
– Optional extras: Pipe cleaners for added structure in the hat
4. Designer Notes / Tips
– Stitch technique: For a more textured look, consider using a half double crochet (hdc) in the round for the pumpkin body. This will create a lovely, slightly ribbed effect.
– Stuffing density: Lightly stuff the pumpkin body to maintain its shape without making it too firm. The gnome’s hat can be stuffed a little more firmly for stability.
– Assembly: When joining pieces, use a whip stitch for a seamless finish. Make sure to position the arms at a comfortable height to give your gnome a friendly wave!
– Yarn substitutions: If you prefer a more rustic look, consider using cotton yarn for a sturdy finish.
– Gauge tips: A gauge of 4 inches = 12 stitches in single crochet is recommended to ensure your gnome turns out the right size.
– Safety considerations: If making this gnome for small children, opt for embroidered features instead of safety eyes to avoid any choking hazards.
5. Pattern Instructions
For Plushies:
Head:
– Stuffing: Lightly stuff the head before continuing.
– Fasten off and weave in ends.
Body:
– Stuffing: Firmly stuff the body.
– Fasten off.
Arms:
– Make 2 arms.
Hat:
– Start to shape the hat, and you can insert a pipe cleaner to help the hat hold its shape if desired.
Assembly:
– Attach the body to the head using a whip stitch.
– Sew the arms on either side of the body.
– Position the hat on top of the head, securing it with a few stitches.
– Attach safety eyes if using, or embroider eyes with thread.
6. Closing & Social Engagement
I’d love to see your version of this Pumpkin Gnome! Leave a comment below to share your thoughts or questions. What color combination will you try? Don’t forget to share your finished gnome on social media—let’s inspire each other with our creativity!