No-Sew Tulip Pillow – Free Crochet Pattern
2. Introduction
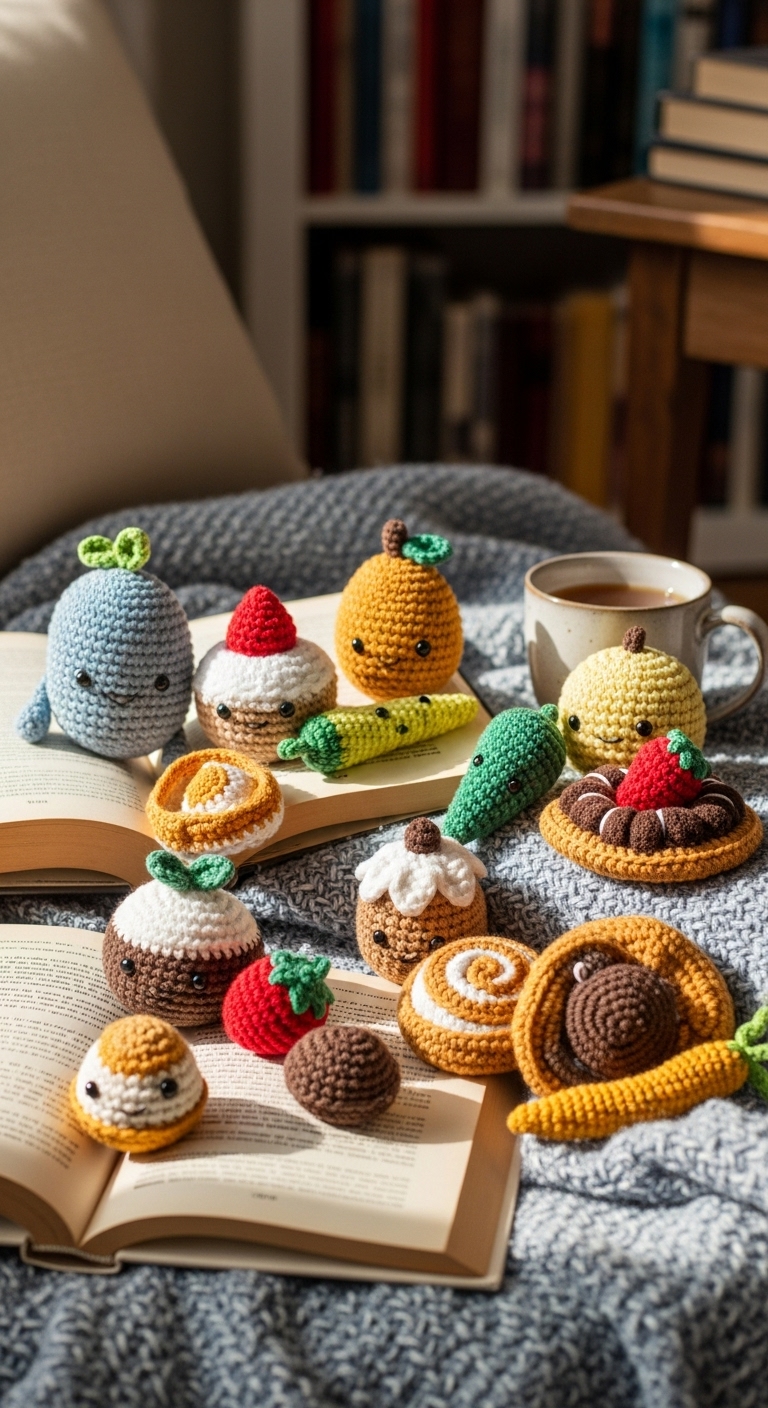
Welcome to the delightful world of crochet! Today, we’re diving into the charming No-Sew Tulip Pillow, a plush floral creation that adds a cheerful touch to any living space. This adorable pillow will measure approximately 12 inches tall and 10 inches wide, making it a perfect statement piece for your couch or a lovely gift for a friend.
For this project, you’ll want to use a soft, worsted weight yarn in hues that feel fresh and vibrant. We recommend using a rich emerald green for the leaves and a warm blush pink or sunny yellow for the tulip petals, complemented by a soft cream for the inner pillow. The best part about this project is that it’s incredibly quick to stitch up, making it a perfect weekend project to brighten your home or to give as a thoughtful gift for spring celebrations or housewarming events. This pattern is beginner-friendly, ensuring that even those new to crochet can create their very own tulip pillow with confidence.
3. Materials Needed
– Yarn: Worsted weight yarn in emerald green (150 yards), blush pink (100 yards), and cream (50 yards)
– Hook: 3.5mm crochet hook
– Eyes: Safety eyes (10mm) OR black embroidery thread
– Stuffing: Polyester fiberfill stuffing
– Needle: Tapestry needle for weaving in ends
– Marker: Stitch marker
– Optional extras: None
4. Designer Notes / Tips
When creating your No-Sew Tulip Pillow, you’ll be using basic stitches to achieve the lovely texture of the petals and leaves. A combination of single crochet (sc) and half double crochet (hdc) will give the tulip its soft, rounded shape.
For stuffing, I recommend a light density to keep the pillow plush but not overly firm, allowing it to maintain its shape without feeling stiff. As you work your rounds, don’t hesitate to lightly stuff the petals as you go to ensure you achieve the desired form.
Feel free to substitute the yarn with any worsted weight yarn of your choice. While I suggest natural fibers for a cozy feel, acrylic blends can also provide a fun pop of color. Ensure you check your gauge; the tension could affect the size of your finished pillow.
If you’re making this for a child, consider using securely attached safety eyes or embroidering the eyes instead to avoid any choking hazards.
5. Pattern Instructions
For Plushies:
Tulip Petals:
Leaves:
Assembly:
– Start by placing the safety eyes on the tulip at Round 3 of the petals (approximately 5-6 stitches apart).
– Attach the leaves to the base of the tulip petal securely. You can sew them on or crochet them directly to the bottom.
– Once assembled, finish by stuffing the center of the tulip and using the tapestry needle to weave in any loose ends.
6. Closing & Social Engagement
I hope you enjoy making this No-Sew Tulip Pillow as much as I enjoyed designing it! The satisfaction of creating such a lovely piece for your home is truly rewarding. I’d love to see your version! Leave a comment below or share your finished creation on social media using the hashtag #NoSewTulipPillow. What color combination will you try? Whether you stick to the suggested palette or choose your own, you’ve got this!