no sew mini sheep free crochet pattern
2. Introduction
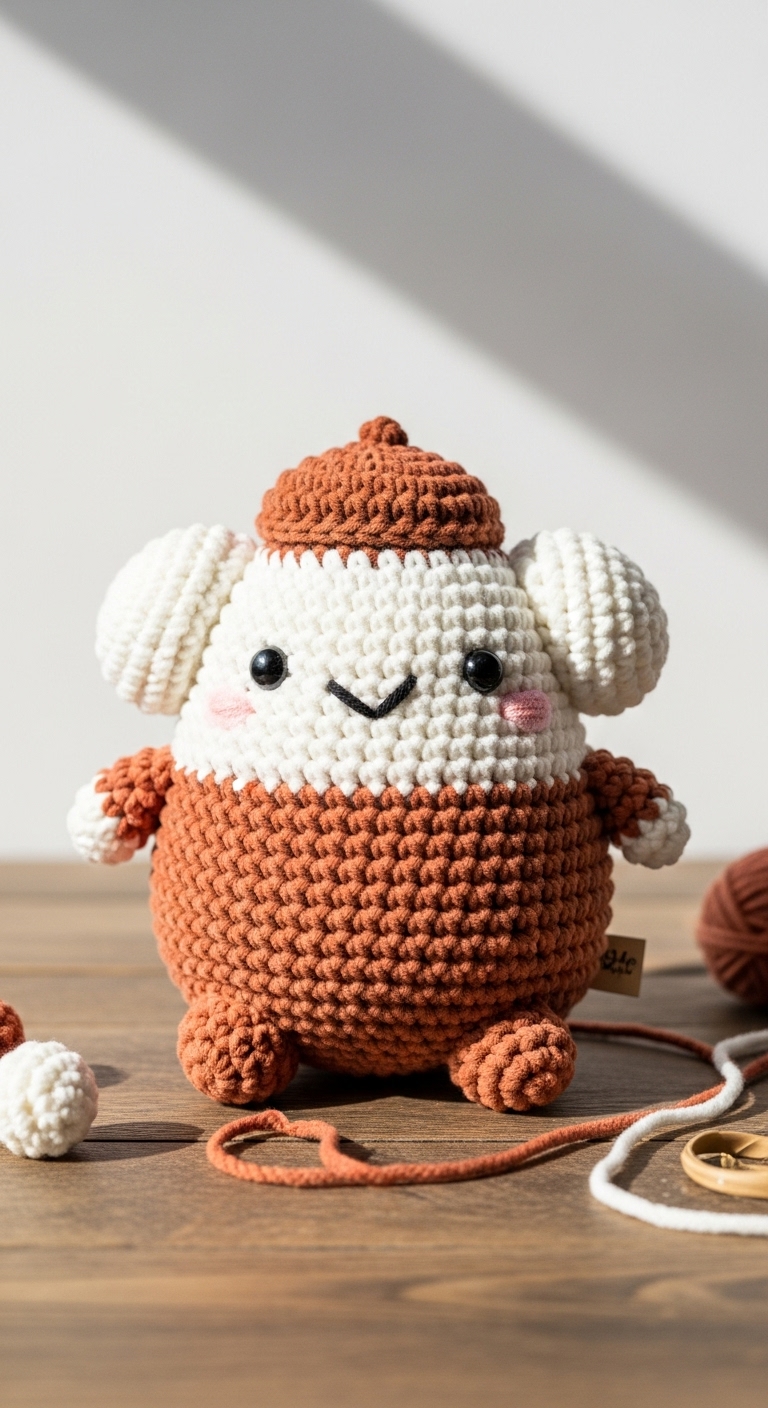
Get ready to add a delightful touch to your decor or gift-giving with this charming No Sew Mini Sheep crochet pattern! Measuring roughly 4 inches tall, these little sheep are perfect for brightening up your home or making a thoughtful gift for a friend who appreciates handmade treasures.
For this project, we’ll be using a soft worsted weight yarn in two or three complementary colors, such as a crisp ivory for the body, a warm beige for the face and legs, and a subtle blush or pastel for added detail. The combination of colors creates a modern and sophisticated look that is appealing to adults and children alike. This project is not only fun and quick to make but also offers a wonderful opportunity to practice basic crochet skills, making it ideal for beginners.
Best of all, this no-sew design means you can enjoy the satisfaction of crafting without the hassle of needlework finishing! With its small size and cute appearance, the Mini Sheep makes an excellent gift for baby showers, birthdays, or as a seasonal decoration.
3. Materials Needed
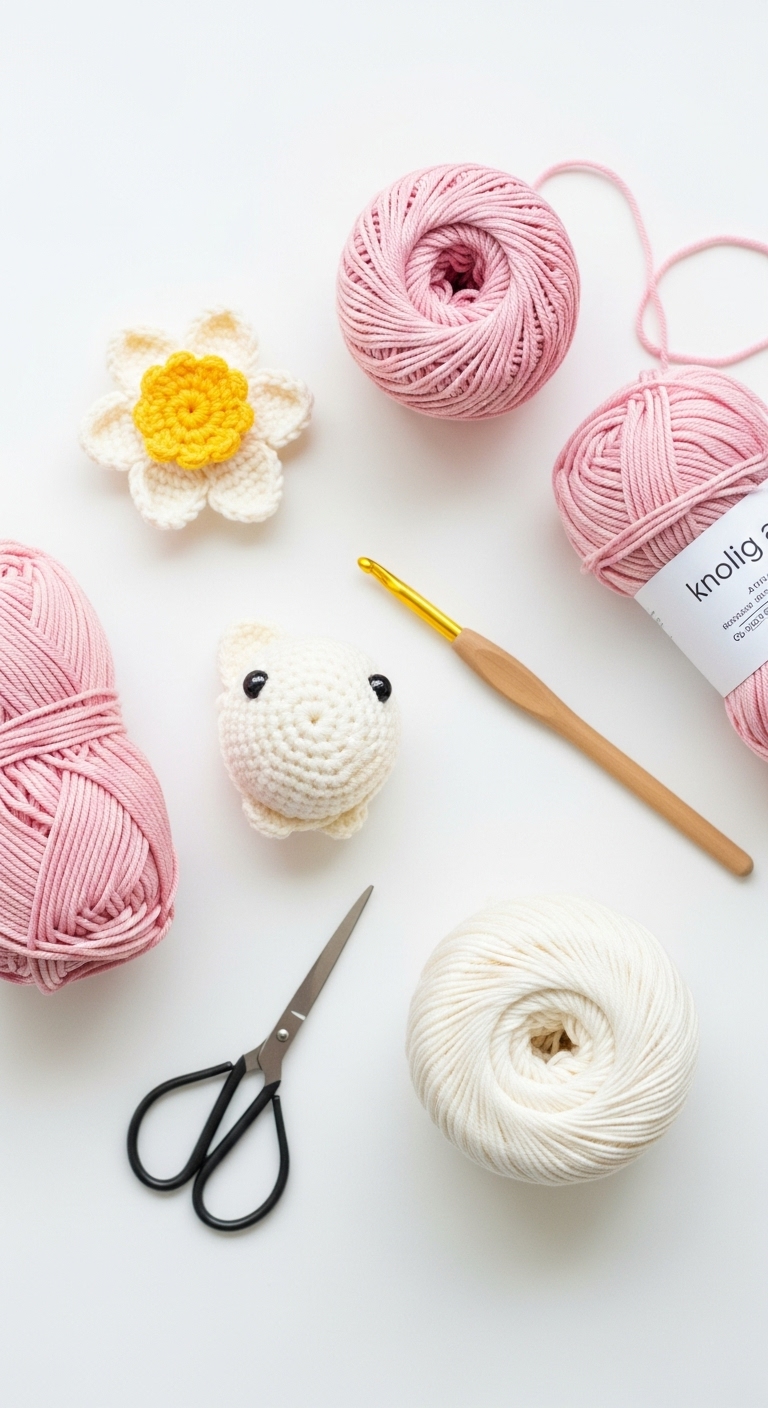
– Yarn: Worsted weight yarn in ivory (approx. 50 yards), beige (approx. 30 yards), and optional blush (approx. 20 yards)
– Hook: 3.5mm or 4.0mm crochet hook
– Eyes: 6mm safety eyes
– Stuffing: Polyester fiberfill stuffing
– Needle: Tapestry needle for weaving in ends
– Marker: Stitch marker
– Optional extras: Pipe cleaners for shaping the legs (if desired)
4. Designer Notes / Tips
– Stitch technique: This pattern primarily uses single crochet (sc) stitches, which are perfect for beginners. To achieve a tidy finish, keep your tension consistent throughout the project.
– Stuffing density: For the sheep, a light stuffing works best to maintain its round shape without being overly firm. You want it to feel cuddly!
– Assembly: Since this pattern is no-sew, we’ll focus on cleverly joining pieces and hiding yarn tails as we go.
– Yarn substitutions: If you’d like to use a cotton yarn for a more textured look, just be mindful that the size may vary slightly.
– Gauge tips: Although gauge is not critical for this project, keeping your stitches tight will help create a more stable shape.
– Safety considerations: If this sheep is intended for young children, consider using embroidered eyes instead of safety eyes to ensure it is safe for play.
5. Pattern Instructions
For Plushies:
Body:
Head:
Legs (make 4):
Ears (make 2):
Assembly:
1. Attach safety eyes to the head (approximately between rounds 5 and 6).
2. Secure the head to the body using the long tail left from the head.
3. Attach the legs to the body with the tails left from the legs, making sure they are evenly spaced.
4. Position and attach the ears at the top of the head, using the tails for a secure hold.
5. If using pipe cleaners for shaping legs, insert them before securing the legs to the body.
6. Weave in any loose ends.
6. Closing & Social Engagement
I hope you enjoyed making your No Sew Mini Sheep! Don’t hesitate to share your finished project with me; I’d love to see your color combinations and unique touches. What colors are you thinking about using? Leave a comment below, and let’s celebrate your creativity together! You can also share your adorable creations on social media, and remember to tag me so I can cheer you on!