no sew daffodil turtle free crochet pattern video tutorial
2. Introduction
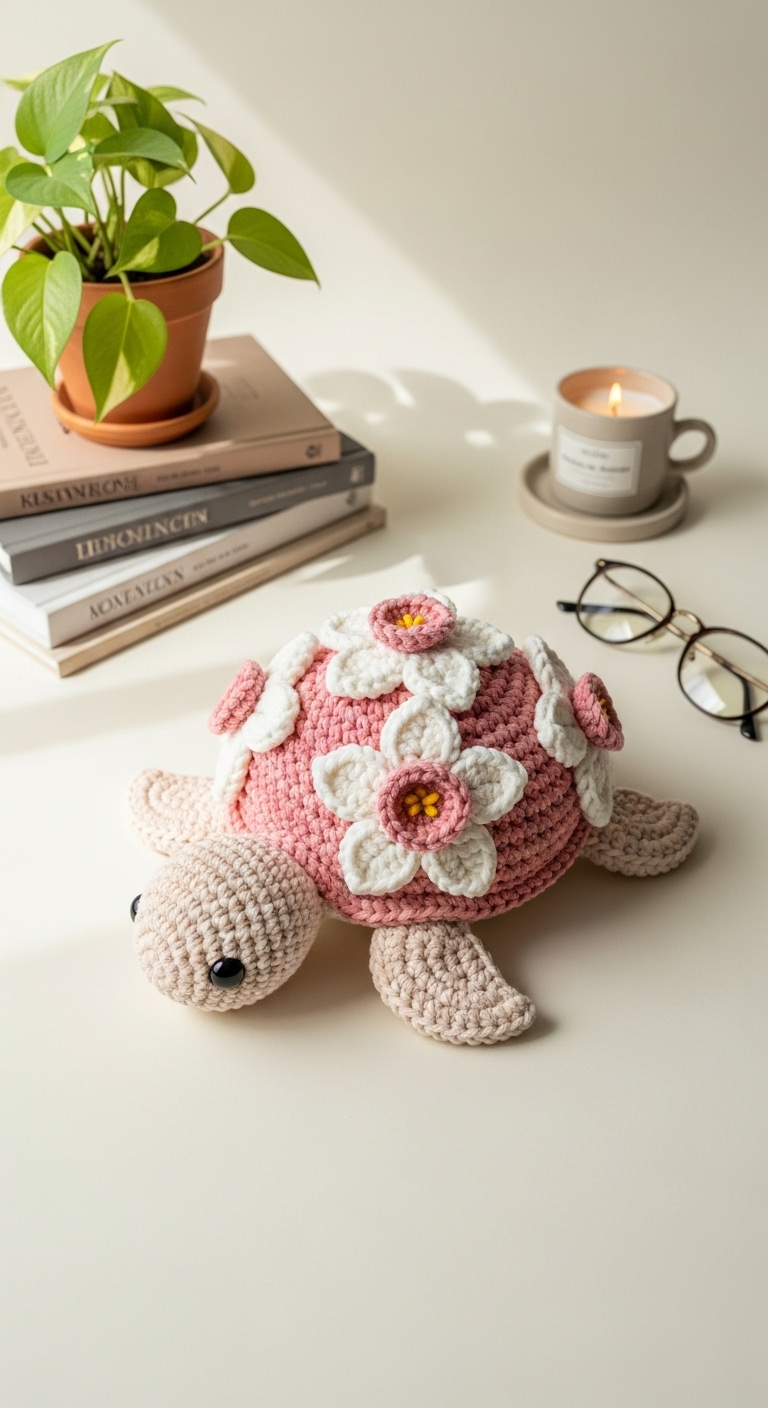
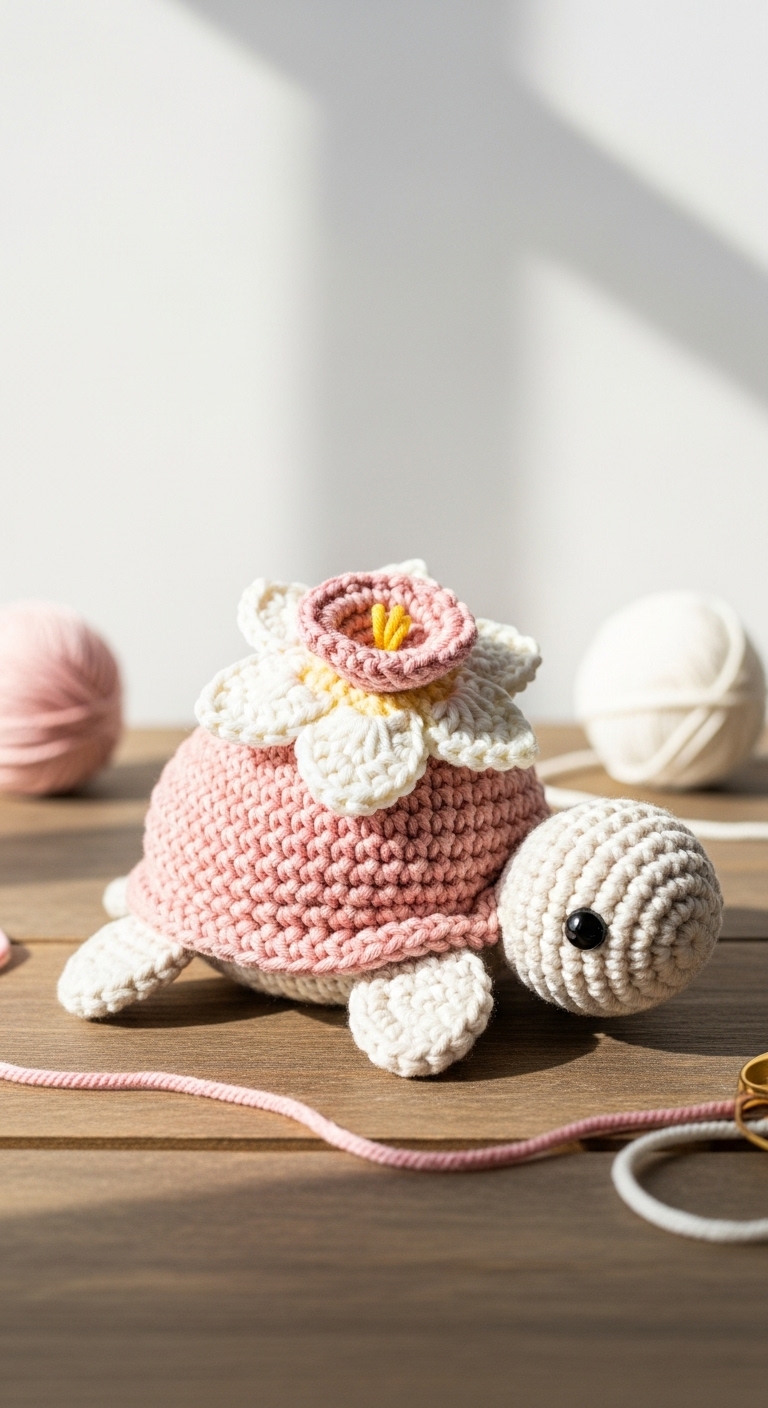
Welcome to your new favorite crochet project: the No Sew Daffodil Turtle! This adorable plushie measures approximately 8 inches from head to tail, making it a perfect size for cuddling or as a charming decor piece for your home. The vibrant colors of soft yellow and rich green, complemented by accents of white, create a fresh and cheerful look that embodies the joy of springtime.
This project is not only quick and enjoyable but also beginner-friendly, making it an excellent choice for those just starting their crochet journey. The No Sew Daffodil Turtle has great potential as a thoughtful gift for a baby shower, a whimsical addition to a child’s room, or even as a delightful surprise for a friend who appreciates handmade treasures. Plus, the no-sew technique means you can whip it up in no time!
3. Materials Needed
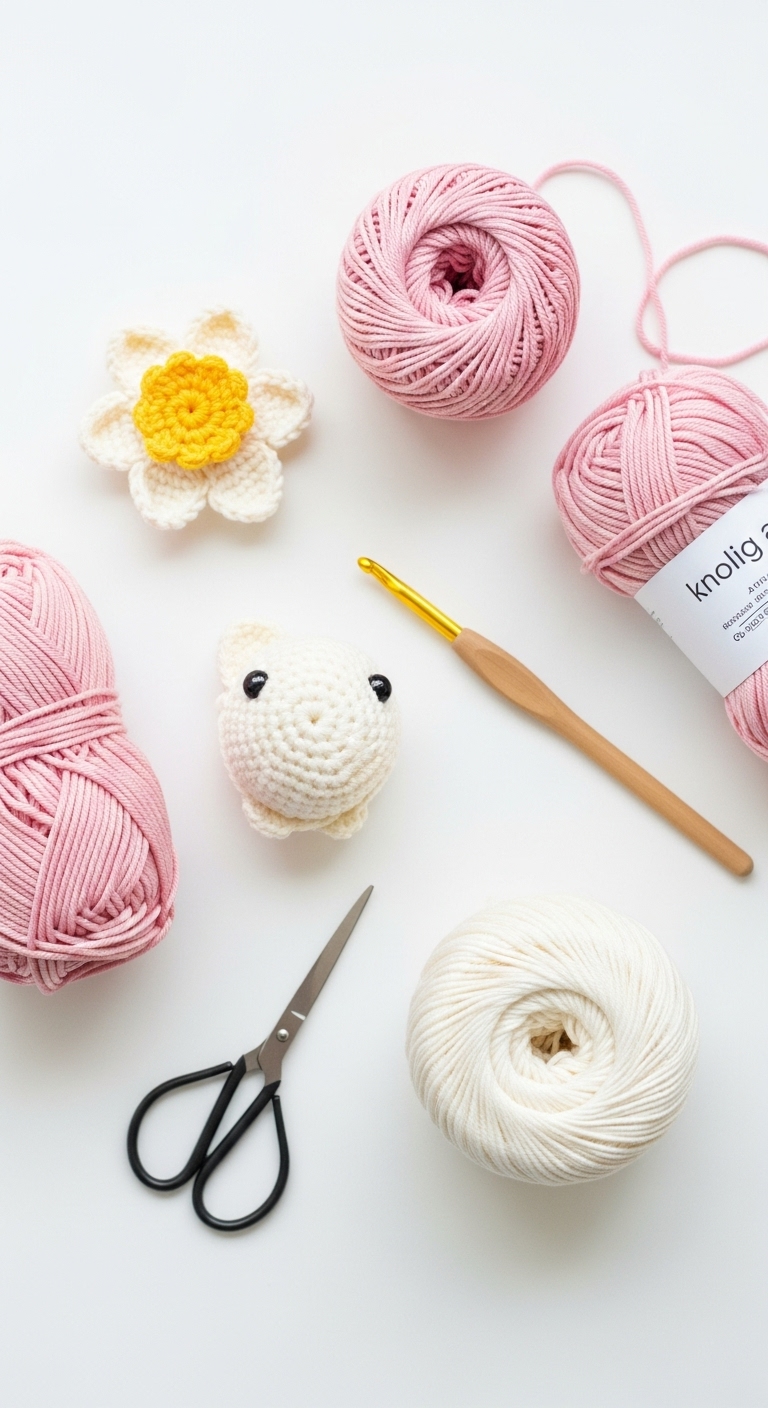
– Yarn: Worsted weight yarn in soft yellow (approx. 150 yards), rich green (approx. 100 yards), and white (approx. 50 yards)
– Hook: 3.5mm crochet hook
– Eyes: 12mm safety eyes OR black embroidery thread for stitched eyes
– Stuffing: Polyester fiberfill stuffing
– Needle: Tapestry needle for weaving in ends
– Marker: Stitch marker
– Optional extras: None
4. Designer Notes / Tips
When working on the No Sew Daffodil Turtle, you’ll be using basic stitches, making it a great project for beginners. The texture comes from simple single crochet stitches combined with some increases and decreases, so don’t worry if you’re new to these techniques; just take it step by step!
For stuffing, aim for a light to moderate density. You want the turtle to be cuddly but not overly firm. As you crochet, consider placing your safety eyes after the head is complete to determine the best placement. If you’re using embroidery thread for eyes, stitch them on securely before you finish the head.
If you’d like to substitute yarn, any worsted weight yarn will work well, but be mindful of the yardage. For gauge, try to maintain a consistent tension throughout to ensure the turtle holds its shape. If you’re making this for a child, you might consider sewing on the eyes instead of using safety eyes, for added safety.
5. Pattern Instructions
For Plushies:
Head:
*Place safety eyes between rounds 5 and 6, about 6 stitches apart.*
Body:
*Stuff the body lightly.*
Legs (make 4):
Assembly:
1. Attach the head to the body using the tail from the body.
2. Evenly space and sew on the legs onto the bottom of the body.
3. Optionally, create a small daffodil from the yellow yarn and a green ring for the center, and attach it to the top of the head with the long tail.
6. Closing & Social Engagement
I hope you enjoy making your No Sew Daffodil Turtle as much as I enjoyed designing it! Don’t hesitate to make it your own by experimenting with different color combinations or adding embellishments. I’d love to see your version! Leave a comment below to share your thoughts or questions. What color combination will you try for your turtle? Don’t forget to share your finished creations on social media!