no sew crochet bunny amigurumi for beginners
2. Introduction
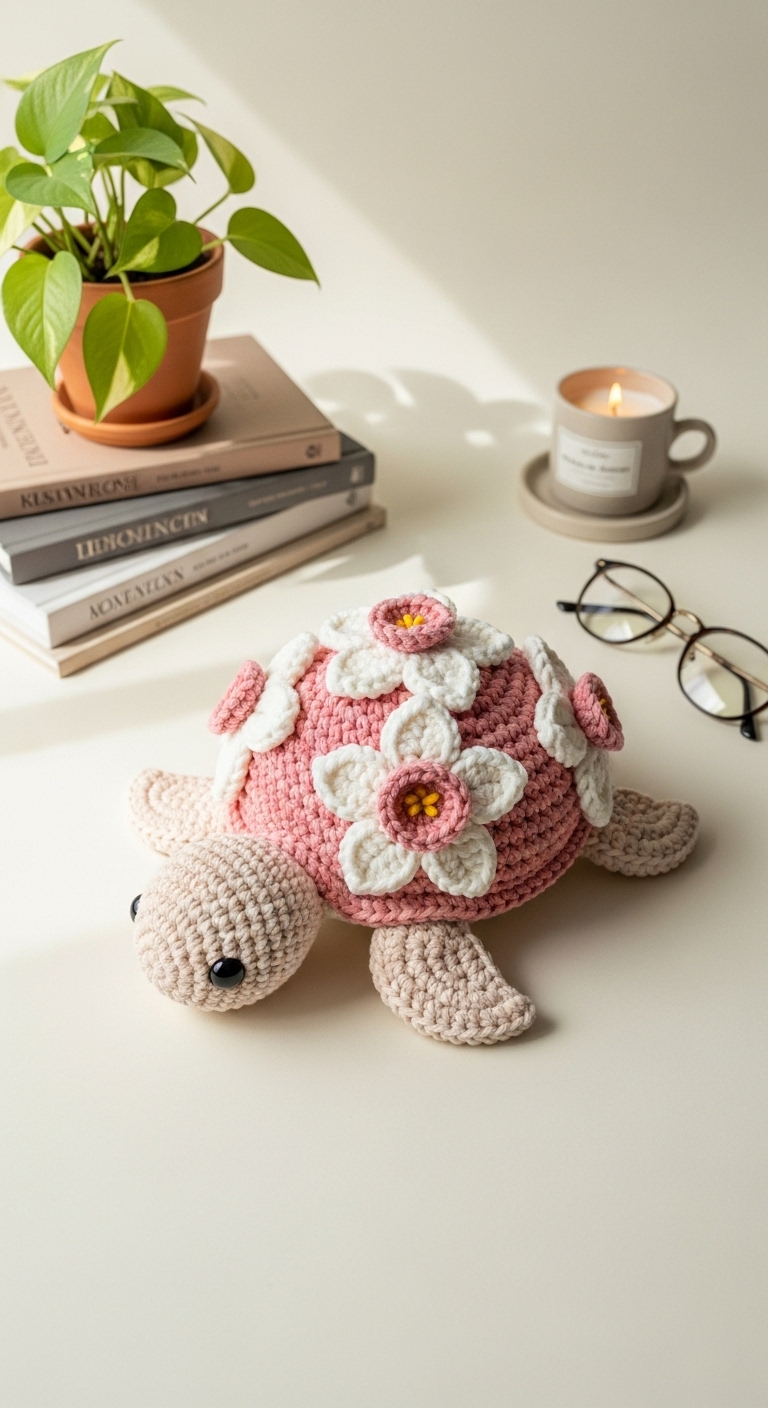
Welcome to this delightful crochet adventure where we will create an adorable no-sew crochet bunny amigurumi! This charming bunny stands approximately 6 inches tall and is perfect for adding a touch of whimsy to your home or gifting to a loved one. With its soft, rounded shape and floppy ears, this plushie is not only cute but also incredibly huggable!
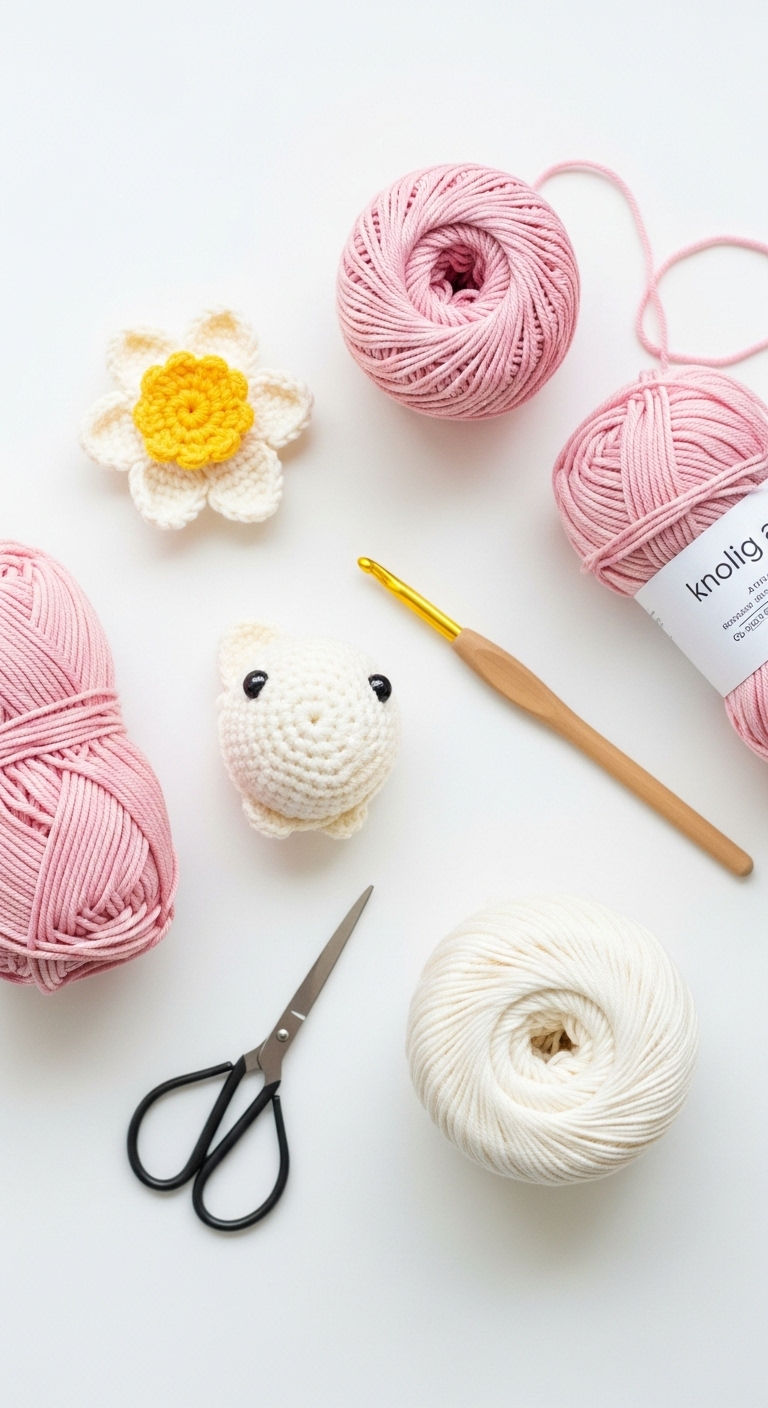
For this project, I recommend using a worsted weight yarn in complementary adult-friendly colors such as a soft grey, pastel pink, and creamy white. These colors create a sophisticated palette that makes the bunny suitable for any decor or age. What makes this project extra special is that it’s quick to make, allowing you to whip up a few bunnies in no time for Easter gifts or as charming decorations for your living space. This pattern is beginner-friendly, so whether you’re new to crochet or looking to practice your skills, you’ll find it easy to follow along.
With its potential for personalization and charm, this bunny amigurumi is a perfect gift for friends, family, or even yourself!
3. Materials Needed
– Yarn: Worsted weight yarn in grey (approx. 100 yards), pink (approx. 20 yards), and white (approx. 20 yards)
– Hook: 3.5mm or 4.0mm crochet hook
– Eyes: 8mm safety eyes
– Stuffing: Polyester fiberfill stuffing
– Needle: Tapestry needle for weaving in ends
– Marker: Stitch marker
– Optional extras: Pipe cleaners for ear support
4. Designer Notes / Tips
– Stitch technique: We will primarily use single crochet (sc) stitches throughout the pattern. This creates a tight fabric that holds stuffing well and gives the bunny a soft texture.
– Stuffing density: For a plush and cuddly bunny, use a light to medium stuffing density. Avoid overstuffing, as it can distort the shape.
– Assembly: Since this is a no-sew pattern, we will use slip stitches and crocheted joins to secure pieces. This method not only streamlines the process but also keeps the bunny seamless and neat.
– Yarn substitutions: You can substitute any worsted weight yarn, but keep in mind that different fibers may slightly alter the final appearance and texture.
– Gauge tips: While gauge isn’t critical for this project, aim for a tight tension to prevent stuffing from showing through.
– Safety considerations: If gifting to young children, ensure that the safety eyes are securely attached and consider using embroidery thread for eyes if preferred.
5. Pattern Instructions
For Plushies:
Head:
Body:
Arms/Legs:
Ears:
Assembly:
– Attach safety eyes to the head between Rounds 6 and 7.
– Use the tail ends from the head to attach it securely to the body using slip stitches.
– Attach the arms on either side of the body, positioning them a few stitches below the head.
– Attach the legs to the bottom of the body.
– Finally, attach the ears to the top of the head, adjusting their position to create your desired floppy look.
6. Closing & Social Engagement
I hope you enjoyed making your no-sew crochet bunny amigurumi! Don’t hesitate to experiment with different color combinations to reflect your personality or the season. I’d love to see your version, so please leave a comment below! What color combination will you try for your bunny? Share your finished creation on social media, and let’s spread the joy of crochet together!