no sew bear amigurumi super easy free crochet pattern

2. Introduction
Welcome to your new favorite crochet project: the No Sew Bear Amigurumi! This adorable little bear comes together quickly and measures about 8 inches tall when finished. It’s designed with simplicity in mind, making it the perfect project for beginners or those looking for a quick, satisfying make.
For this bear, I’ve chosen a lovely palette of soft beige, warm brown, and creamy white—colors that not only complement each other beautifully but also create a sophisticated look that adults will appreciate. The soft yarn gives the bear a huggable feel, making it a delightful gift for friends, family, or even a cozy addition to your own décor. With an estimated time of just a few hours to complete, you’ll find this project to be fun, fulfilling, and just a little bit addictive!
This pattern is beginner-friendly, focusing on basic crochet techniques and seamless assembly, which makes it ideal for anyone just starting their crochet journey. Whether you’re making it for a baby shower gift, a cozy holiday present, or simply to keep for yourself, this No Sew Bear Amigurumi is sure to bring joy to anyone who sees it.
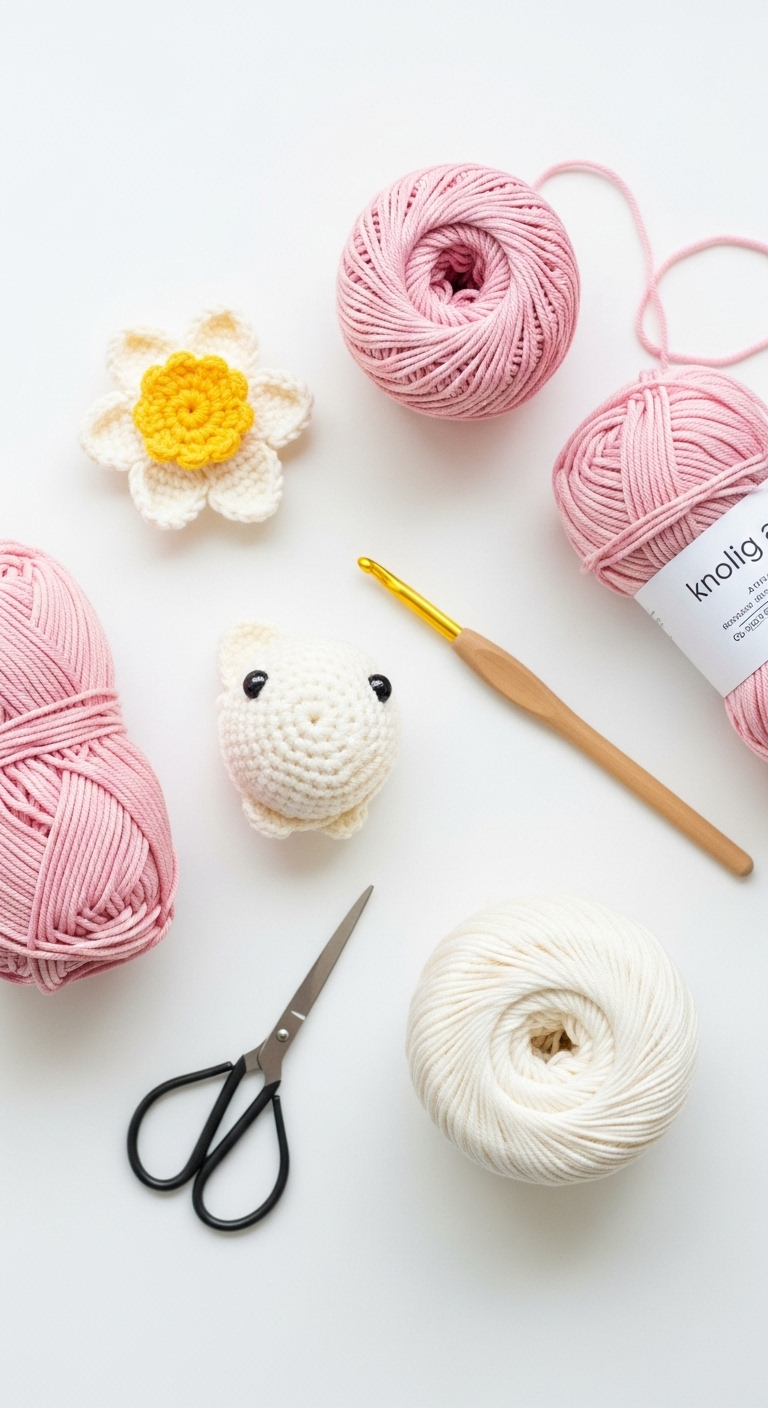
3. Materials Needed
– Yarn: Worsted weight yarn in soft beige (approx. 100 yards), warm brown (approx. 50 yards), and creamy white (approx. 25 yards)
– Hook: 3.5mm or 4.0mm crochet hook
– Eyes: 12mm safety eyes
– Stuffing: Polyester fiberfill stuffing
– Needle: Tapestry needle for weaving in ends
– Marker: Stitch marker
– Optional extras: A small amount of black embroidery thread (for nose)
4. Designer Notes / Tips
– Stitch technique: This pattern primarily uses single crochet (sc) and increases (inc). If you’re unfamiliar with these stitches, don’t hesitate to look up tutorials online. They’re simple and provide great texture!
– Stuffing density: For a cuddly bear, I recommend using a light stuffing density. This gives the bear a soft feel while maintaining its shape.
– Assembly: Since this pattern is “no sew,” all parts are created as you go. Make sure to pay special attention to placement and tension as you crochet.
– Yarn substitutions: If you prefer a more vibrant look, you can use any worsted weight yarn you like! Just keep in mind that the yarn choice may affect the finished size slightly.
– Gauge tips: To ensure your bear turns out the right size, check your gauge by crocheting a small swatch. However, this pattern is quite forgiving if you’re a little off.
– Safety considerations: If you’re making this bear for a very young child, consider using embroidered features instead of safety eyes to eliminate any choking hazards.
5. Pattern Instructions
For Plushies:
Head:
*Stuff the head firmly before finishing round 9.*
Body:
*Remember to leave a little opening for stuffing. Stuff the body lightly, then finish closing the round.*
Arms (make 2):
*Stuff lightly before closing.*
Ears (make 2):
*Leave a long tail for attaching.*
Assembly:
– Attach the ears to the top sides of the head.
– Position the safety eyes between rounds 6 and 7 of the head, about 6 stitches apart.
– Use black embroidery thread to stitch a small triangle for the nose below the eyes.
– Join the head to the body using the remaining yarn tail from the top of the body. Weave in all ends.
6. Closing & Social Engagement
Congratulations on completing your No Sew Bear Amigurumi! I’d love to see your version—so don’t forget to leave a comment below sharing your thoughts and color choices. What color combination will you try? Share your finished bear on social media using the hashtag #NoSewBearAmigurumi, and let’s celebrate your creativity together!