Mini Backpack – Free Crochet Pattern
2. Introduction
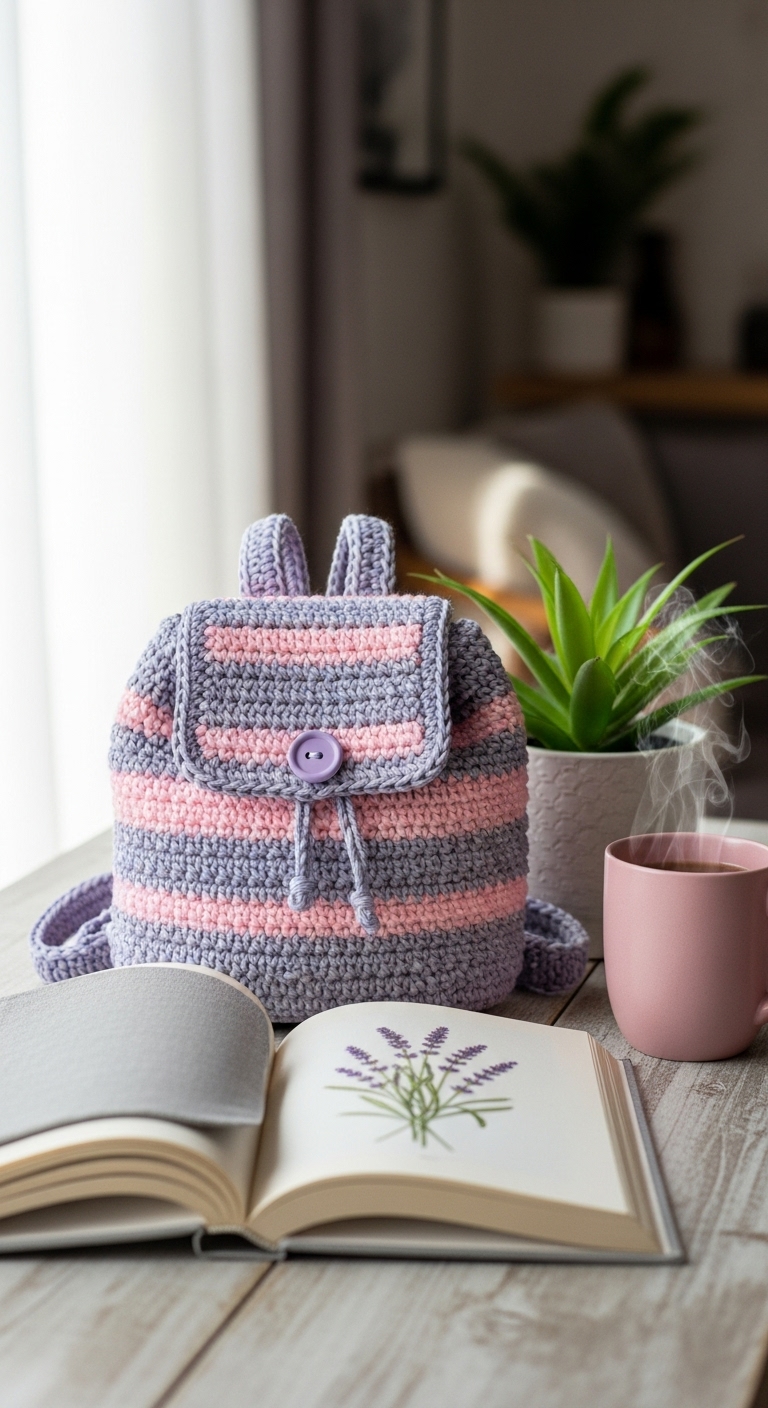
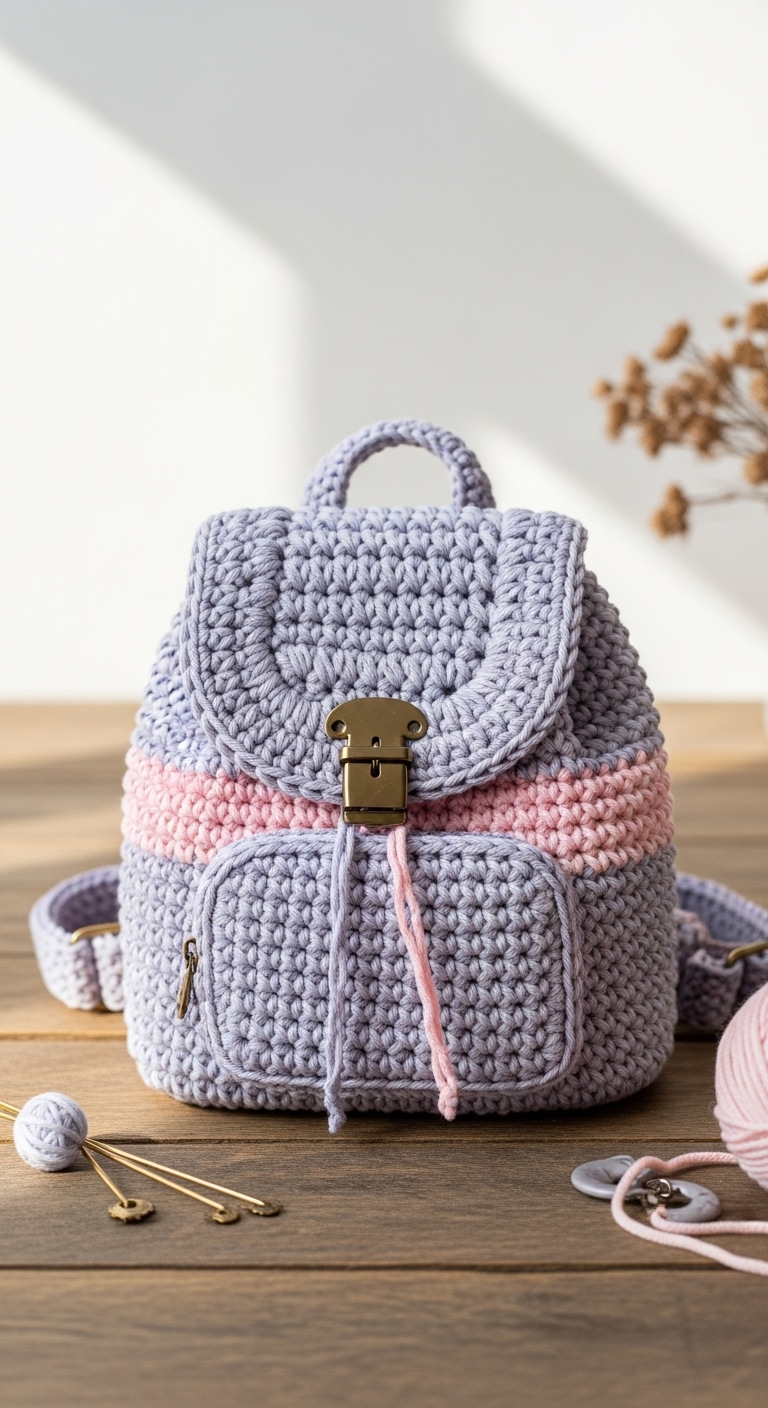
Get ready to embark on a fun and crafty adventure with this delightful Mini Backpack crochet pattern! Measuring approximately 10 inches tall and 8 inches wide, this adorable accessory is perfect for holding your essentials, whether you’re heading out for a day of errands or a casual picnic. You can choose from a palette of sophisticated adult-friendly colors such as muted teal, warm gray, and soft mustard to create a chic, personalized bag that suits your style.
What makes this mini backpack truly special is not just its practicality but also its charm. The project is a delightful mix of functionality and cuteness, making it a wonderful addition to any crochet collection. With its quick construction, this pattern is beginner-friendly, making it an excellent choice for those new to crochet or anyone looking for a satisfying project that can be completed in a weekend. Its versatility as a gift makes it ideal for birthdays, holidays, or just because!
3. Materials Needed
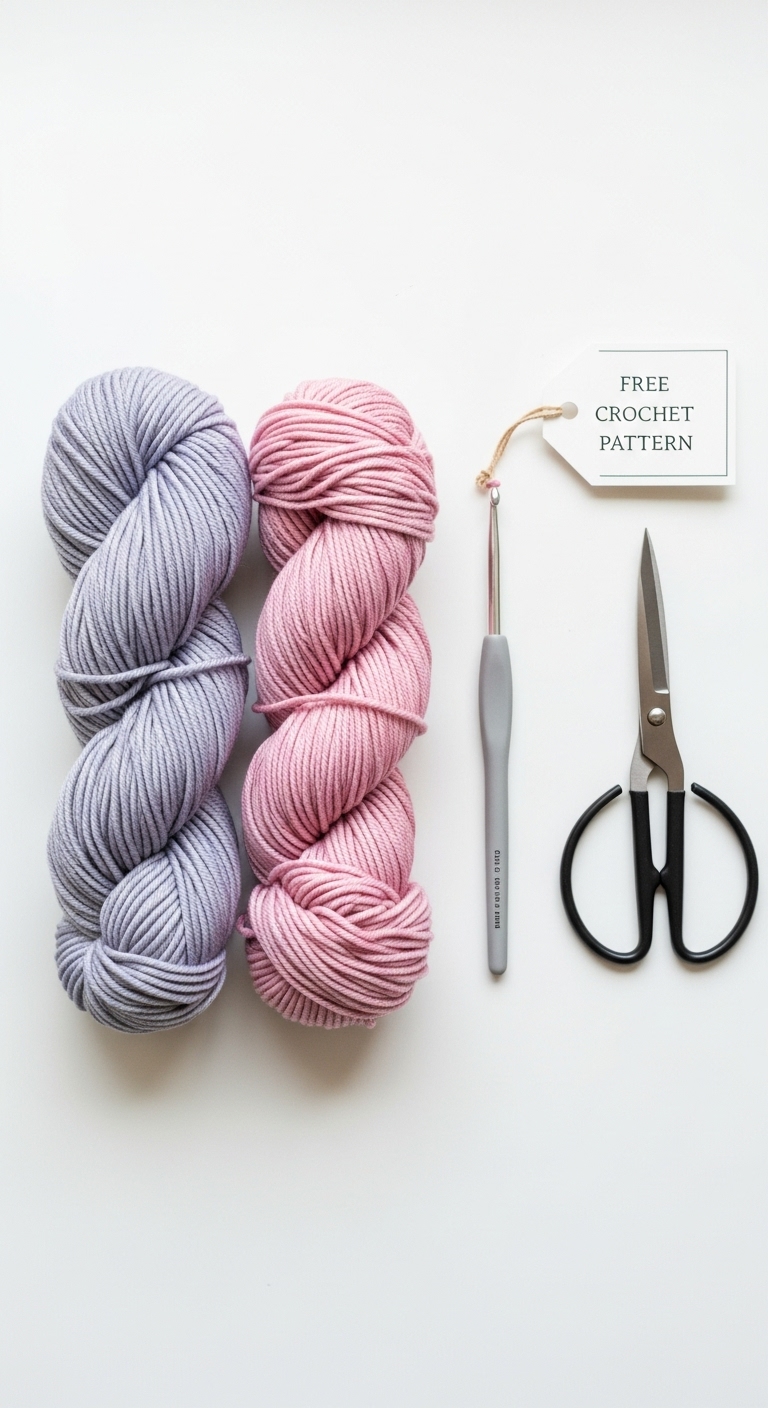
– Yarn: Worsted weight yarn in your chosen colors (approximately 200 yards total)
– Hook: 3.5mm or 4.0mm crochet hook
– Eyes: Safety eyes (12mm) OR black embroidery thread
– Stuffing: Polyester fiberfill stuffing
– Needle: Tapestry needle for sewing
– Marker: Stitch marker
– Optional extras: Zipper for closure, lining fabric, decorative buttons
4. Designer Notes / Tips
When working on this mini backpack, don’t be surprised if you find yourself experimenting with texture! The pattern utilizes basic stitches such as single crochet and half double crochet, but feel free to incorporate any stitches you love for added flair. For stuffing, I recommend using a light density; this will keep your backpack plush but also ensure it holds its shape without becoming too bulky.
Assembly is key for achieving a neat finish. I suggest using a whip stitch for joining the sides and base of the backpack to keep the seams discreet. If you prefer to add a zipper, be sure to align it carefully to maintain an even opening. For yarn substitutions, any worsted weight yarn should work; just keep an eye on your gauge to achieve the right sizing.
Make sure to check your tension as you go; crocheting tightly can lead to a smaller backpack, while working loosely may create unwanted gaps. If you plan on gifting this mini backpack to a child, consider skipping the safety eyes for sewn-on features instead, making it a safe and child-friendly option.
5. Pattern Instructions
Main Panel
Foundation:
Ch 30, join to form a ring (being careful not to twist)
Body:
Base
Ch 30, join to form a ring just as you did for the main panel. Work the same rounds as above for the base, adjusting the number of rounds as needed to achieve a flat rectangle that matches the dimensions of the main panel.
Straps
Ch 6, turn, sc in each ch (5), repeat until strap measures 24 inches. Make two straps total.
Closure (optional)
If you’re adding a zipper, sew it onto the top opening of the backpack before completing any final assembly.
Assembly
1. Begin by sewing the base to the main panel using a whip stitch.
2. Attach the straps to the top of the backpack, positioning them evenly for balance.
3. If using safety eyes, attach them securely on the front of the bag, approximately 5 rounds from the base’s edge.
4. For any decorative touches, feel free to sew on buttons or embellishments to personalize your creation.
6. Closing & Social Engagement
I’d love to see your version of this charming Mini Backpack! Don’t hesitate to share your finished projects or ask questions in the comments below. What color combination will you try to make this backpack truly your own? Share your creations on social media, and let’s inspire each other in this wonderful crochet community!