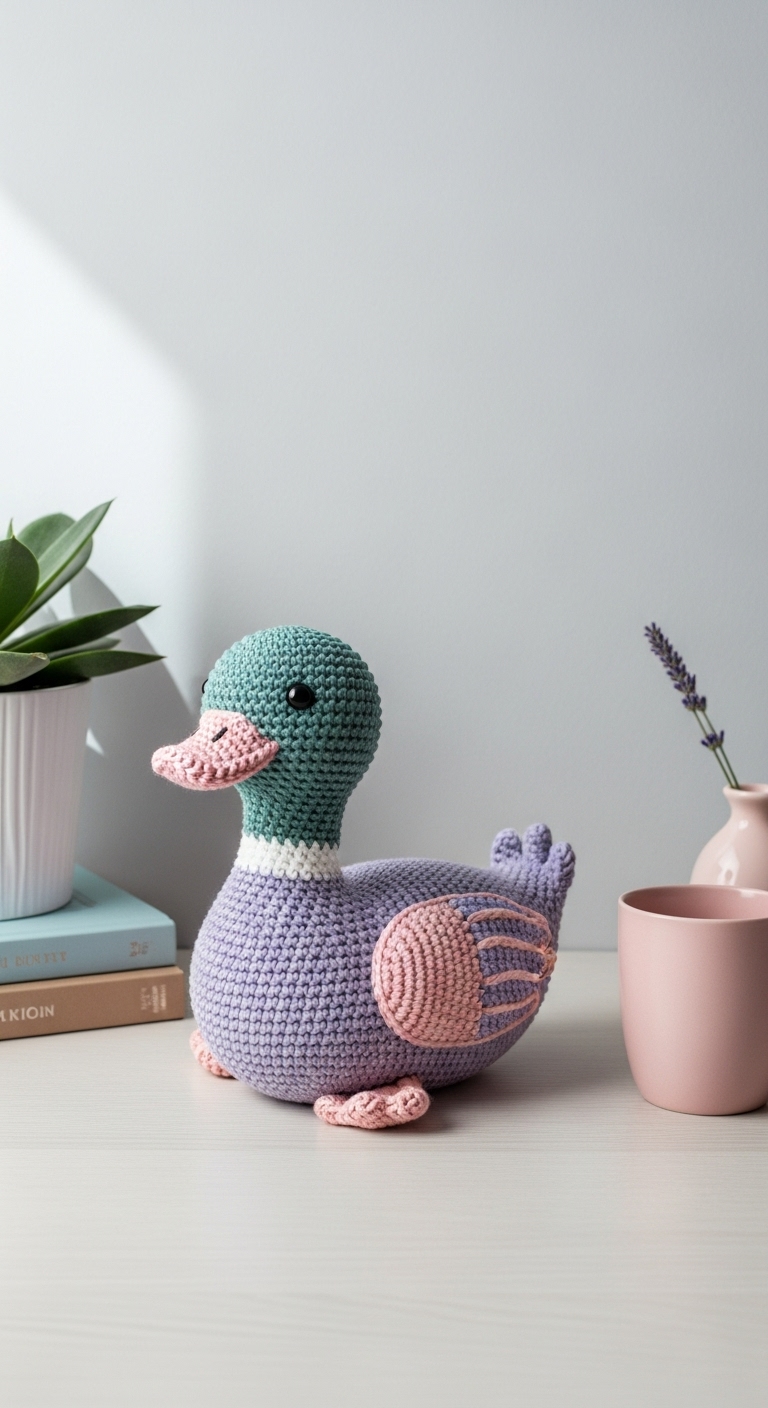
Mallard Duck – Crochet Pattern
2. Introduction
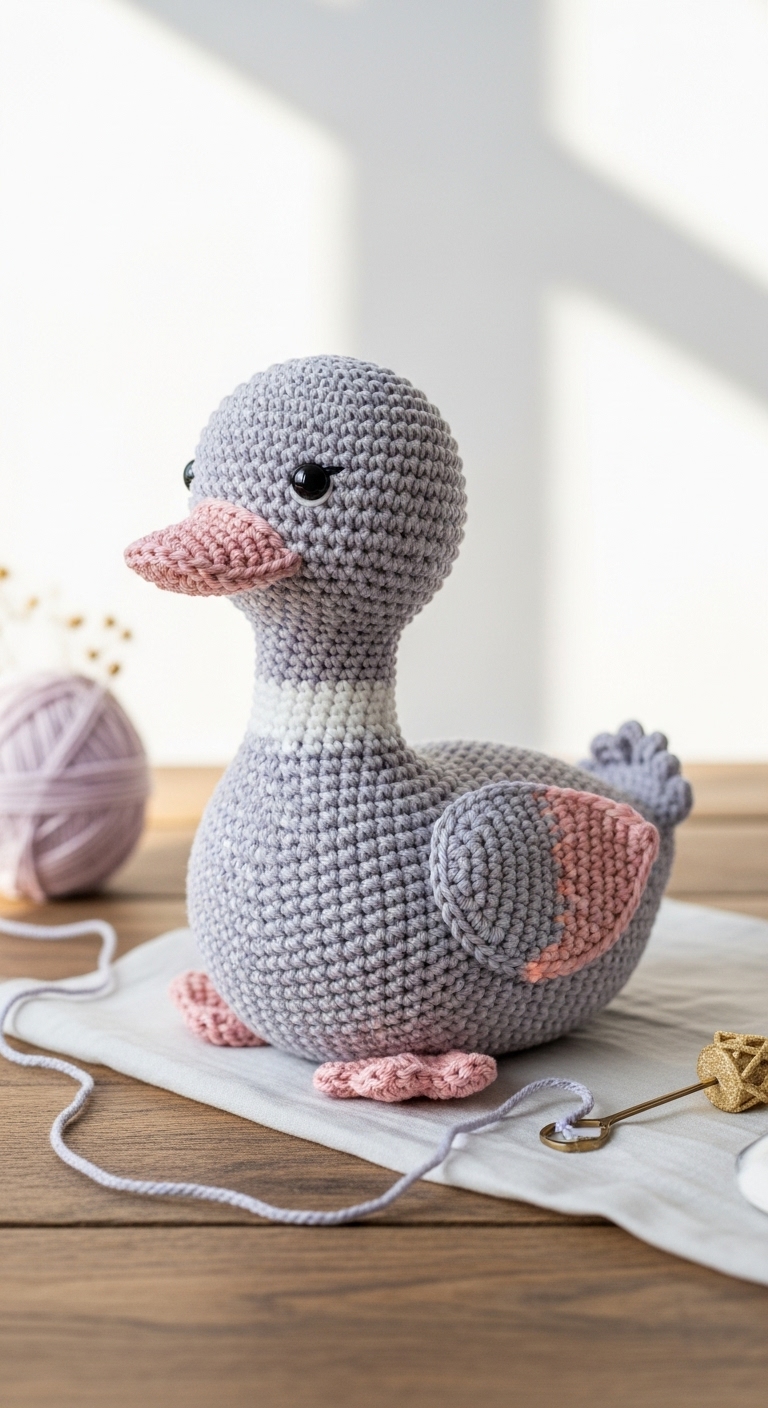
Welcome to the delightful world of crochet! In this article, we’ll be creating an adorable Mallard Duck plushie that measures approximately 10 inches tall from head to tail. This charming little duck is perfect for brightening up your home decor, making it an ideal gift for children and adults alike. Whether you are an avid crocheter or just starting your journey, this project is designed to be both fun and achievable.
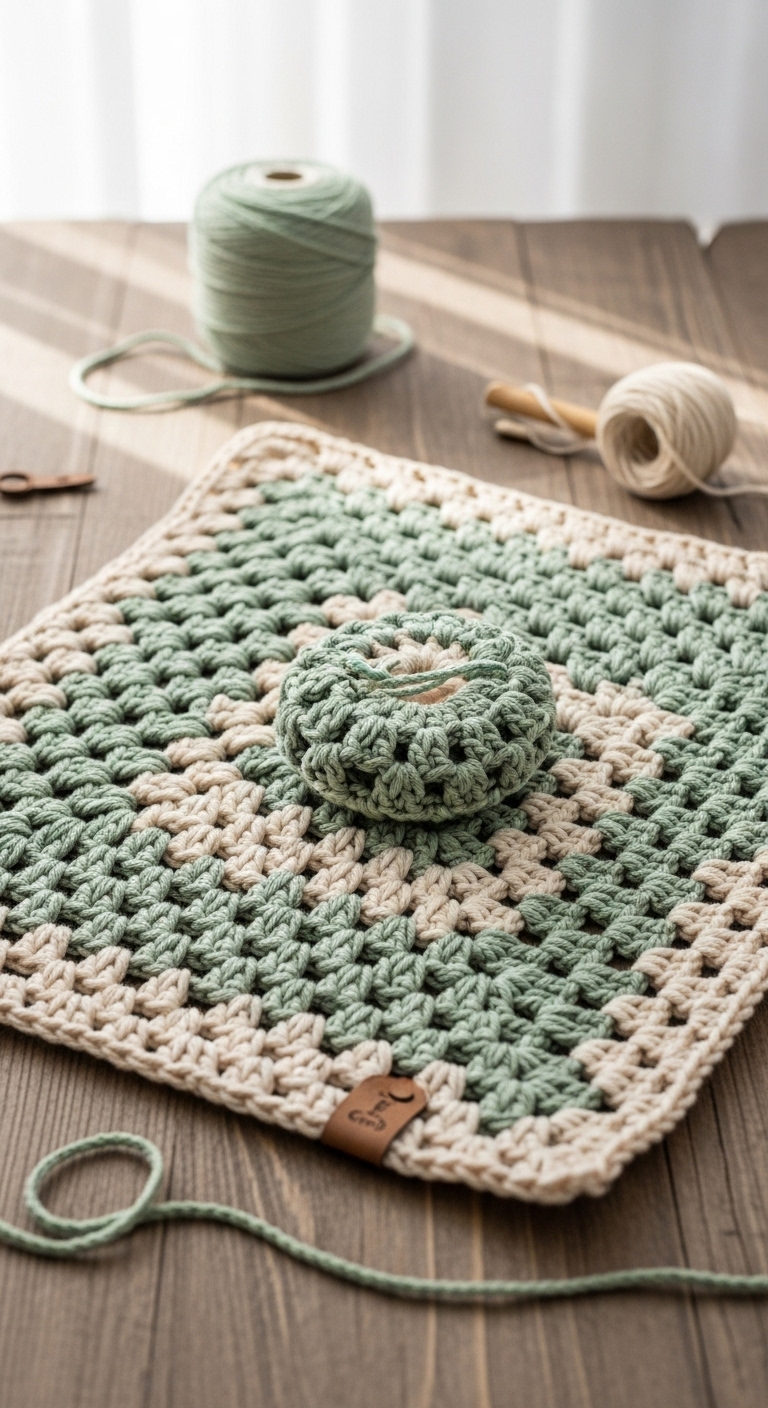
For this project, we will use worsted weight yarn in a combination of rich green, deep brown, and soft cream. These colors not only reflect the natural beauty of a Mallard Duck but also provide an elegant touch that is suitable for any adult-friendly setting. The best part? This crochet pattern is beginner-friendly, making it a wonderful introduction to amigurumi techniques. Plus, it makes a thoughtful gift for bird lovers and adds a whimsical touch to seasonal decor!
3. Materials Needed
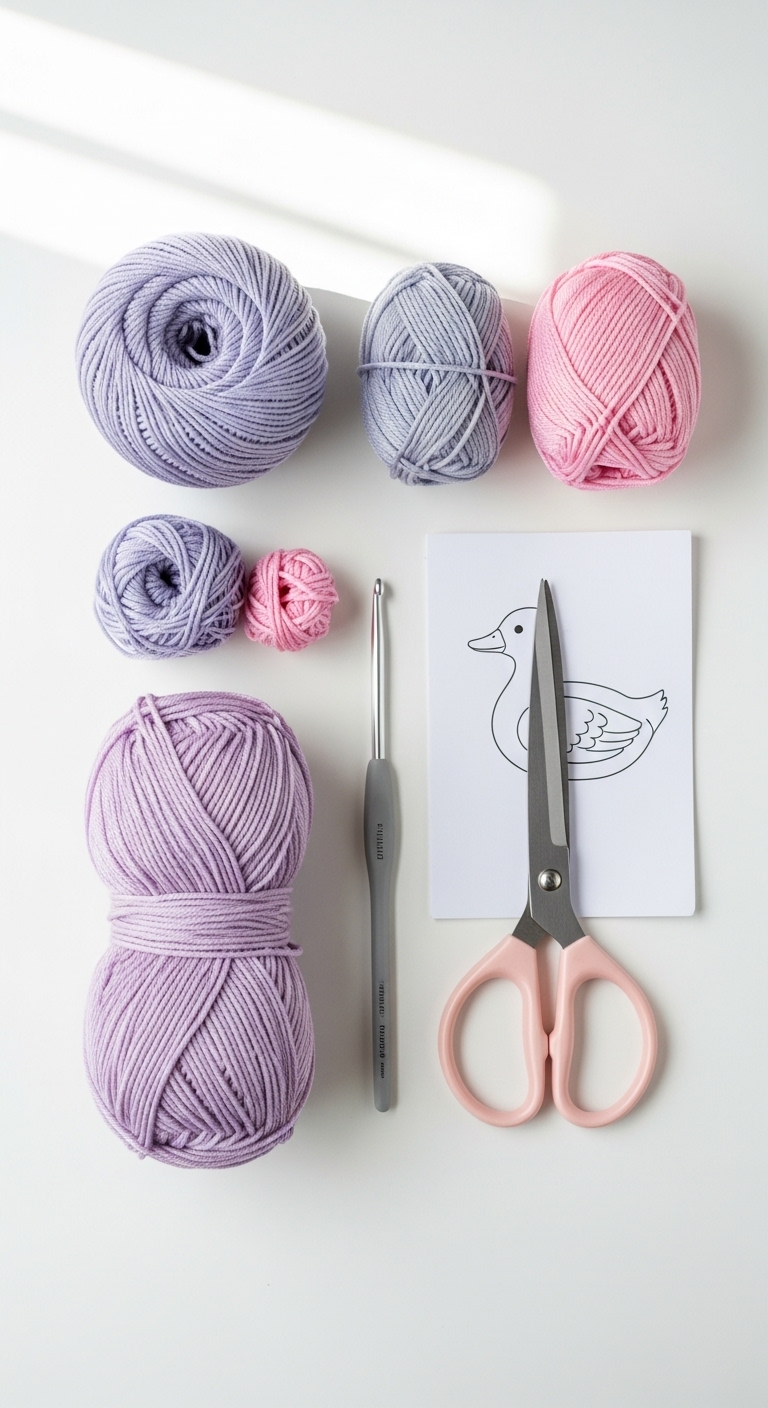
– Yarn: Worsted weight yarn (4) in green (approx. 100 yards), brown (approx. 50 yards), and cream (approx. 50 yards)
– Hook: 3.5mm or 4.0mm crochet hook
– Eyes: 12mm safety eyes OR black embroidery thread
– Stuffing: Polyester fiberfill stuffing
– Needle: Tapestry needle for sewing
– Marker: Stitch marker
– Optional extras: Pipe cleaners for poseable legs, buttons for decoration
4. Designer Notes / Tips
As you embark on this project, keep in mind a few helpful tips. The Mallard Duck features basic stitches, but you will also encounter some increases and decreases to shape the head and body. If you’re new to amigurumi, don’t worry! It’s all about practicing your tension and getting comfortable with the magic ring technique.
When it comes to stuffing, a light fill will allow for a more cuddly plushie, while a firmer stuffing will maintain the shape better. Feel free to experiment! For assembly, I recommend using your tapestry needle to securely attach the pieces, taking care to hide the yarn ends for a clean finish.
If you decide to use a different yarn, just ensure it is a similar weight to maintain the size of your duck. As for gauge, aim for a tight fabric so that the stuffing doesn’t peek through. Lastly, if the plushie is intended for children, consider using embroidered eyes instead of safety eyes for added safety.
5. Pattern Instructions
For Plushies:
Head:
Insert safety eyes between Rounds 7 and 8, spaced 5 stitches apart.
Body:
Stuff the body firmly before closing.
Arms (Make 2):
Stuff lightly before attaching.
Legs (Make 2):
Insert pipe cleaners if desired for poseability, then stuff lightly.
Tail:
Assembly:
1. Attach the head to the body with a tapestry needle, ensuring it is secured.
2. Position the arms on either side of the body and sew them in place.
3. Attach the legs at the bottom, slightly spaced apart for stability.
4. Finally, sew the tail to the back of the body and weave in all ends carefully.
6. Closing & Social Engagement
Congratulations on creating your very own Mallard Duck plushie! I’d love to see your version! Feel free to leave a comment below sharing your color combinations and experiences. What unique twist will you add to your Mallard Duck? Don’t forget to share your finished creations on social media. Happy crocheting!