Little Frog – Free Crochet Pattern (Amigurumi)
2. Introduction
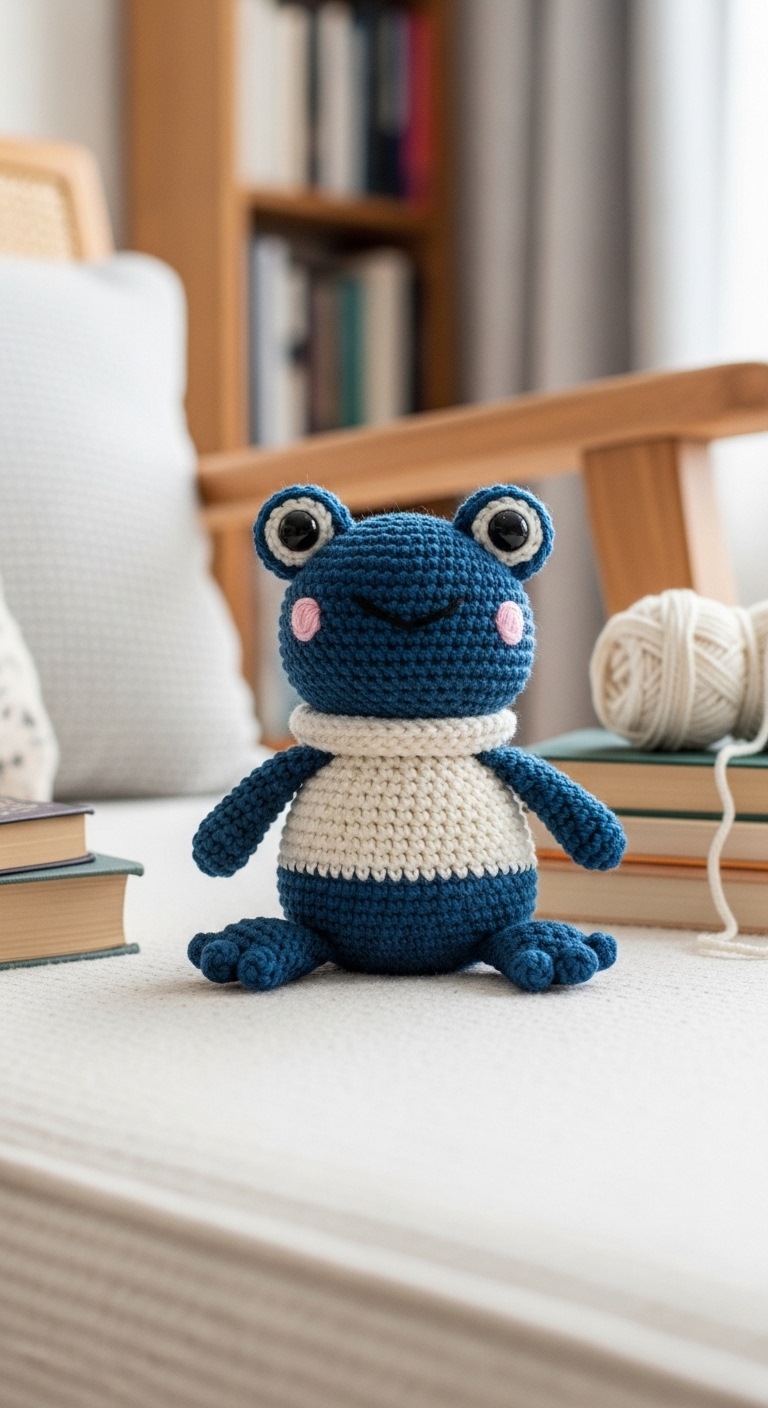
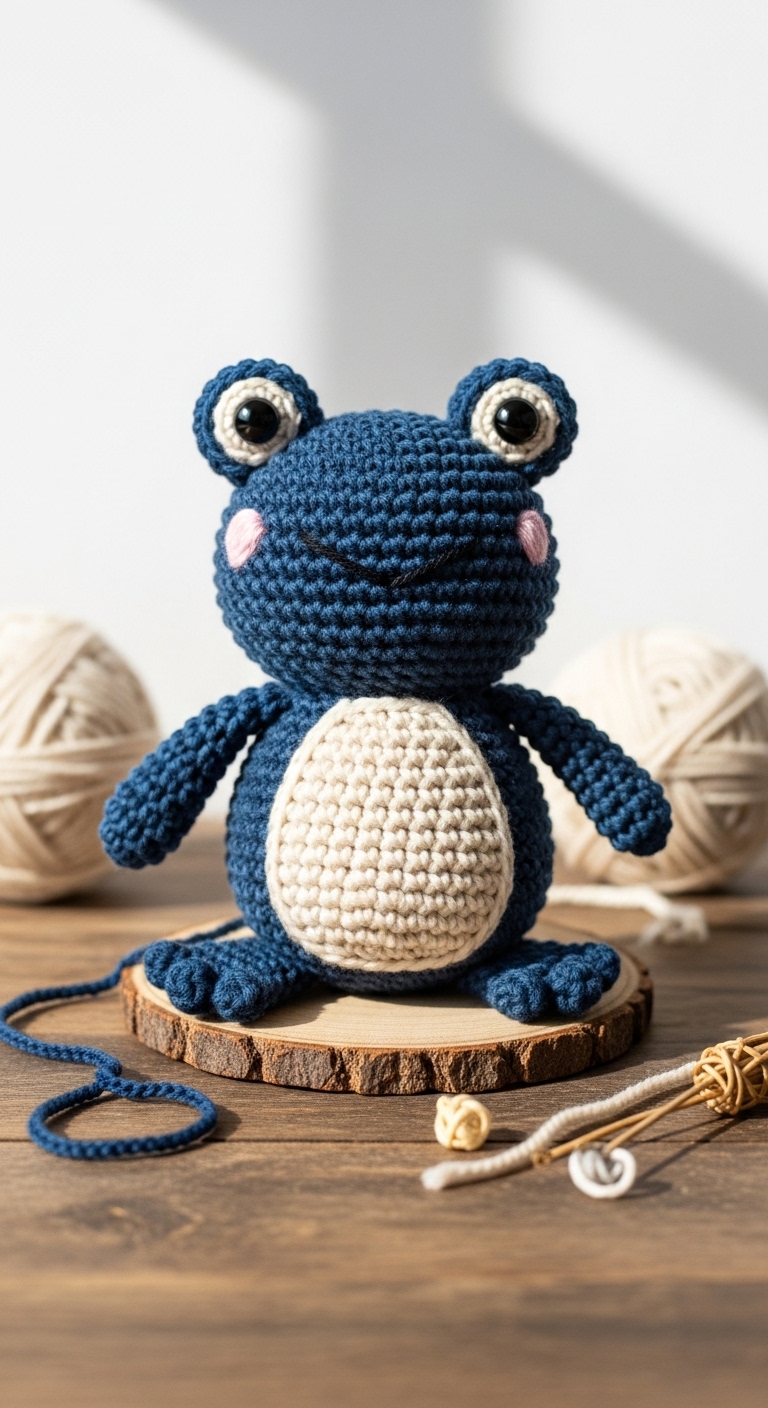
Welcome to the delightful world of amigurumi with this charming “Little Frog” crochet pattern! This adorable plushie measures approximately 6 inches tall, making it the perfect size for snuggling or displaying on a shelf. With its bright, cheerful colors, this cute little frog is sure to bring a smile to anyone’s face.
For this project, you’ll want to choose a soft, medium-weight yarn in complementary colors. I recommend a vibrant green for the body, paired with a sunny yellow for the belly, and a touch of classic black for the eyes. This fun color combination is not only appealing to children but also makes for a tasteful addition to any adult’s home decor. The best part? This pattern is beginner-friendly, designed to help newer crocheters build their skills while creating something special. Plus, it makes an excellent gift for birthdays, baby showers, or just because!
3. Materials Needed
– Yarn: Worsted weight yarn in green (approx. 100 yards), yellow (approx. 30 yards), and black (approx. 10 yards)
– Hook: 3.5mm or 4.0mm crochet hook
– Eyes: Safety eyes (12mm) OR black embroidery thread
– Stuffing: Polyester fiberfill stuffing
– Needle: Tapestry needle for sewing
– Marker: Stitch marker
– Optional extras: Pipe cleaners (for added stability in limbs)
4. Designer Notes / Tips
When crocheting this adorable frog, it’s helpful to master the basic single crochet (sc) stitch, as it forms the primary building block of the pattern. For texture, consider using a slightly firmer tension to give your frog a nice shape. When stuffing, aim for a light density; you want your frog to be soft and huggable, rather than overly firm.
As for assembly, patience is key! Take your time to sew the limbs securely to the body, ensuring they are spaced evenly. If you’re new to attaching pieces, you might want to use a stitch marker to hold them in place before permanently sewing. For yarn substitutions, any soft worsted weight yarn should work well, but avoid yarns with a lot of texture, as they can make stitches harder to see. Lastly, if you’re making this for a young child, consider embroidering the eyes instead of using safety eyes for added safety.
5. Pattern Instructions
For Plushies:
Head:
*Stuff the head lightly before closing.*
Body:
*Stuff the body firmly before closing.*
Arms (make 2):
*Leave a long tail for sewing.*
Legs (make 2):
*Leave a long tail for sewing.*
Assembly:
1. Attach the eyes to the head, placing them between rounds 5 and 6.
2. Sew the head onto the body, ensuring it’s centered.
3. Attach the arms to the sides of the body, approximately round 5.
4. Sew the legs to the bottom of the body, ensuring they are aligned.
5. You may want to add pipe cleaners to the arms and legs for flexibility before closing them up.
6. Closing & Social Engagement
Congratulations on making your very own Little Frog! I’d love to see your version—please leave a comment below sharing your experiences and any color combinations you tried. What fun colors will you choose for your frog? Don’t forget to share your finished projects on social media; I can’t wait to see all the creative variations!