Little Flower Plush – Crochet Pattern (Amigurumi)
2. Introduction
Welcome to the delightful world of amigurumi with this enchanting Little Flower Plush crochet pattern! This adorable plush flower measures approximately 8 inches from petal tip to petal tip, making it a perfect size for cuddling or as a charming decorative piece. With its soft, squishy body and bright colors, this plush flower will surely bring joy to anyone who receives it.
For this project, I recommend using a soft worsted weight yarn in complementary adult-friendly colors such as deep teal, soft lavender, and a sunny sunflower yellow. These colors not only offer a pleasing aesthetic, but they also evoke a sense of cheerfulness, making this flower plush a fantastic gift. Whether for a birthday, a housewarming, or just to brighten someone’s day, this quick and fun project is sure to spread smiles.
This pattern is designed to be beginner-friendly, so don’t worry if you’re new to amigurumi! With clear instructions and helpful tips, you’ll create your very own Little Flower Plush in no time. Perfect for seasonal gifting or just as a lovely handmade touch to your home, this project is sure to inspire creativity and joy.
3. Materials Needed
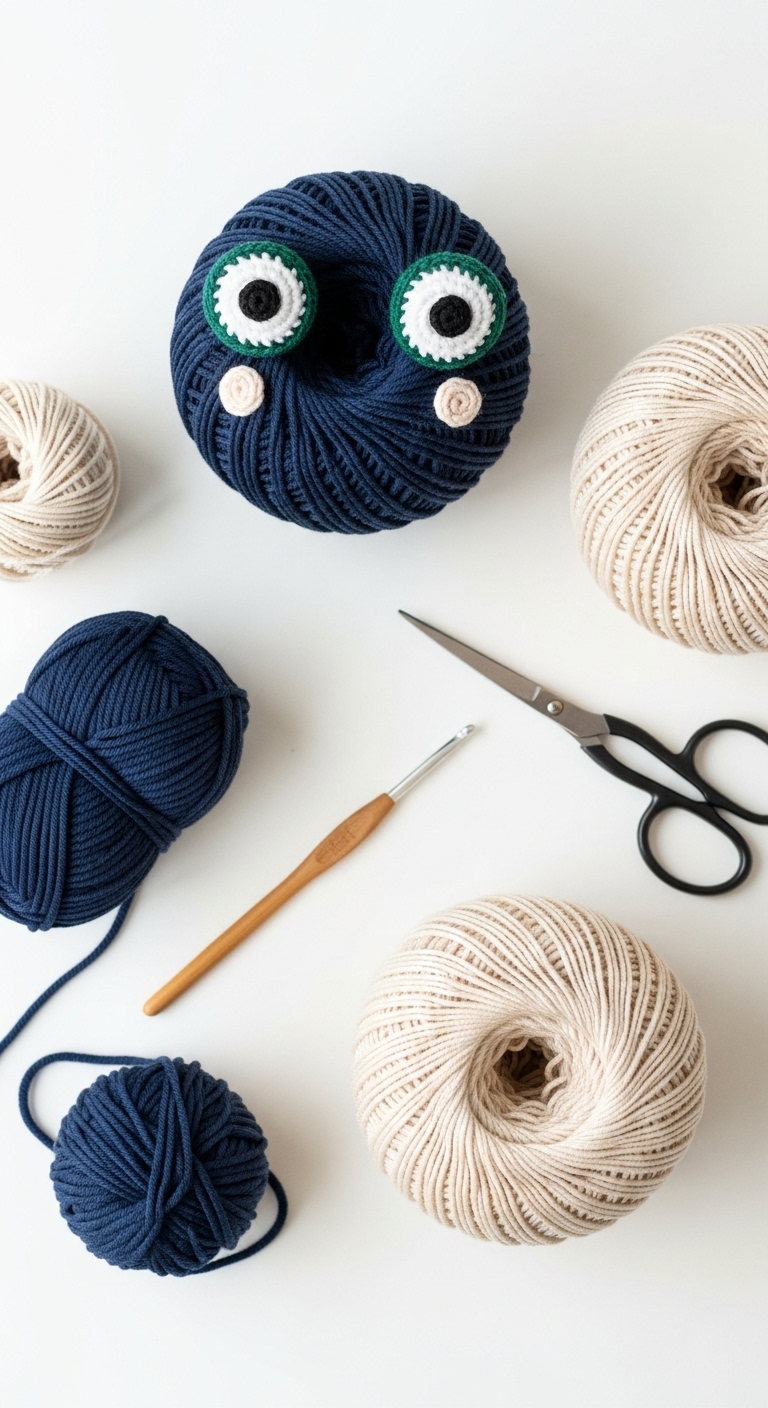
– Yarn: Worsted weight yarn in deep teal (approx. 100 yards), soft lavender (approx. 50 yards), and sunflower yellow (approx. 25 yards)
– Hook: 3.5mm or 4.0mm crochet hook
– Eyes: 12mm safety eyes OR black embroidery thread for stitching eyes
– Stuffing: Polyester fiberfill stuffing
– Needle: Tapestry needle for sewing
– Marker: Stitch marker
– Optional extras: Pipe cleaners for added stability in the stem
4. Designer Notes / Tips
– Stitch Technique: This pattern primarily uses single crochet (sc) and increases (inc) to create a round, smooth finish. Familiarize yourself with these stitches, as they are fundamental to amigurumi.
– Stuffing Density: It’s best to use a light to medium density when stuffing your flower. This ensures it remains soft and huggable while retaining its shape.
– Assembly: When attaching the petals to the center of the flower, use a whip stitch for a neat finish. Make sure to stuff the center lightly before sewing on the petals.
– Yarn Substitutions: If you prefer a different look, any worsted weight yarn will work well—just make sure it’s soft and suitable for cuddling!
– Gauge Tips: While gauge isn’t critical for this project, aim for a tight tension to prevent stuffing from showing through your stitches.
– Safety Considerations: If this plush is intended for a young child, consider embroidering the eyes instead of using safety eyes to eliminate any choking hazards.
5. Pattern Instructions
For Plushies:
Head (Center Flower):
Petals (Make 5):
Assembly:
– Attach the safety eyes to the center flower between rounds 4 and 5, about 5 stitches apart.
– Sew each petal to the head using the long tail, evenly spacing them around the flower center.
– If using pipe cleaners for the stem, insert them into the bottom of the flower before sewing on the base.
Base:
6. Closing & Social Engagement
Congratulations on creating your very own Little Flower Plush! I hope you enjoyed this project as much as I did. Remember, every stitch you make adds a personal touch to your handmade treasure. I’d love to see your version! Leave a comment below sharing your thoughts or color combinations.
What cheerful colors will you choose for your Little Flower? Don’t forget to share your finished creation on social media using #LittleFlowerPlush – let’s spread the joy of crochet together!