Little Duck – Free Crochet Pattern
2. Introduction
Welcome to your next crochet adventure! In this article, we’ll be crafting an adorable Little Duck plushie that is sure to bring a smile to anyone’s face. This charming little fellow measures approximately 8 inches from beak to tail, making him the perfect size for cuddling or as a delightful decorative piece. With just the right amount of squish, he’s bound to be a favorite in any collection.
For this project, we’ll be using soft worsted weight yarn in complementary colors such as sunny yellow, crisp white, and a splash of cheerful orange for the beak and feet. These colors not only evoke the essence of a cheerful spring day but also make this project a joy to work on. The Little Duck is a quick and enjoyable make, which is especially great for beginners looking to hone their skills. Plus, he makes a fantastic gift for baby showers, spring celebrations, or just to brighten someone’s day!
Whether you’re new to crocheting or looking for a quick project to enjoy, the skill level for this pattern is beginner-friendly. You’ll be guided step-by-step through the process, ensuring you finish with a smile and a sense of accomplishment.
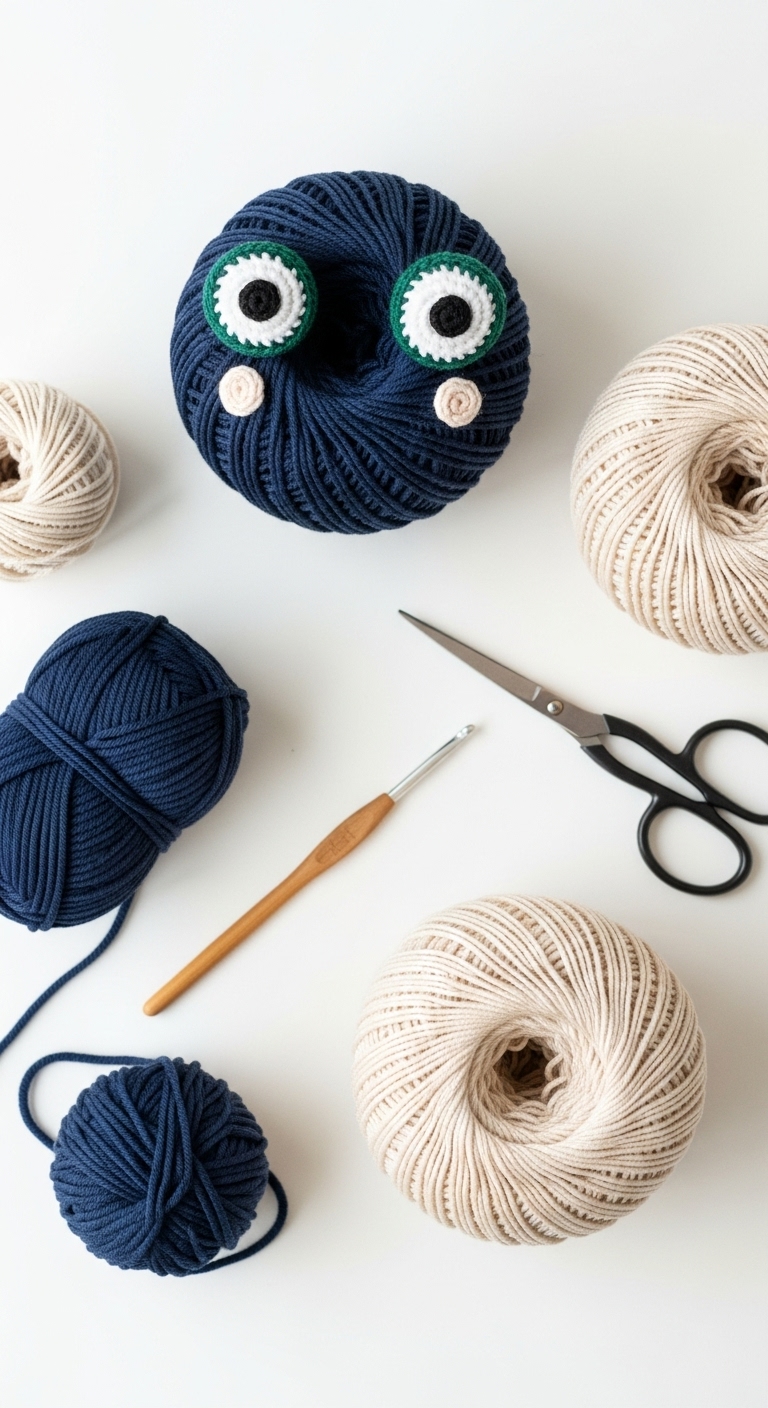
3. Materials Needed
– Yarn: Worsted weight yarn in:
– Yellow (approx. 150 yards)
– White (approx. 50 yards)
– Orange (approx. 20 yards)
– Hook: 3.5mm or 4.0mm crochet hook
– Eyes: 12mm safety eyes OR black embroidery thread
– Stuffing: Polyester fiberfill stuffing
– Needle: Tapestry needle for sewing
– Marker: Stitch marker
– Optional extras: Pipe cleaners (for added stability if desired)
4. Designer Notes / Tips
– Stitch technique: This pattern is primarily built using single crochet stitches, making it ideal for beginners. Look out for the magic ring technique used to start the head, which creates a nice closed center.
– Stuffing density: I recommend using a medium amount of stuffing to keep your Little Duck plushie soft yet structured. You want him to hold his shape but still be huggable!
– Assembly: When assembling the pieces, use your tapestry needle to secure each part tightly. Don’t hesitate to use pins to hold pieces in place while you stitch them together.
– Yarn substitutions: If you prefer a different texture or color scheme, you can easily substitute with cotton yarn for a more rustic look, or a fluffy yarn for added cuteness.
– Gauge tips: Although gauge is not critical for this project, keep your stitches tight enough to avoid stuffing peeking through, especially when making the head.
– Safety considerations: If the plushie is for a young child, consider using embroidered eyes instead of safety eyes to eliminate any choking hazard.
5. Pattern Instructions
For Plushies:
Head:
*Note: Place safety eyes between Rounds 7 and 8, approximately 6 stitches apart.*
Body:
Arms/Legs:
*Make 2 of each:*
Beak:
Assembly:
– Attach the head to the body using the tail from the head; stitch securely.
– Sew the arms on either side of the body, about halfway down.
– Position and attach the beak centered on the head.
– Stitch the legs to the bottom of the body.
– Weave in all ends neatly.
6. Closing & Social Engagement
Congratulations on completing your Little Duck plushie! I’d love to see your version! Leave a comment below with your thoughts on the pattern, or share your unique color combinations. What color scheme will you try for your adorable Little Duck? Don’t forget to share your finished creation on social media and tag me – I can’t wait to see your delightful ducks!
