knit a look crochet twisted headband free pattern
2. Introduction
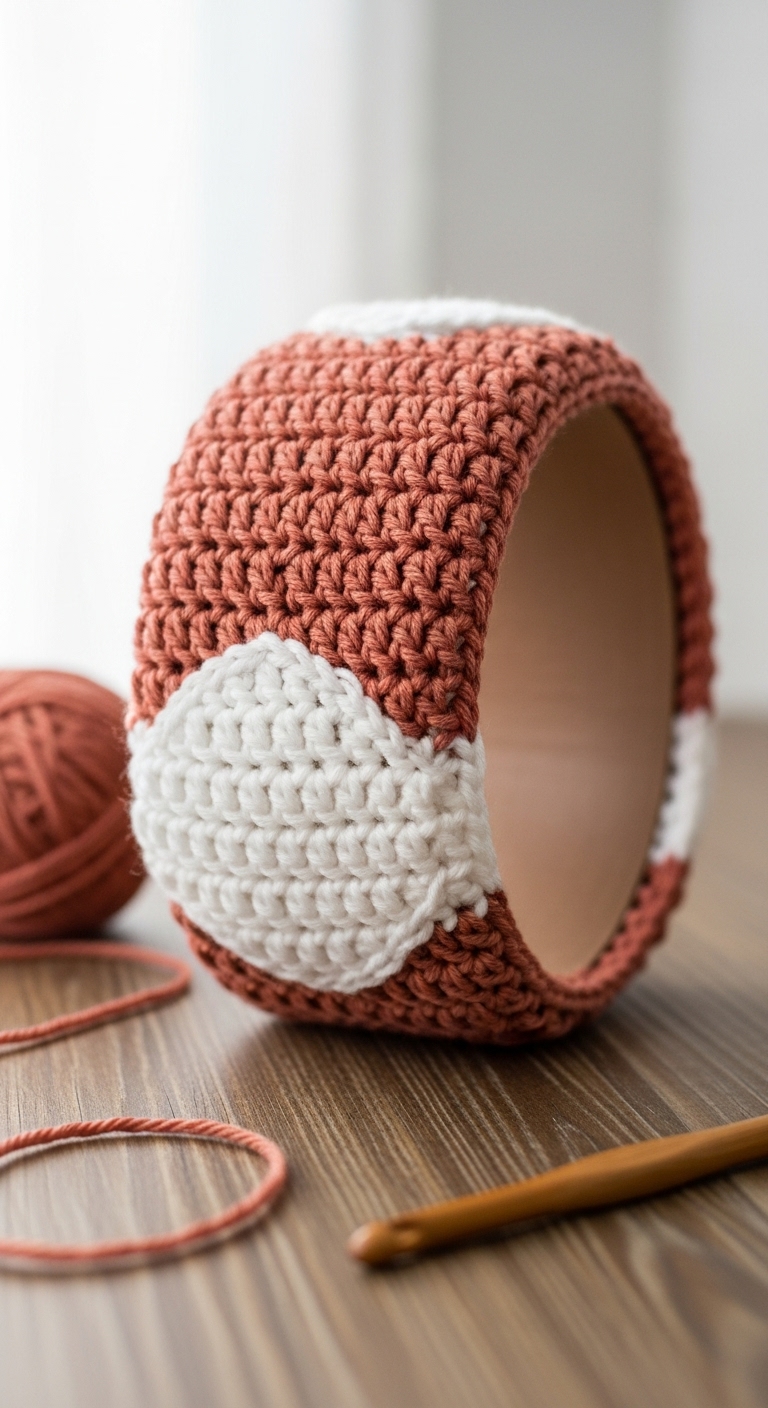
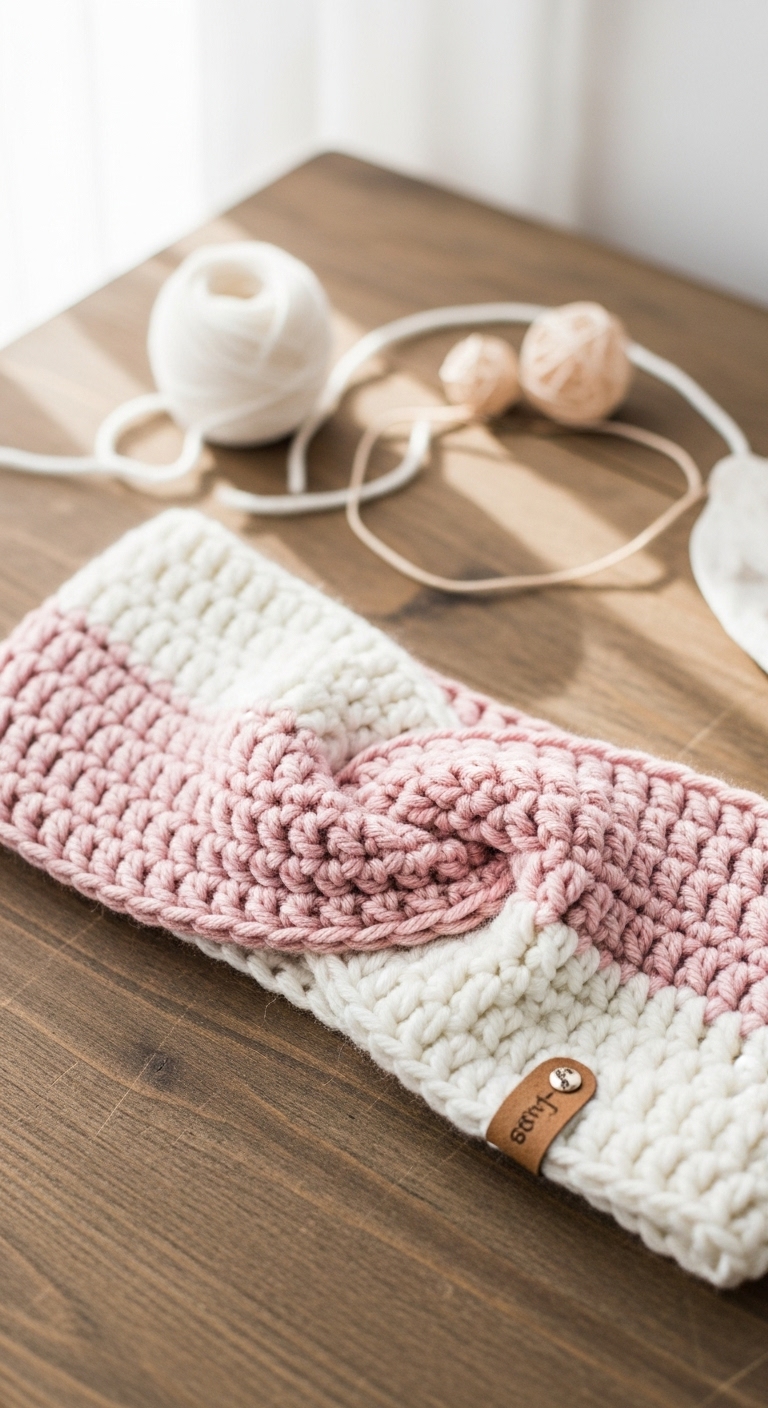
Welcome to your next favorite accessory project: the Knit a Look Crochet Twisted Headband! This stylish headband is perfect for keeping your ears cozy during those chilly days while adding a touch of flair to any outfit. Measuring approximately 4 inches wide and 20 inches long when finished, it comfortably fits most adult head sizes.
For this project, you’ll need medium-weight yarn in two or three complementary adult-friendly colors. I recommend a rich navy, soft gray, and a pop of mustard yellow, which work beautifully together to create a sophisticated look. This headband is not only fun and quick to make—taking just a couple of hours from start to finish—but it’s also a fantastic way to showcase your crochet skills and create a unique piece for your wardrobe. Ideal for beginners and those looking to practice their skills, this pattern provides a great opportunity to explore the lovely textures of crochet without overwhelming complexity. Plus, it makes for a thoughtful gift during the holiday season or a lovely treat for yourself!
3. Materials Needed
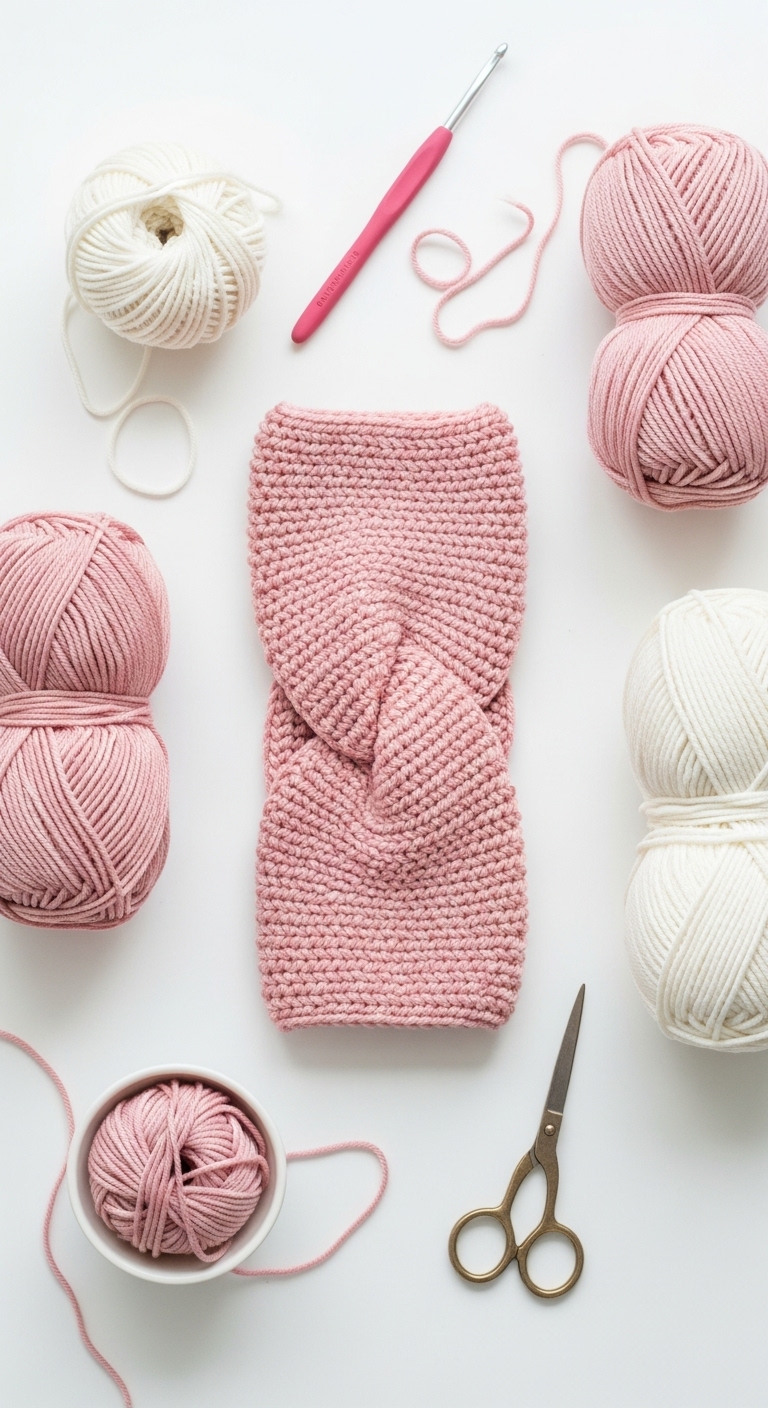
– Yarn: Medium-weight (4) yarn in 2-3 colors (e.g., navy, gray, mustard) – approximately 150 yards total
– Hook: 3.5mm or 4.0mm crochet hook
– Needle: Tapestry needle for sewing ends
– Marker: Stitch marker (optional, but helpful for keeping track of rounds)
– Optional extras: Button for embellishment, if desired
4. Designer Notes / Tips
– Stitch technique: This pattern utilizes half double crochet (hdc) stitches, which create a lovely, textured fabric. If you’re unsure, practice a few stitches on a swatch first!
– Assembly: Pay close attention to how you twist the headband before sewing it together; the twist adds a unique element to the design.
– Yarn substitutions: If you prefer a lighter or heavier look, feel free to experiment with a lighter worsted weight yarn or a bulky yarn; just keep in mind that this may affect the final size.
– Gauge tips: While exact gauge isn’t critical, aim for a fabric that is not too loose to ensure the headband holds its shape.
– Safety considerations: If gifting to a child, consider using a secure stitch instead of a button to avoid choking hazards.
5. Pattern Instructions
Main Panel
*Note: You can adjust the number of rows for a wider or narrower headband based on your preferences!*
Twisted Assembly
1. Fold the panel in half lengthwise, bringing the two shorter ends together.
2. Carefully twist the folded piece once, then sew the ends together using a slip stitch or whip stitch.
3. Weave in all loose ends with your tapestry needle to tidy up your work.
Finishing Touches
– If desired, sew on a decorative button at the center of the twist for an added touch of personality.
– Lightly block your headband if necessary to help it hold its shape.
6. Closing & Social Engagement
I hope you enjoy making your Knit a Look Crochet Twisted Headband! It’s a delightful project that can be customized with your favorite colors and styles. Don’t worry if your first attempt isn’t perfect—you’ve got this! I’d love to see your version! Leave a comment below sharing your color combinations and any modifications you made.
What color combination will you try? Perhaps you’ll stick to classic neutrals or go bold with a vibrant mix. Once you’re done, share your finished headband on social media and tag me—I can’t wait to see your creativity shine!