Kirby Seasonal Plushies – Free Crochet Patterns (Amigurumi)
2. Introduction
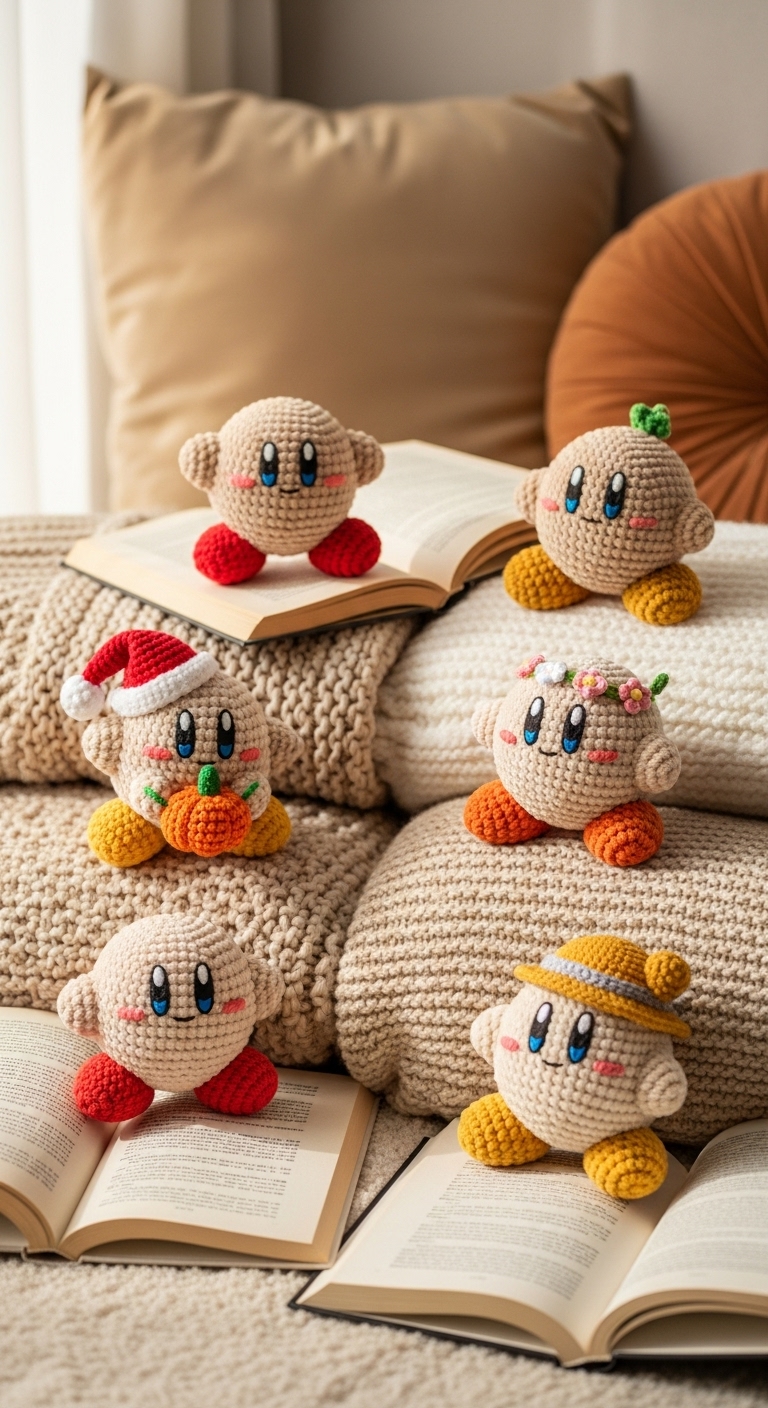
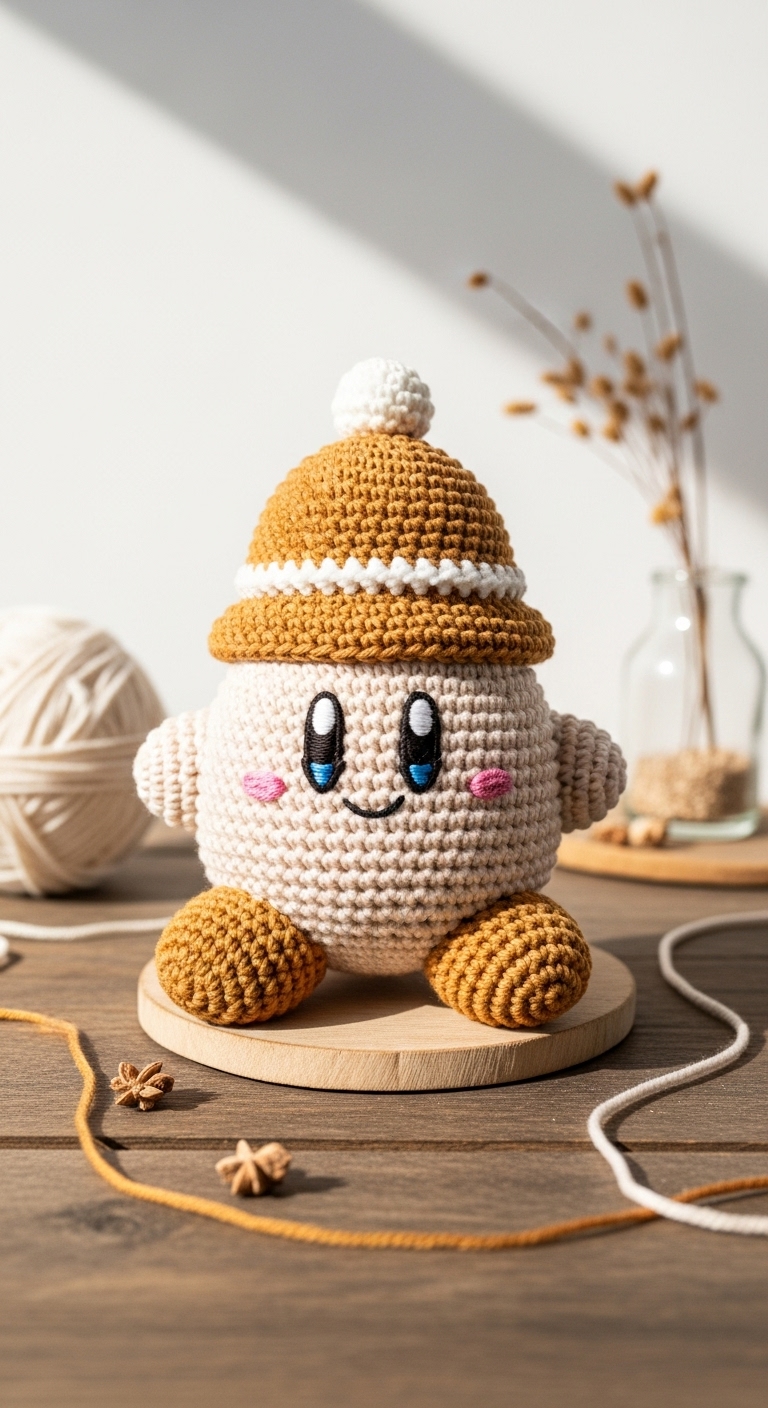
Welcome to the world of Kirby Seasonal Plushies! In this article, you’ll learn how to crochet delightful amigurumi versions of Kirby that celebrate the changing seasons. Each plushie stands approximately 6 inches tall and is perfect for adorning your home or gifting to a fellow Kirby enthusiast. The patterns you’ll find here are not only charming but also quick to work up, making them ideal for an afternoon crafting session.
For this project, you will work with soft, acrylic yarn in a palette of pastel pink, pale blue, and cheerful yellow. These colors evoke a playful yet sophisticated aesthetic that appeals to adults and children alike. The combination will make your plushies look vibrant and eye-catching, ensuring they stand out in any seasonal display or as playful companions throughout the year.
This pattern is designed to be beginner-friendly, so don’t worry if you’re new to crocheting amigurumi! Each step is carefully laid out to guide you through the process, making it a perfect project for learning and mastering basic crochet techniques. They also hold great gift potential—imagine delighting a loved one with a handmade plushie that reflects their favorite season!
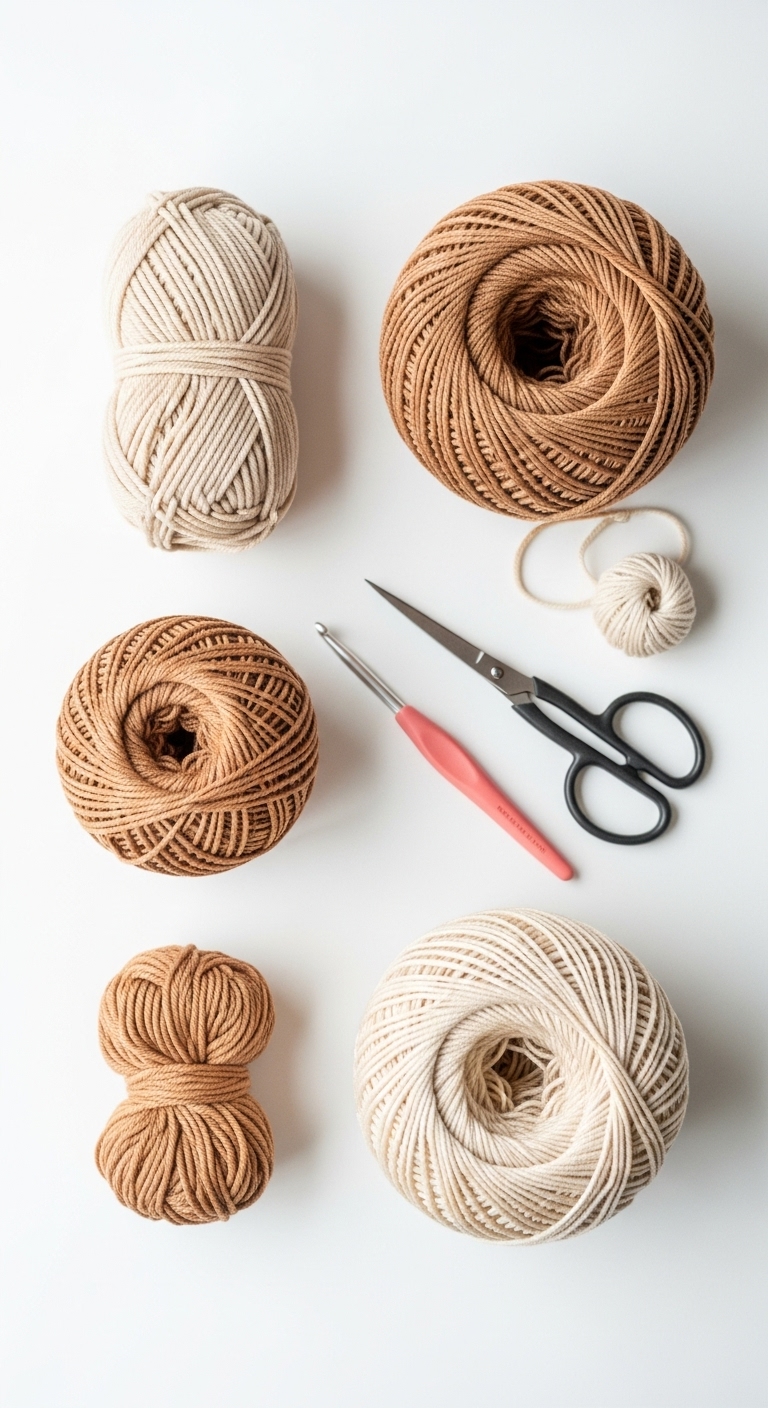
3. Materials Needed
– Yarn: Worsted weight yarn in pink (approx. 200 yards), pale blue (approx. 50 yards), and yellow (approx. 50 yards)
– Hook: 3.5mm or 4.0mm crochet hook
– Eyes: 12mm safety eyes OR black embroidery thread
– Stuffing: Polyester fiberfill stuffing
– Needle: Tapestry needle for sewing
– Marker: Stitch marker
– Optional extras: Felt for added embellishments, pipe cleaners for shaping
4. Designer Notes / Tips
When working on your Kirby plushies, you’ll primarily use single crochet stitches, which create a tight, sturdy fabric perfect for stuffing. For a nice texture, I recommend using the spiral method of crocheting without joining, which keeps your rounds seamless. Ensure you stuff the plushies lightly but firmly, creating a cuddly yet structured form.
As you assemble your Kirby, using a stitch marker can help you keep track of your rounds, especially as you switch colors or add different components. If you prefer a softer look, consider using a lighter yarn for stuffing or adjusting the number of rounds to customize the size. For child-safe modifications, ensure any embellishments (like small buttons) are securely attached or eliminated altogether.
Don’t hesitate to experiment with yarn substitutions! Cotton yarn can give your plushies a different look and feel, though it may require adjustments in tension. Check your gauge periodically to ensure your plushie remains the right size.
5. Pattern Instructions
For Plushies:
Head:
*(Stuff the head lightly after Round 10)*
Body:
*(Stuff the body after Round 8, ensure it’s firm)*
Arms:
*(Make 2 and stuff lightly)*
Legs:
*(Make 2 and stuff lightly)*
Ears:
*(Make 2 and do not stuff)*
Assembly:
– Attach the head to the body using a tapestry needle.
– Sew on the arms and legs, positioning them symmetrically.
– Place the safety eyes between Rounds 5 and 6 of the head, and then attach the ears on top.
– Weave in all loose ends, ensuring everything is secure.
For Seasonal Accessories:
*(If you want to create seasonal variations, you can follow the same plushie structure but add accessories like hats or scarves in the seasonal colors mentioned above.)*
6. Closing & Social Engagement
I can’t wait to see your version of the Kirby Seasonal Plushies! If you have any questions as you work through the pattern, feel free to leave a comment below. What color combination will you try for your Kirby? Share your finished plushies on social media and let everyone admire your creativity!