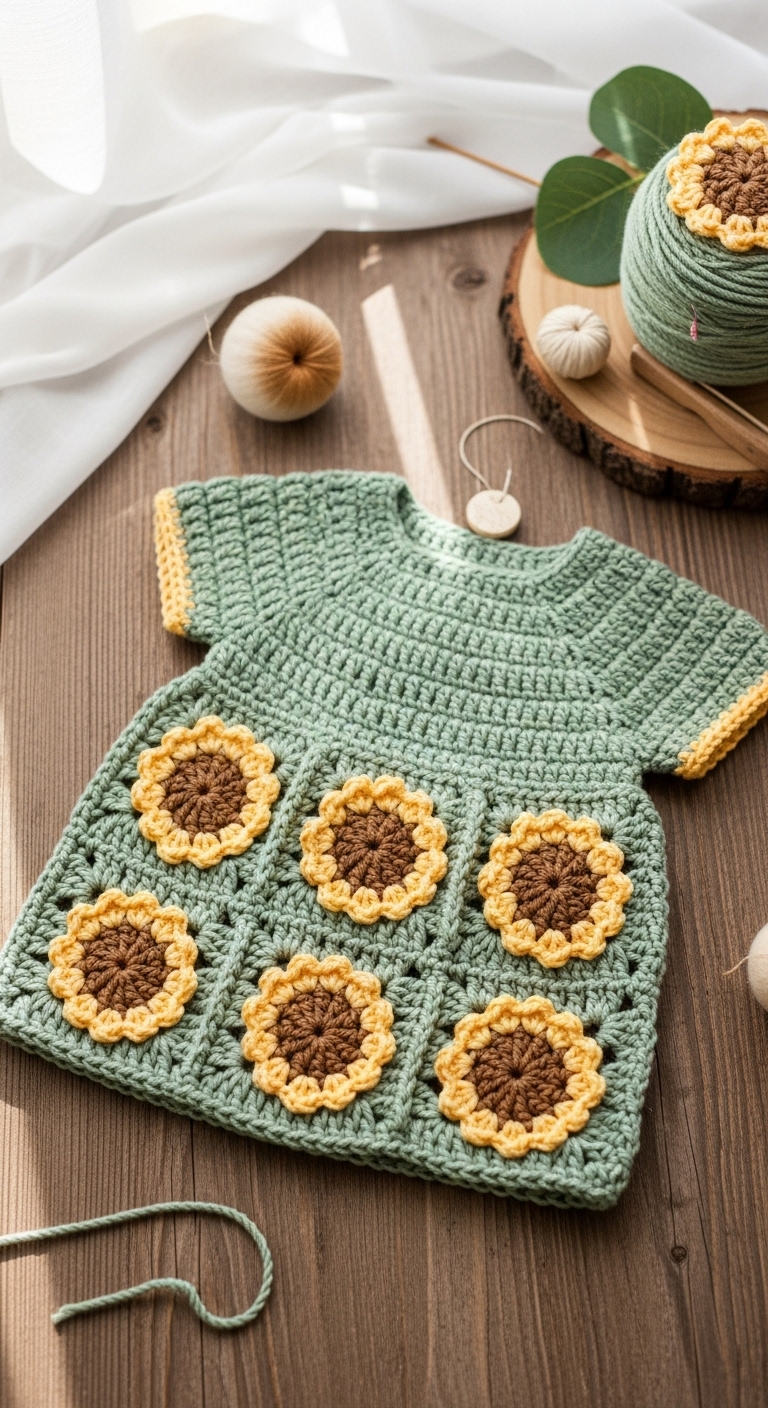
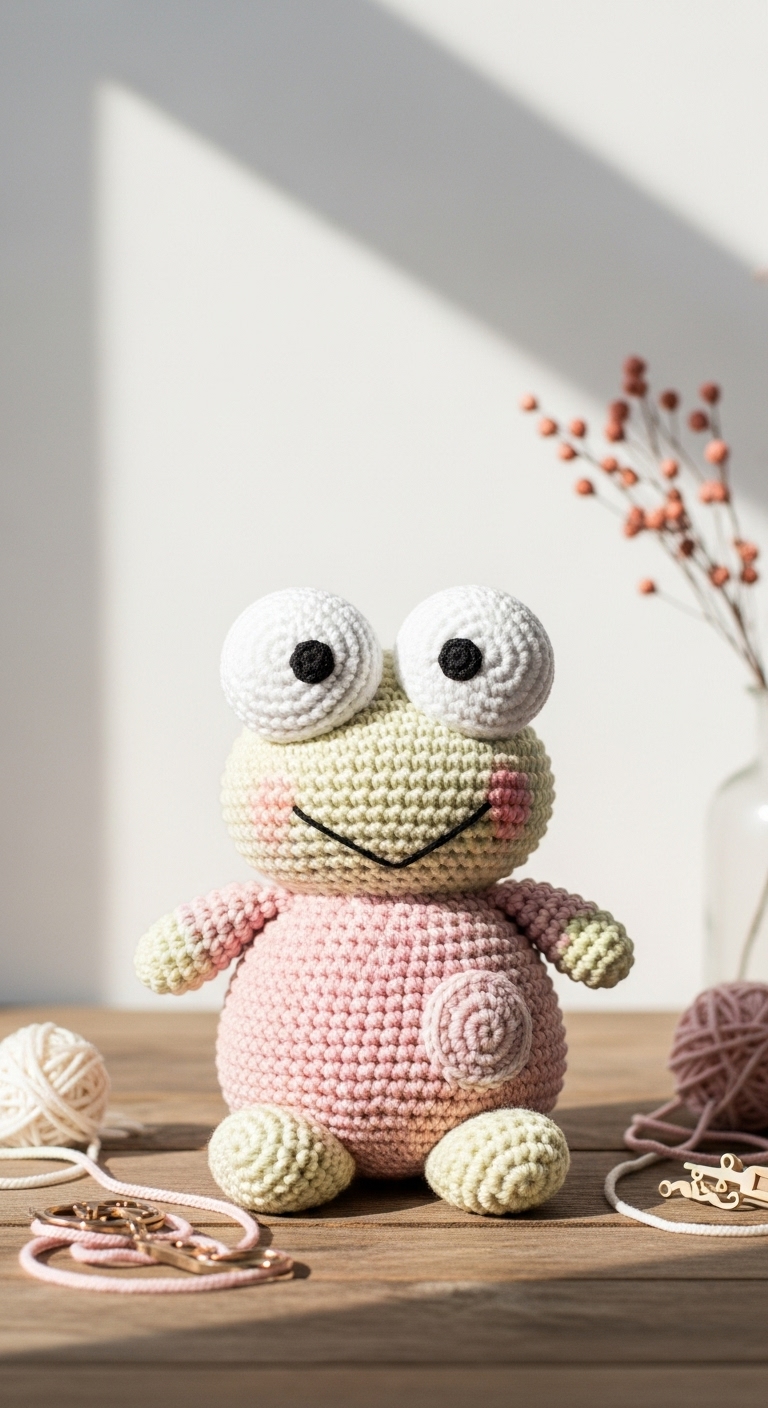
Keroppi Plush – Crochet Pattern
2. Introduction
Welcome to the delightful world of crochet! In this article, we will be creating an adorable Keroppi plush, perfect for fans of this charming frog character. Measuring approximately 10 inches tall, this plushie is just the right size to be a huggable companion or a decorative accent for your home. You’ll be using soft worsted weight yarn in a vibrant green, a lovely cream for the tummy, and a touch of black for the eyes. These adult-friendly colors create a sophisticated yet cheerful look that suits any age.
Crocheting Keroppi is not only a fun project but also a quick one! With simple stitches and an engaging color scheme, you’ll find yourself whipping this little guy up in no time. This pattern is beginner-friendly, making it accessible for those just starting out in the crochet world, while still providing enough detail to keep intermediate crocheters engaged. It’s the perfect gift for birthdays, holidays, or just because—who wouldn’t want a cute Keroppi plush to brighten their day?
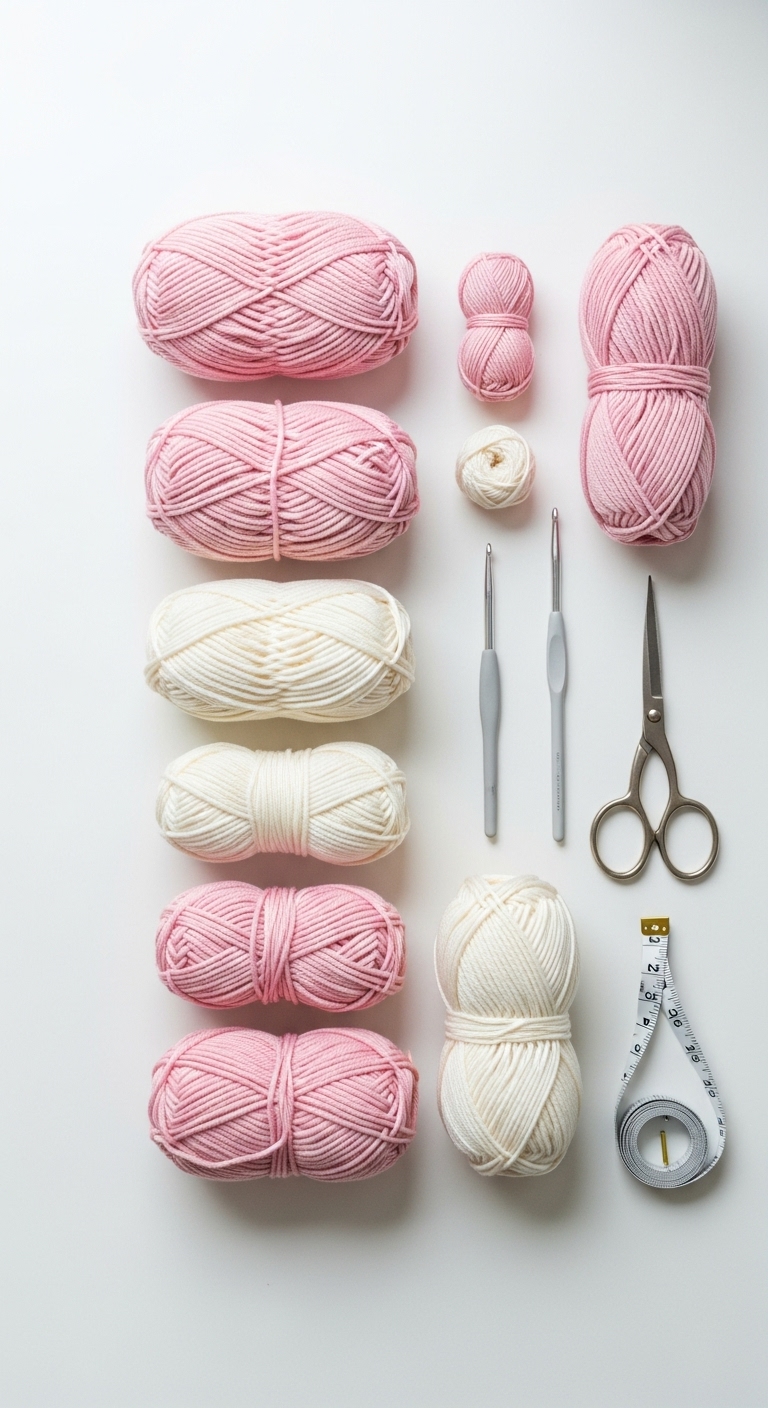
3. Materials Needed
– Yarn: Worsted weight yarn in green (approx. 150 yards), cream (approx. 30 yards), and black (approx. 10 yards)
– Hook: 3.5mm or 4.0mm crochet hook
– Eyes: 12mm safety eyes
– Stuffing: Polyester fiberfill stuffing
– Needle: Tapestry needle for sewing
– Marker: Stitch marker
– Optional extras: Pipe cleaners (for a more poseable plushie)
4. Designer Notes / Tips
When working on Keroppi, you’ll mainly be using single crochet stitches, which are easy to master. If you want to add a bit of texture, consider using a half double crochet for the tummy section! For stuffing, I recommend keeping it light and fluffy; this allows the plushie to be squishy and cuddly. As you assemble the pieces, don’t hesitate to use a little extra stuffing in the head to give it a rounded shape.
If you’re considering yarn substitutions, acrylic or cotton blends work well and give a nice finish. Keep an eye on your gauge; you want your stitches to be tight enough to hold the stuffing without any gaps. If you plan to gift this plushie to a little one, ensure that the safety eyes are securely attached, or consider using black embroidery thread for a safer option.
5. Pattern Instructions
For Plushies:
Head:
Body:
Arms (Make 2):
Legs (Make 2):
Ears (Make 2):
Assembly:
– Start by attaching the head to the body using the yarn tail from the head. Use the tapestry needle to sew securely.
– Next, sew the arms on either side of the body, about halfway down.
– Attach the legs to the bottom of the body, ensuring they are evenly spaced.
– Finally, attach the ears at the top of the head.
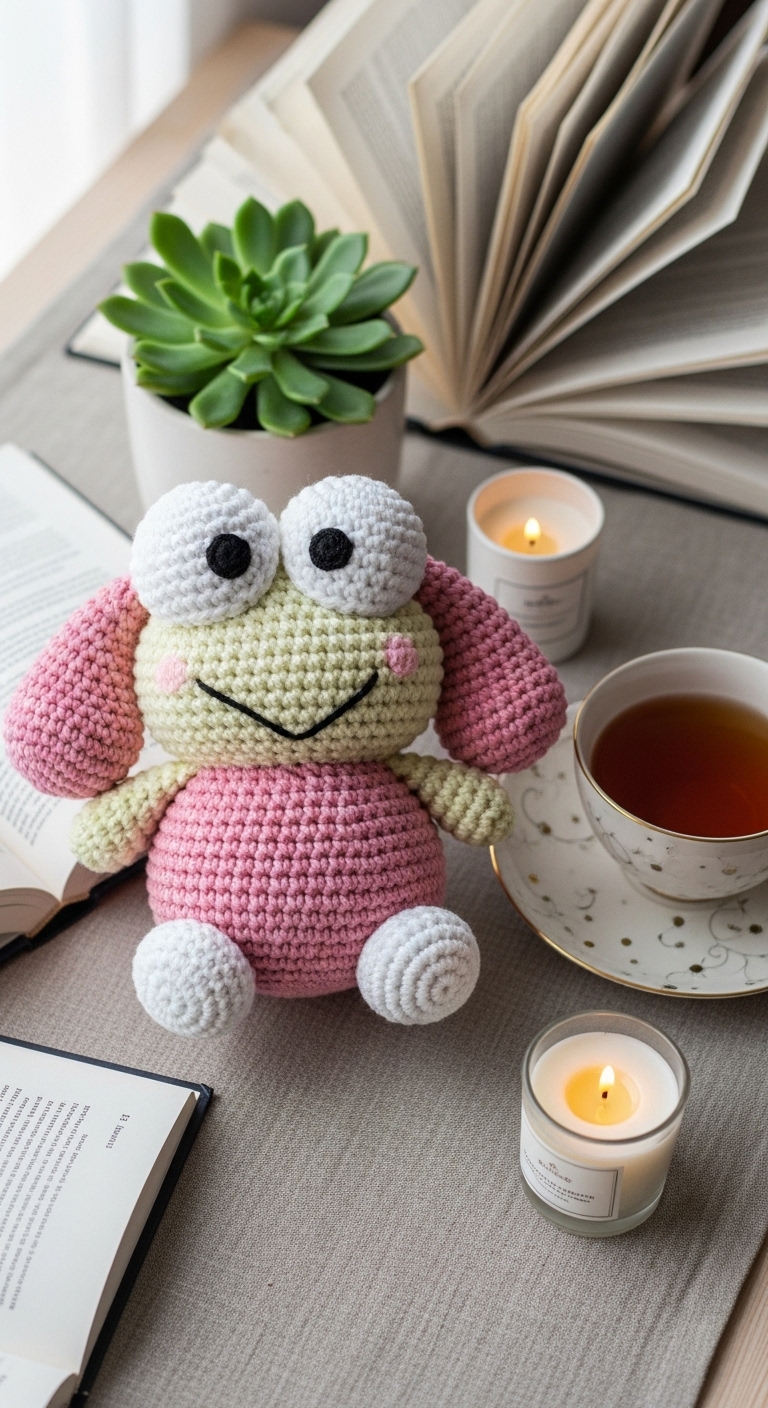
6. Closing & Social Engagement
Congratulations on creating your very own Keroppi plush! I’d love to see your version! Leave a comment below and share what color combination you decided to use. Whether it’s a classic look or a colorful twist, your creativity will surely shine through. Don’t forget to share your finished plush on social media—let’s spread the joy of crochet together! You’ve got this, and I can’t wait to see what you create!