Kermit the Frog – Crochet Pattern
2. Introduction
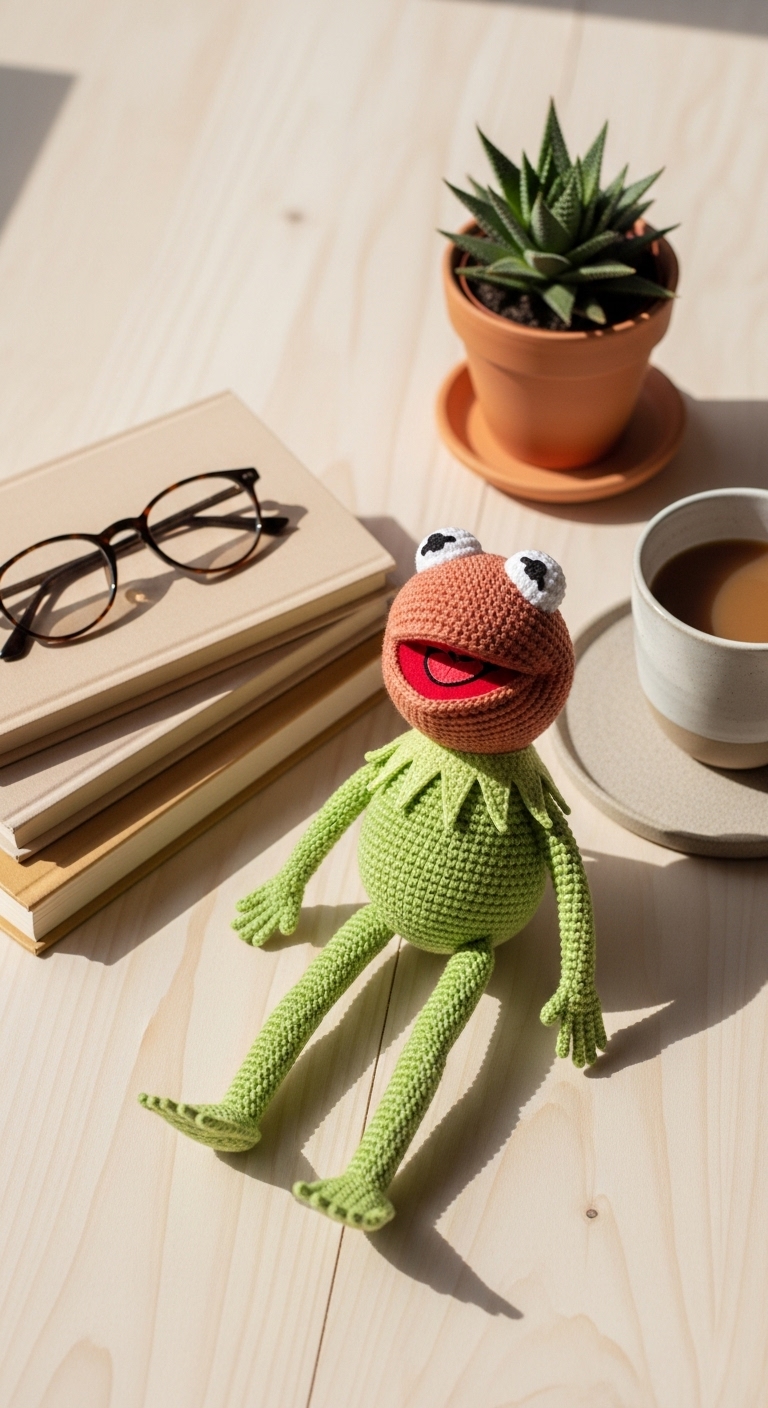
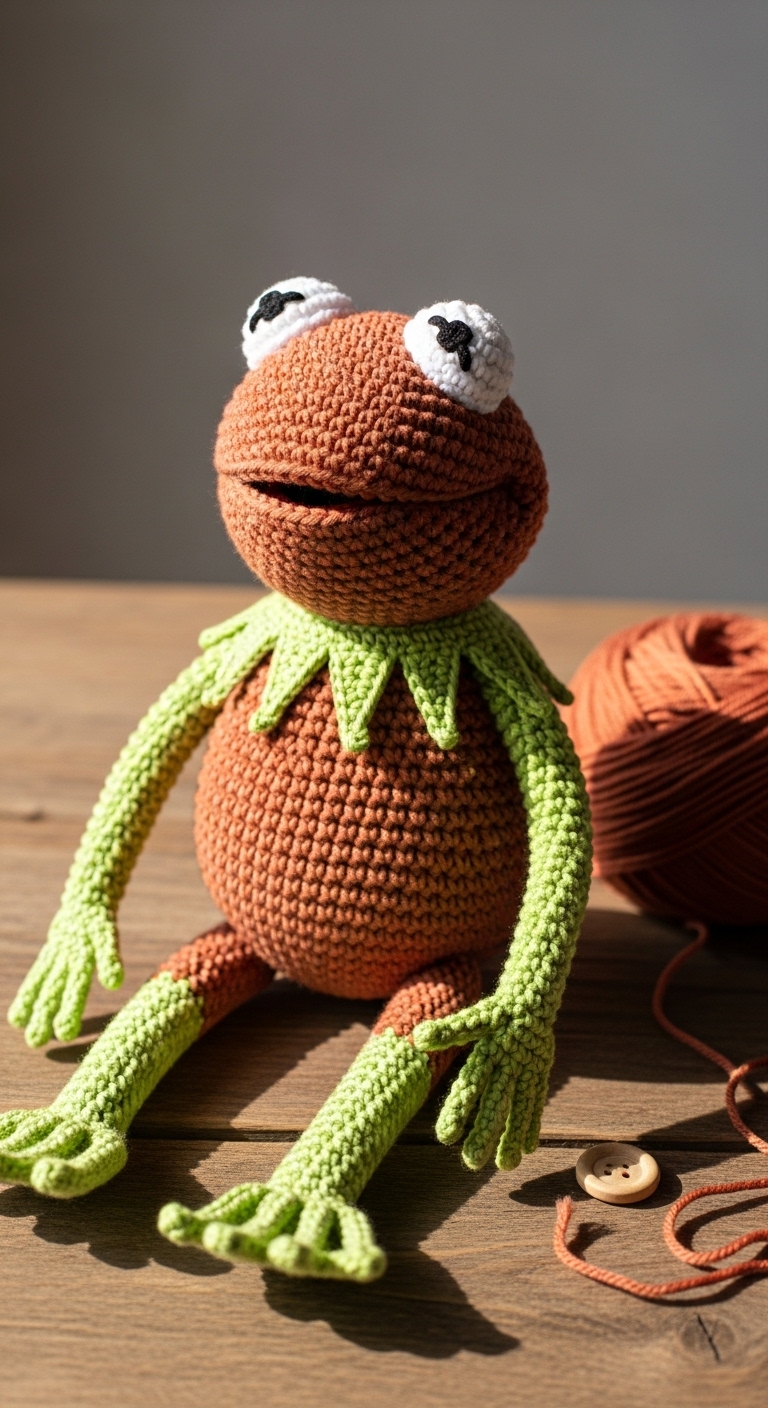
Welcome to the delightful world of crochet with this charming Kermit the Frog plushie pattern! This adorable project stands approximately 10 inches tall and is perfect for both display and cuddling. Crafted with love, this plushie is made using soft, vibrant yarns that capture Kermit’s signature look. You’ll need a rich green, a cheerful yellow for his collar, and a touch of black for his eyes. These adult-friendly colors not only bring Kermit to life but also make him a standout piece in any collection.
Crocheting Kermit the Frog is a fun, quick project that will spark joy and nostalgia for fans of all ages. The best part? He’s beginner-friendly! With straightforward stitches and clear instructions, even those new to crochet can successfully create their very own Kermit. This makes him an ideal gift for birthdays, holidays, or just to brighten someone’s day.
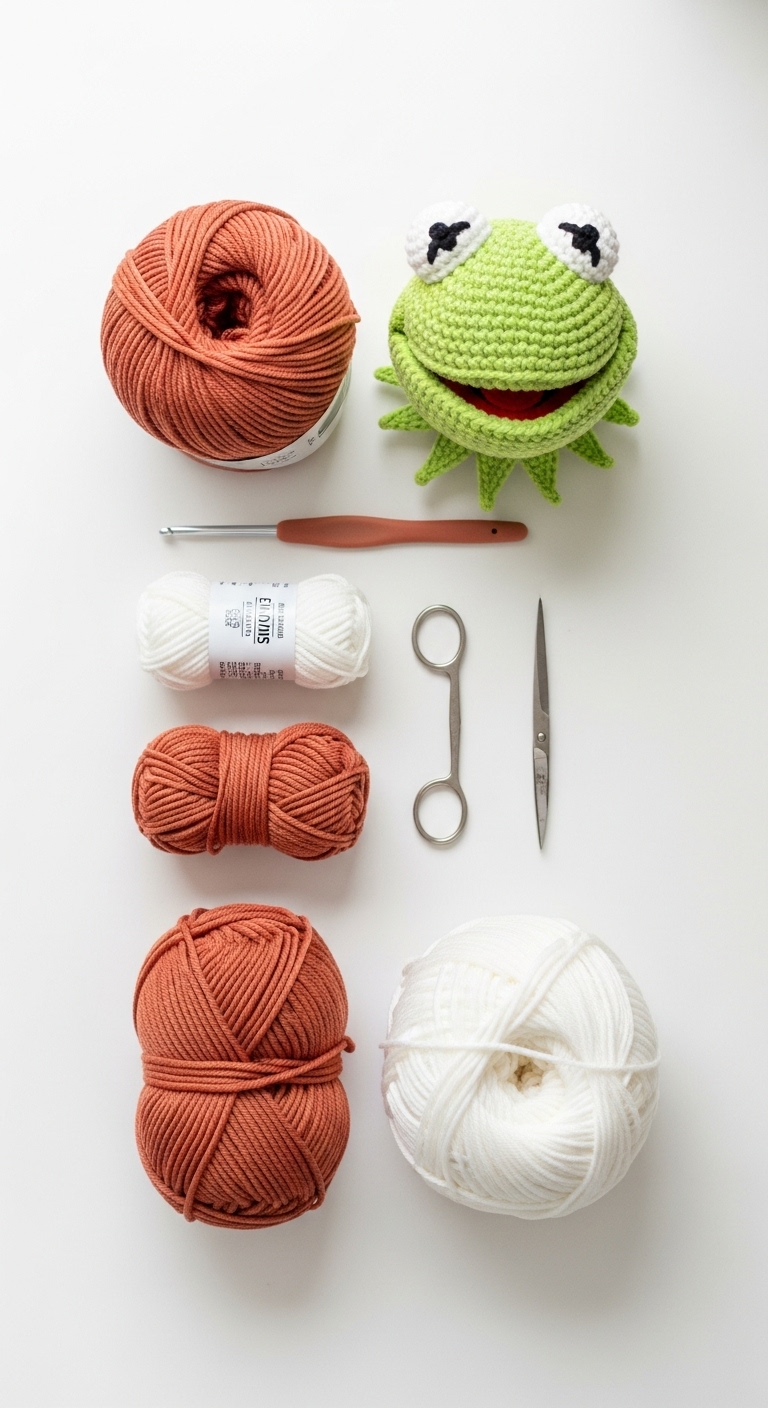
3. Materials Needed
– Yarn: Worsted weight yarn in green (approx. 250 yards), yellow (approx. 30 yards), and black (approx. 10 yards)
– Hook: 3.5mm or 4.0mm crochet hook
– Eyes: 12mm safety eyes OR black embroidery thread for stitching
– Stuffing: Polyester fiberfill stuffing
– Needle: Tapestry needle for sewing
– Marker: Stitch marker to keep track of rounds
– Optional extras: Pipe cleaners for added armature in the legs, if desired
4. Designer Notes / Tips
When crafting Kermit, you’ll be using basic crochet stitches, primarily single crochet (sc) and increases (inc). To add texture, consider using a tighter stitch tension, especially if using a softer yarn. This ensures that your plushie holds its shape nicely. As for stuffing, I recommend a light filling to keep Kermit squishy yet structured. This allows for easy manipulation and cuddling without sacrificing shape.
When assembling your pieces, ensure that you securely join each part. I suggest using a whip stitch for a seamless finish, especially at the neck where you’ll need to connect the head and body firmly. If you’re considering yarn substitutions, look for a soft acrylic or cotton blend that’s easy to work with and durable.
Lastly, when placing safety eyes, I recommend positioning them about 5 rounds down from the top of the head, spaced about 6 stitches apart. This gives Kermit his signature wide-eyed look. If making this plushie for a young child, consider stitching the eyes with black embroidery thread instead for safety.
5. Pattern Instructions
For Plushies:
Head:
Body:
Arms (make 2):
Legs (make 2):
Collar:
Assembly:
1. Attach safety eyes to the head as mentioned previously.
2. Sew the head to the body securely.
3. Position and attach the arms on either side of the body.
4. Attach the legs at the bottom of the body.
5. Sew the collar around the neck, ensuring it sits comfortably.
6. Weave in all ends and secure any loose stitches.
6. Closing & Social Engagement
I hope you enjoyed making your very own Kermit the Frog! Don’t worry if your first attempt doesn’t turn out perfect; every stitch is a step toward improvement. I’d love to see your version! Leave a comment below with your thoughts or any questions.
What color combination will you try for your Kermit? Feel free to experiment with shades and yarn types! Share your finished Kermit on social media with the hashtag #KermitCrochet, and spread the joy of handmade creations!