how to single crochet for beginners sc a step by step tutorial 5
2. Introduction
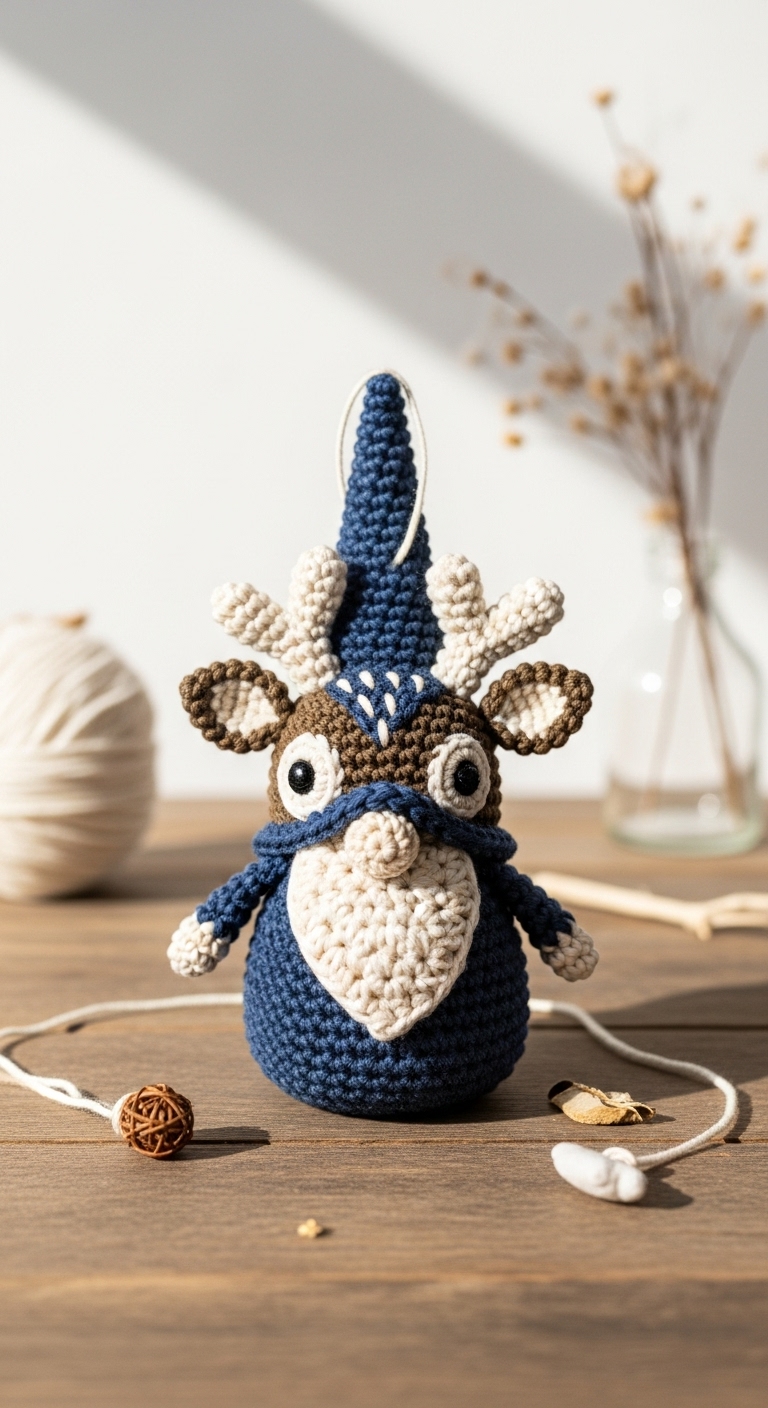
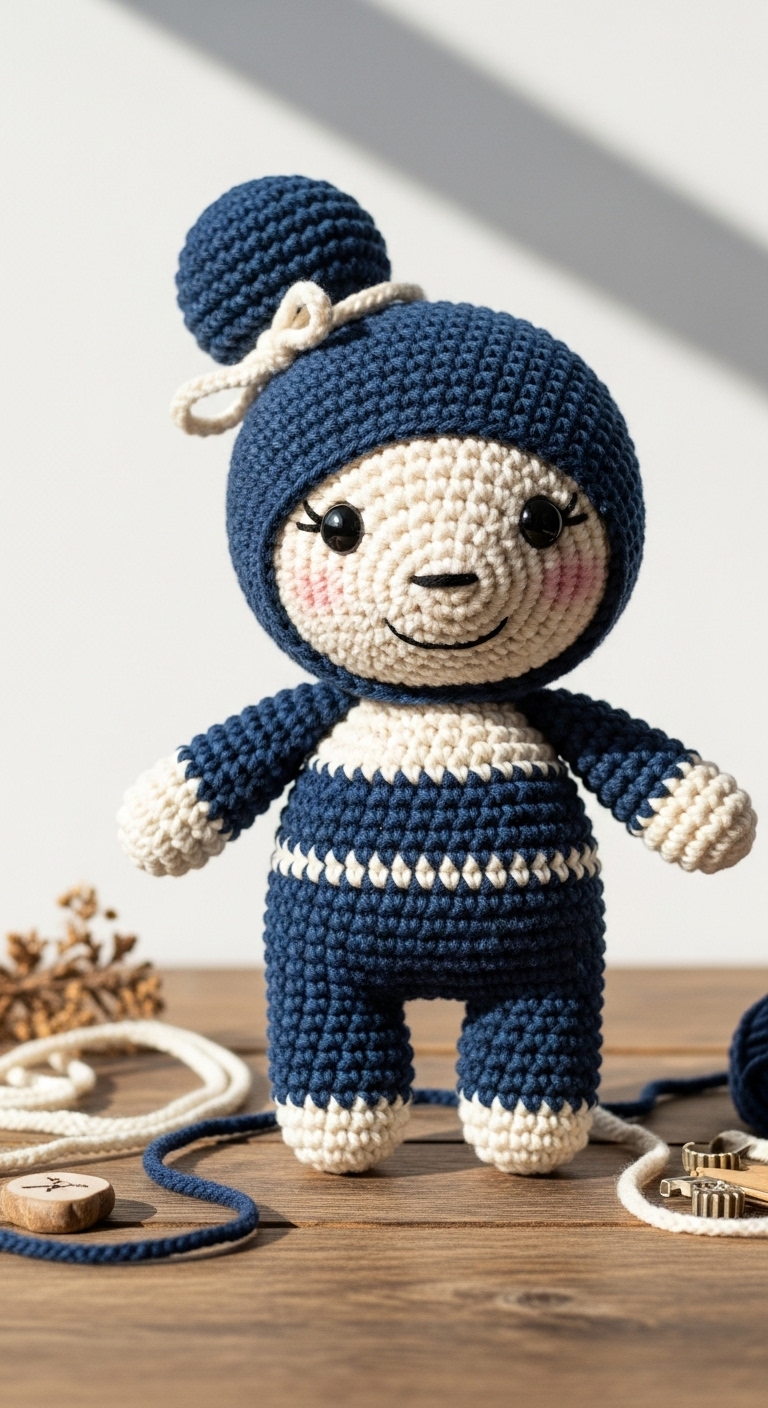
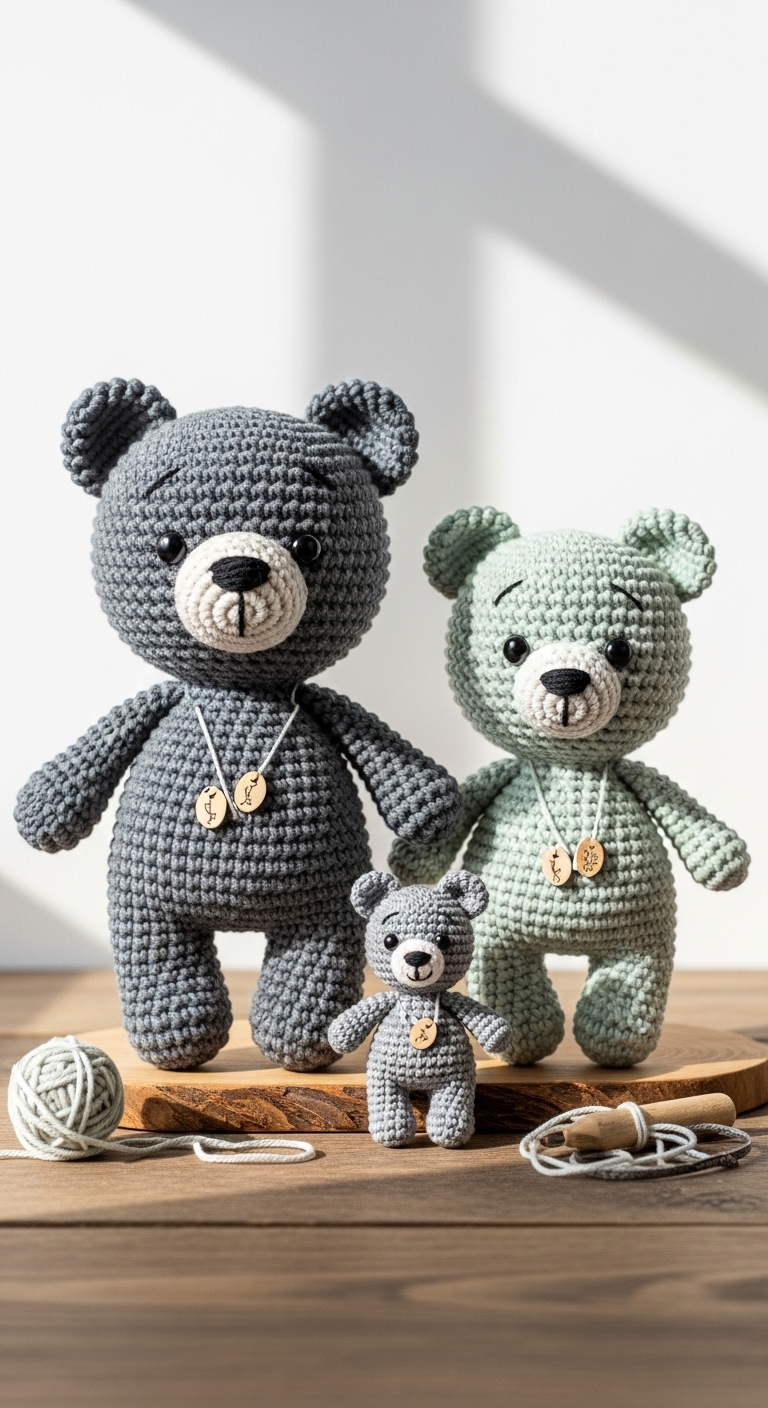
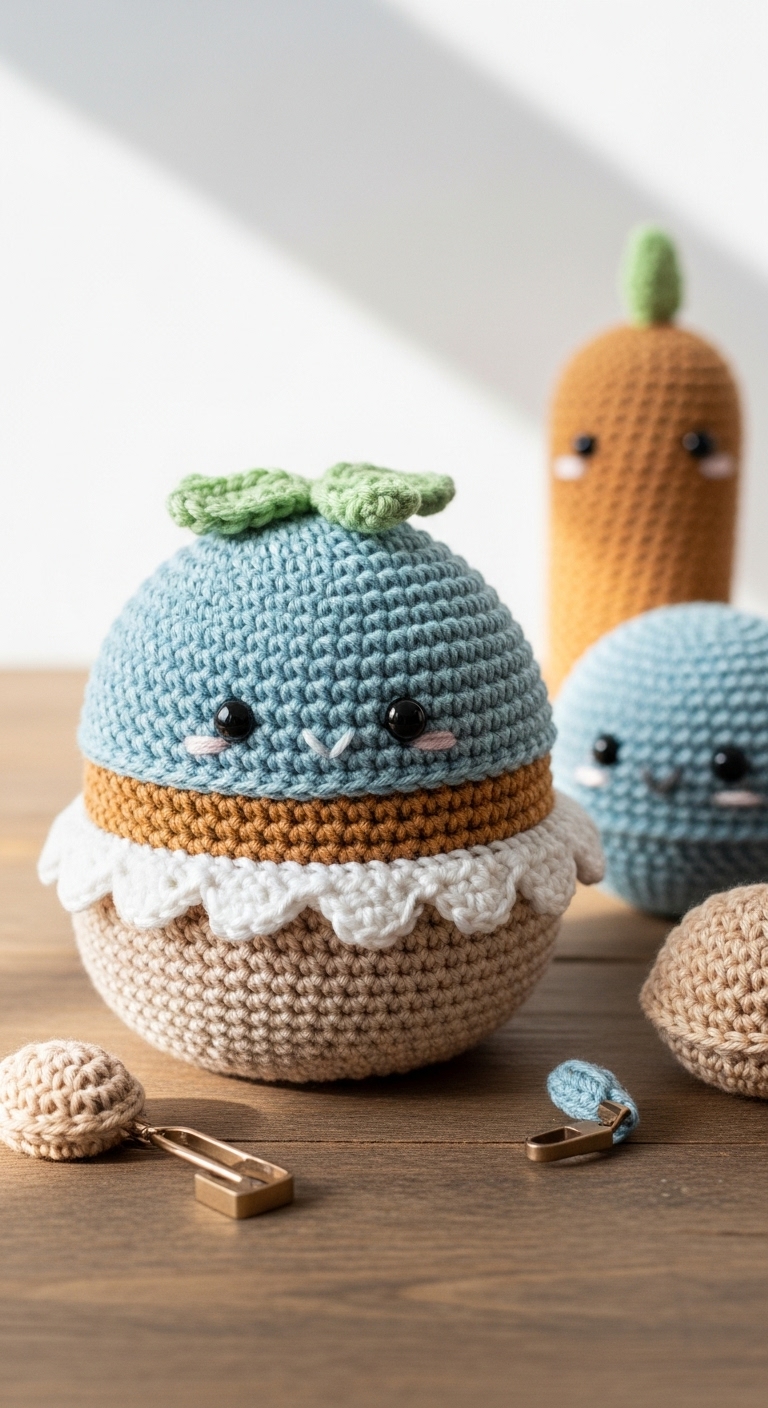
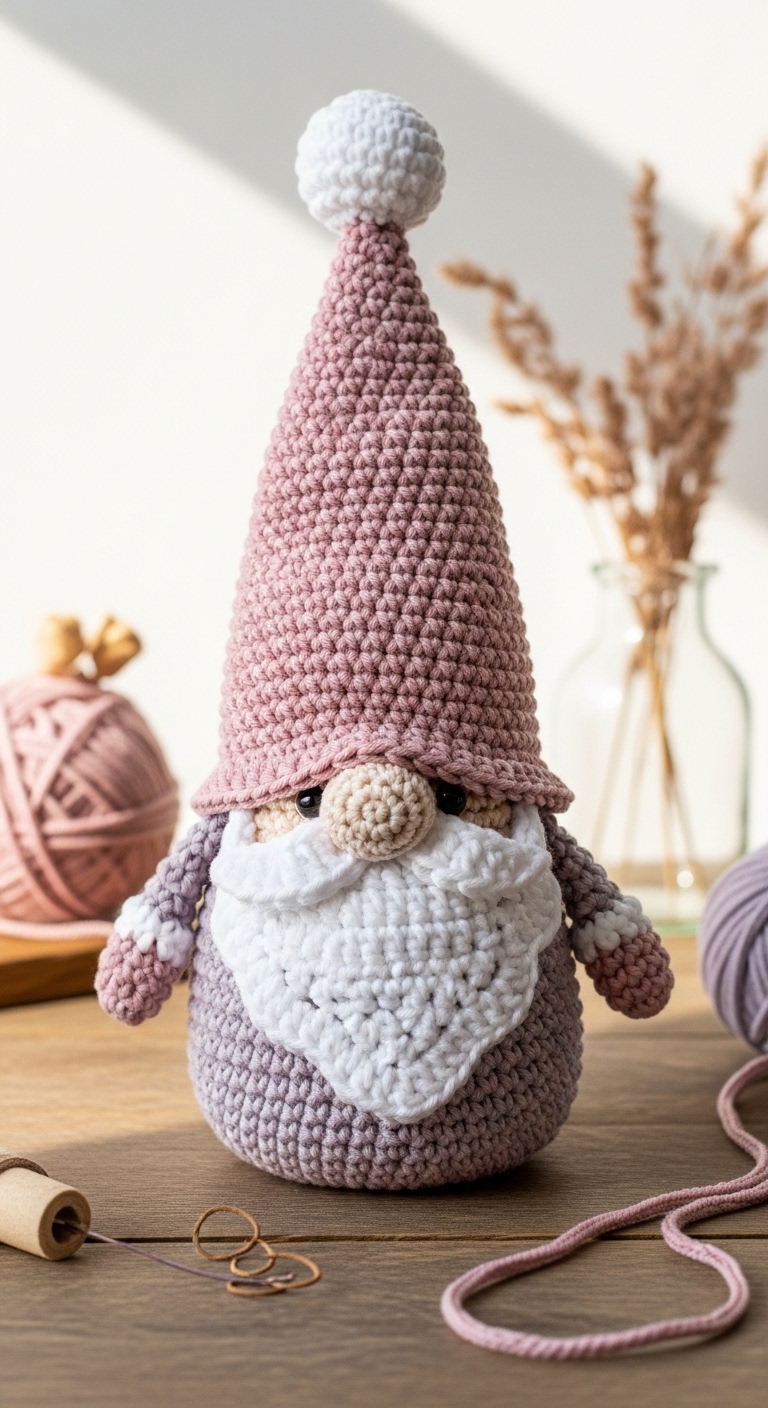
Welcome to your crochet adventure with our delightful “How to Single Crochet” tutorial! In this step-by-step guide, we will learn the art of single crochet (sc) by creating a cozy and adorable small plushie, perfect for beginners. The finished plushie will measure approximately 6 inches tall, making it a sweet little companion or a charming decoration for your home.
For this project, you’ll be working with soft, worsted weight yarn in a beautiful palette of lavender, mint green, and a soft cream color. These adult-friendly colors not only create a sophisticated look but also blend seamlessly together, making your plushie visually appealing. Crocheting this plushie is a fun and quick project that you can complete in just a couple of hours, allowing you to gain confidence in your single crochet skills while creating something special.
This tutorial is designed for beginners, so don’t worry if you’re new to crocheting! It’s an ideal way to practice your technique and build your skills. Plus, this charming plushie makes a wonderful gift for friends or family, perfect for any occasion or as a delightful seasonal decoration.

3. Materials Needed
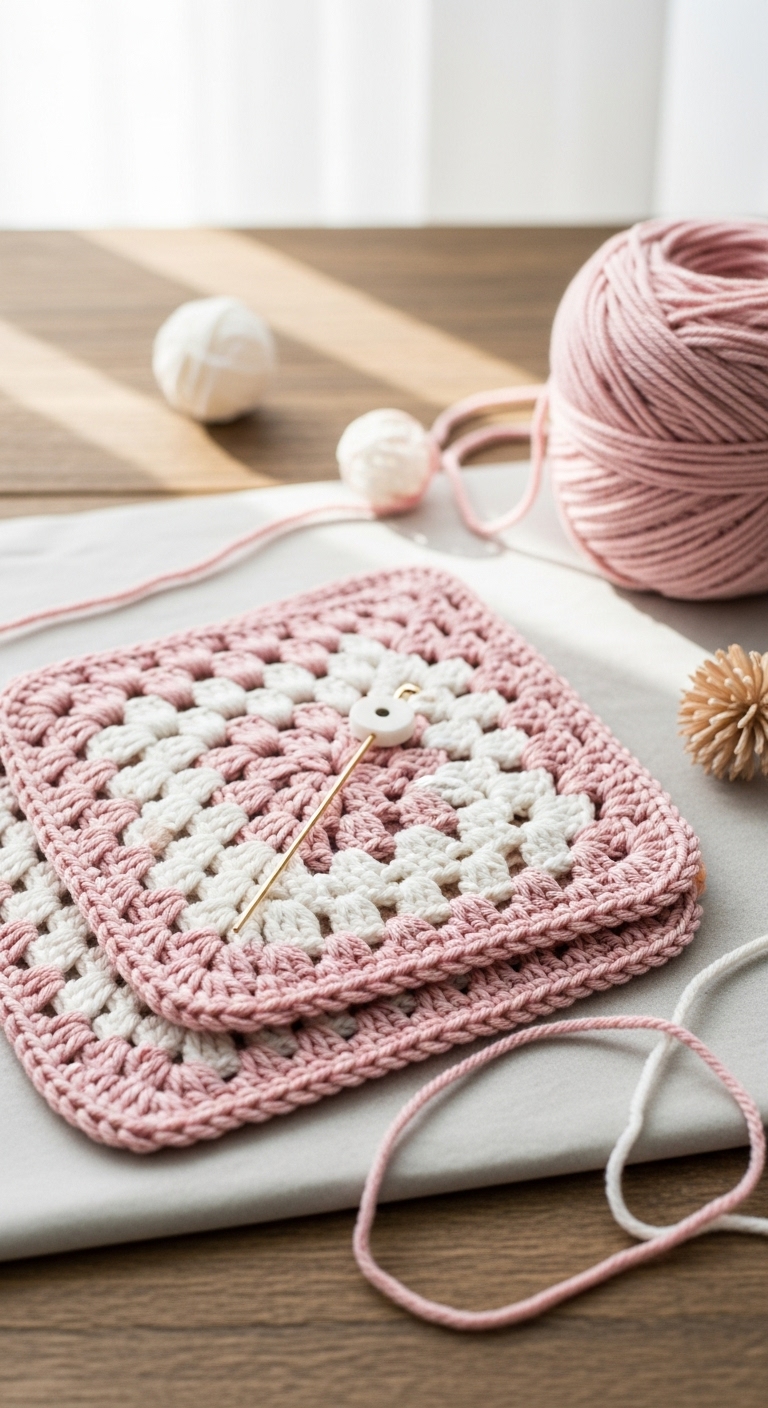
– Yarn: Worsted weight yarn in lavender, mint green, and soft cream – approximately 150 yards total
– Hook: 3.5mm (E) crochet hook
– Eyes: Safety eyes (12mm) OR black embroidery thread for stitched eyes
– Stuffing: Polyester fiberfill stuffing
– Needle: Tapestry needle for sewing
– Marker: Stitch marker
– Optional extras: Pipe cleaners for wire framing, buttons for decoration
4. Designer Notes / Tips
Before diving into the pattern, here are a few helpful tips to make your crocheting experience smoother:
– Stitch Technique: The single crochet stitch is simple and creates a tight, plush fabric. When working in the round, make sure to keep your tension consistent to avoid uneven edges.
– Stuffing Density: For a soft and cuddly plushie, use a light stuffing. If you want your plushie to hold its shape more firmly, go for a denser stuffing.
– Assembly: When joining pieces, use a whip stitch for a seamless finish. Make sure to stuff parts like the head and body before closing them up.
– Yarn Substitutions: If you prefer different textures, you can use cotton or bamboo yarn, though they may alter the final look and feel slightly.
– Gauge Tips: While gauge isn’t crucial for beginners, if you want your plushie to be a specific size, make a gauge swatch to check your tension.
– Safety Considerations: If gifting to a child, ensure all eyes and embellishments are securely attached or opt for embroidered features to eliminate choking hazards.
5. Pattern Instructions
Now let’s create your adorable plushie using the single crochet stitch!
For Plushies:
– Head:
– Body:
– Arms/Legs (make 2 of each):
– Ears (make 2):
– Assembly:
1. Attach the safety eyes to the head, placing them between rounds 4 and 5.
2. Sew the head onto the body.
3. Attach the arms and legs to the sides of the body, positioning them evenly.
4. Sew on the ears at the top of the head.
5. Weave in all ends securely.
6. Closing & Social Engagement
Congratulations on completing your adorable single crochet plushie! I hope you found this tutorial both enjoyable and enlightening. Don’t hesitate to experiment with colors or even add your personal touches to make it uniquely yours.
I’d love to see your version! Leave a comment below sharing your experience and any variations you tried. What color combination will you choose next? Share your finished plushie on social media with your crochet community! Happy crocheting!