how to join as you go granny squares step by step guide

2. Introduction
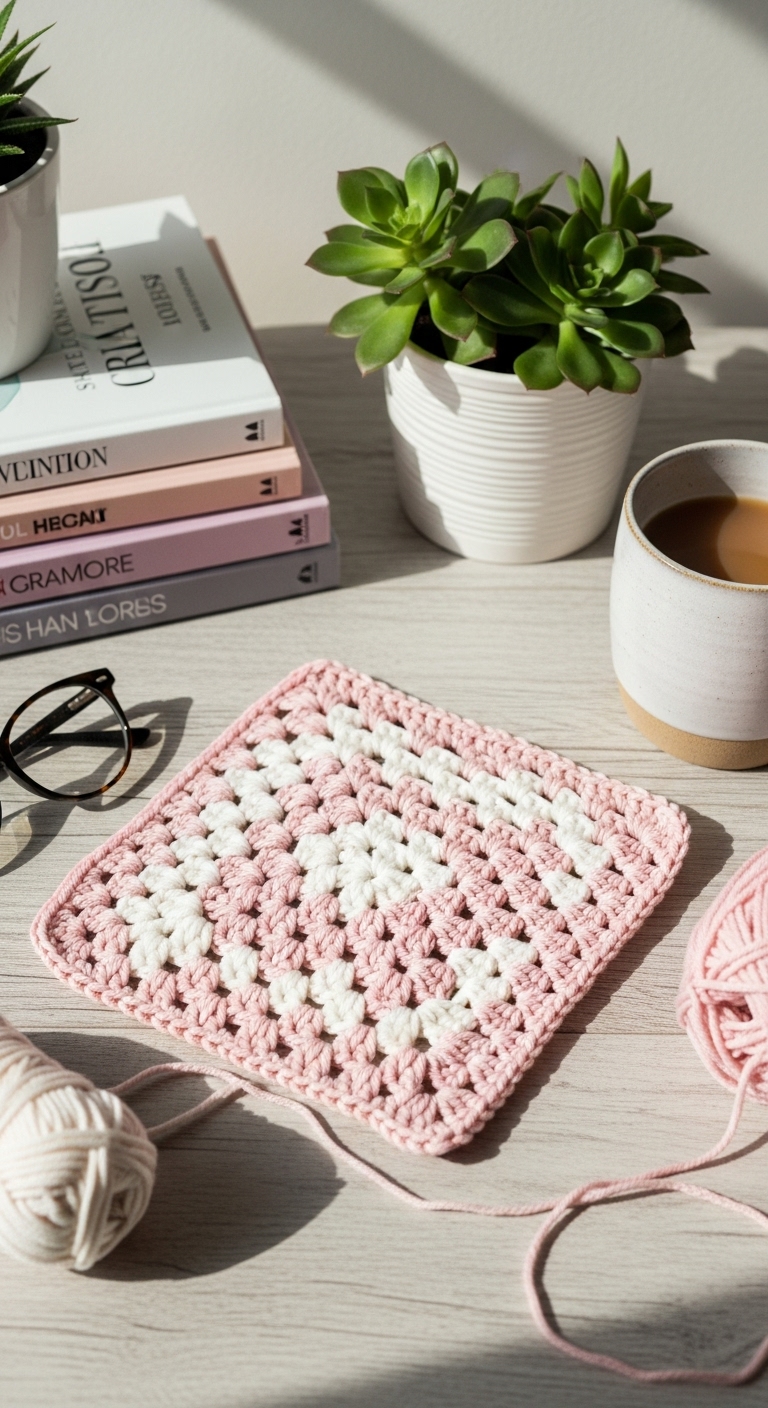
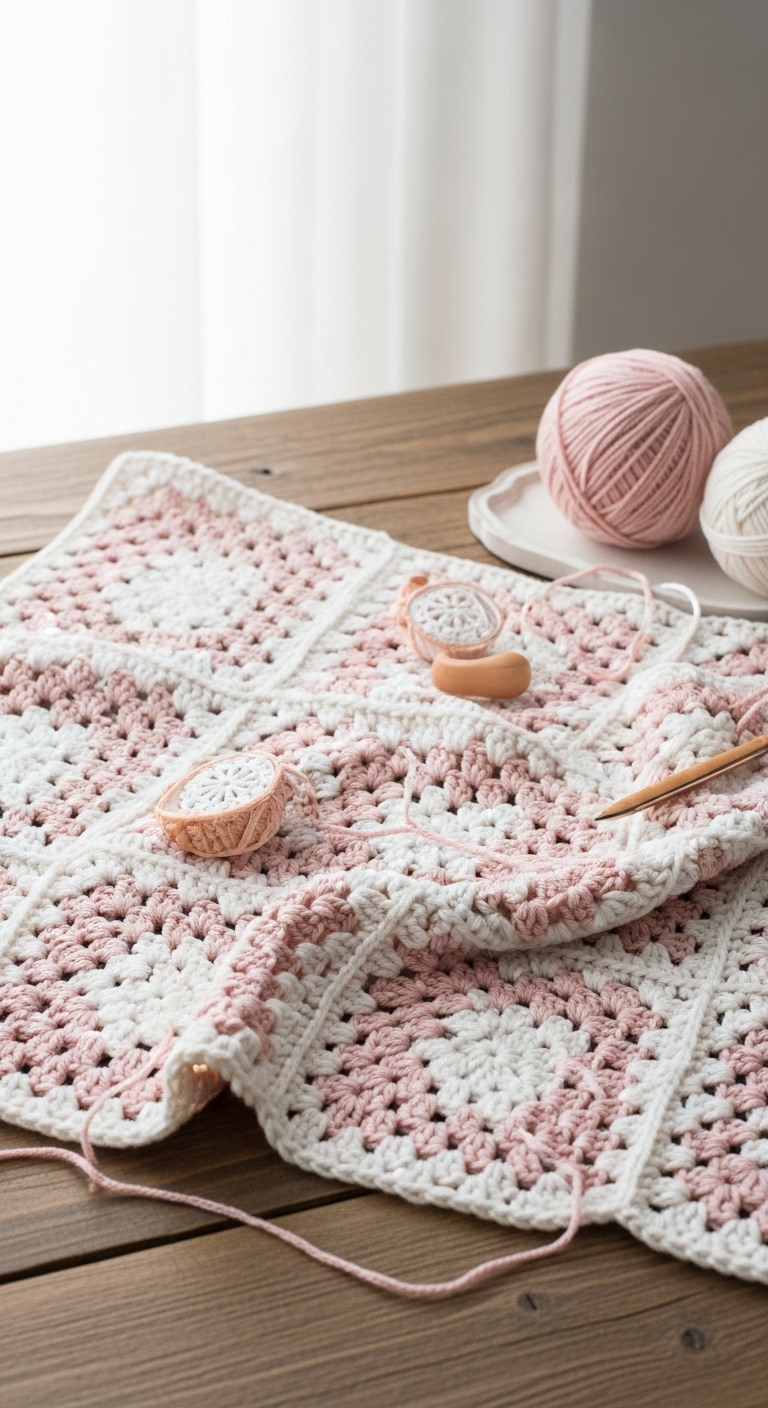
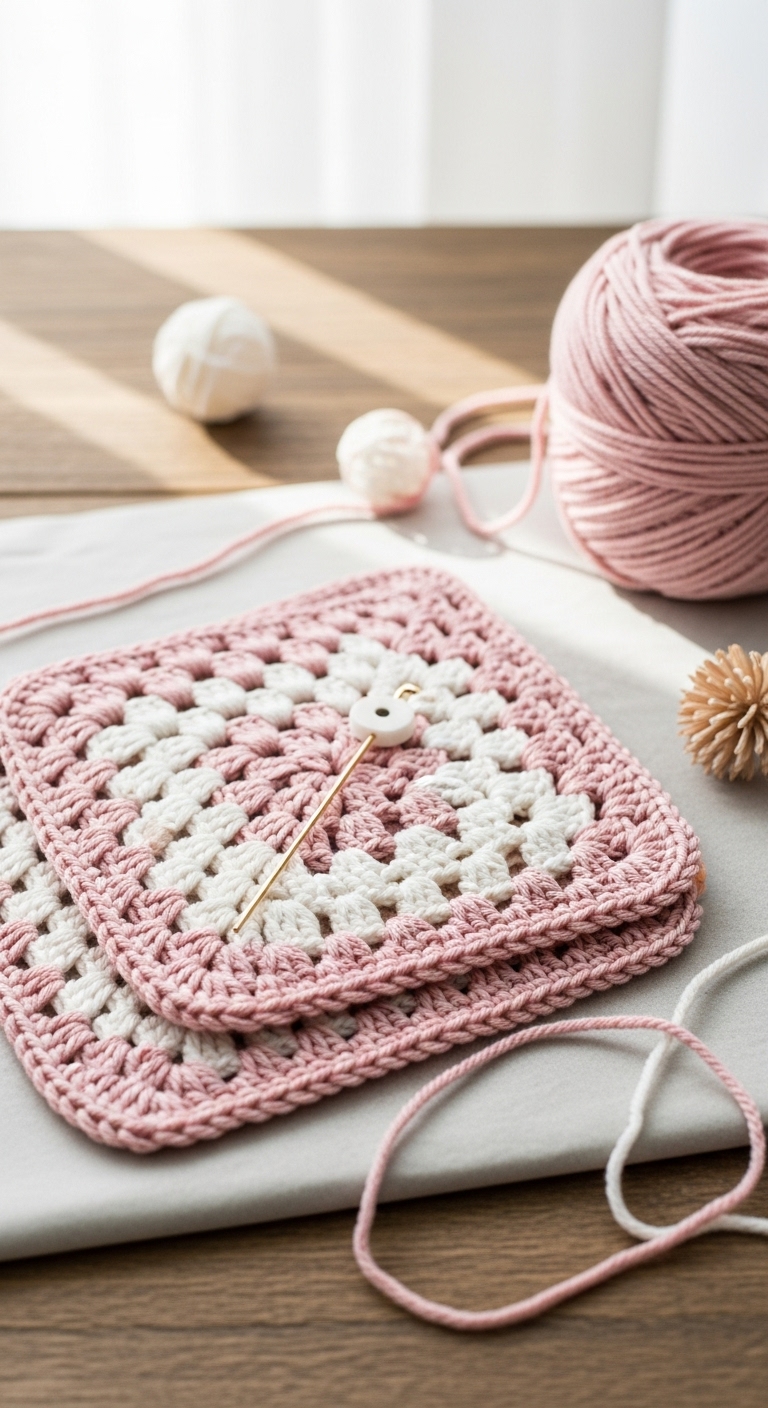
Welcome to your journey in creating beautiful granny squares with an easy “join as you go” technique! This method is perfect for crafting vibrant blankets, stylish bags, or even decorative wall hangings. Each granny square measures approximately 6 inches, making them the perfect size for a cozy lap blanket or a trendy accessory that’s sure to turn heads.
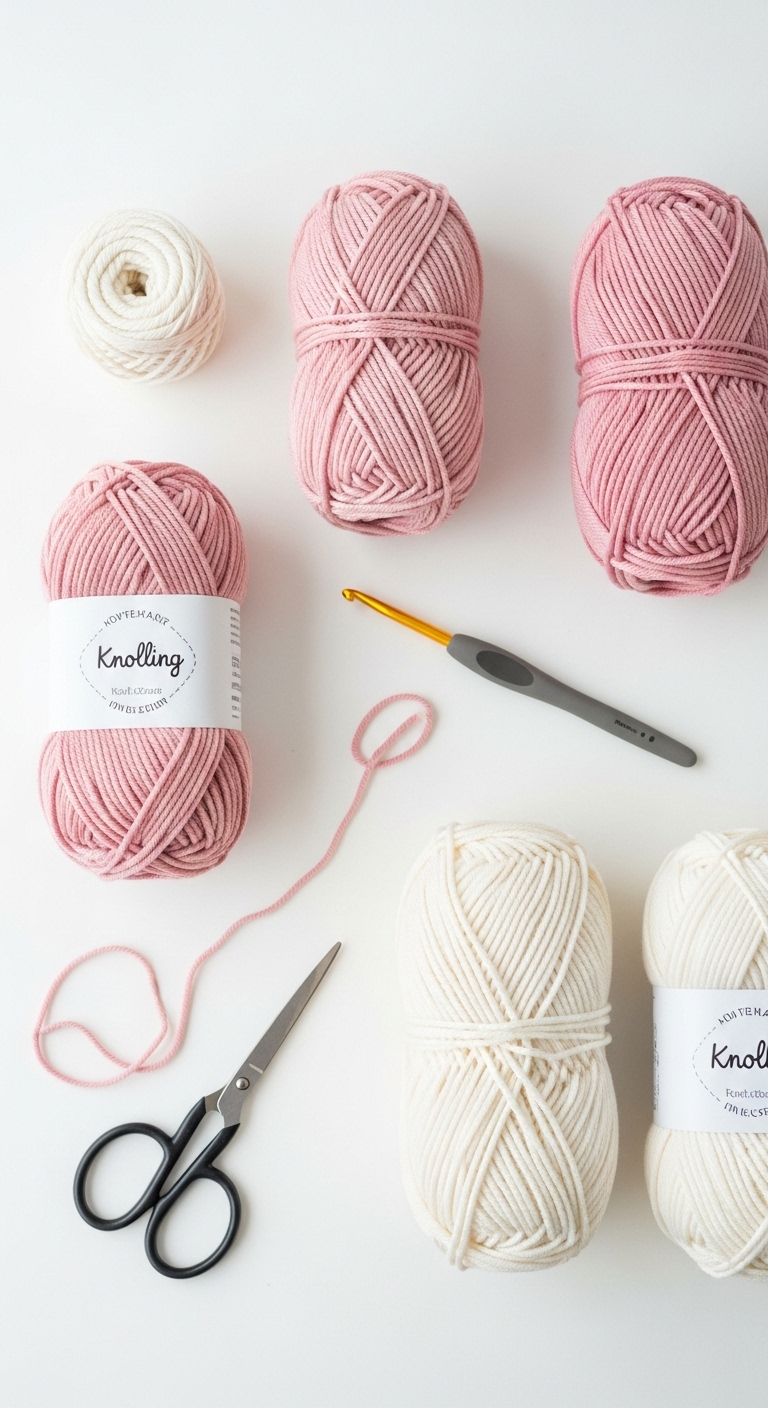
For this project, you’ll be using a soft, medium-weight yarn in a palette of calming navy blue, crisp white, and a touch of lively coral. These colors work beautifully together, creating a modern and sophisticated look that appeals to adults. What makes this project so special is not just the delightful end product, but the joy of connecting each square as you go—making it faster and more fun than traditional assembly methods! This pattern is beginner-friendly, perfect for those just starting their crochet journey, but it can also be enjoyed by more experienced crocheters looking for a quick and satisfying project. It could make a lovely gift for a housewarming or a cozy throw for the chilly seasons.
3. Materials Needed
– Yarn: Medium-weight yarn in navy blue, white, and coral – approximately 400 yards total
– Hook: 4.0mm crochet hook
– Eyes: Not applicable for this project
– Stuffing: Not applicable for this project
– Needle: Tapestry needle for weaving ends
– Marker: Stitch marker
– Optional extras: N/A
4. Designer Notes / Tips
– Stitch technique: Familiarize yourself with the traditional granny square stitch, which combines double crochets and chain stitches to create that classic look. Don’t worry if your tension isn’t perfect—you’ll still achieve a beautiful result!
– Assembly: When joining squares, make sure to keep your yarn loose enough to allow for flexibility, avoiding a stiff feel.
– Yarn substitutions: If you prefer a lighter texture, consider using a DK or sport weight yarn; just keep in mind that you may need to adjust your hook size to maintain the same square dimensions.
– Gauge tips: A 4-inch square should equal 10 double crochets by 6 rows, but focus more on the final size of individual squares rather than exact gauge; each square should comfortably measure around 6 inches.
– Safety considerations: Since this project is not intended for children, there are no specific safety concerns, but always consider the end-user when choosing colors or materials.
5. Pattern Instructions
Granny Square Construction
– Starting the Square:
– Continuing the Square:
– Joining Squares:
Final Touches
1. Finishing the Squares: After your last round, fasten off and weave in any remaining ends with your tapestry needle.
2. Blocking: To achieve a neat finish, lightly block your squares by dampening them and laying them flat to dry.
6. Closing & Social Engagement
I can’t wait to see how your granny square project turns out! Feel free to share your progress or finished pieces in the comments below. What stunning color combination will you choose for your next project? Remember, each square you create is not just a piece of fabric but a touch of warmth and creativity—enjoy every moment of your crochet journey!