how to crochet the perfect solid granny square

2. Introduction
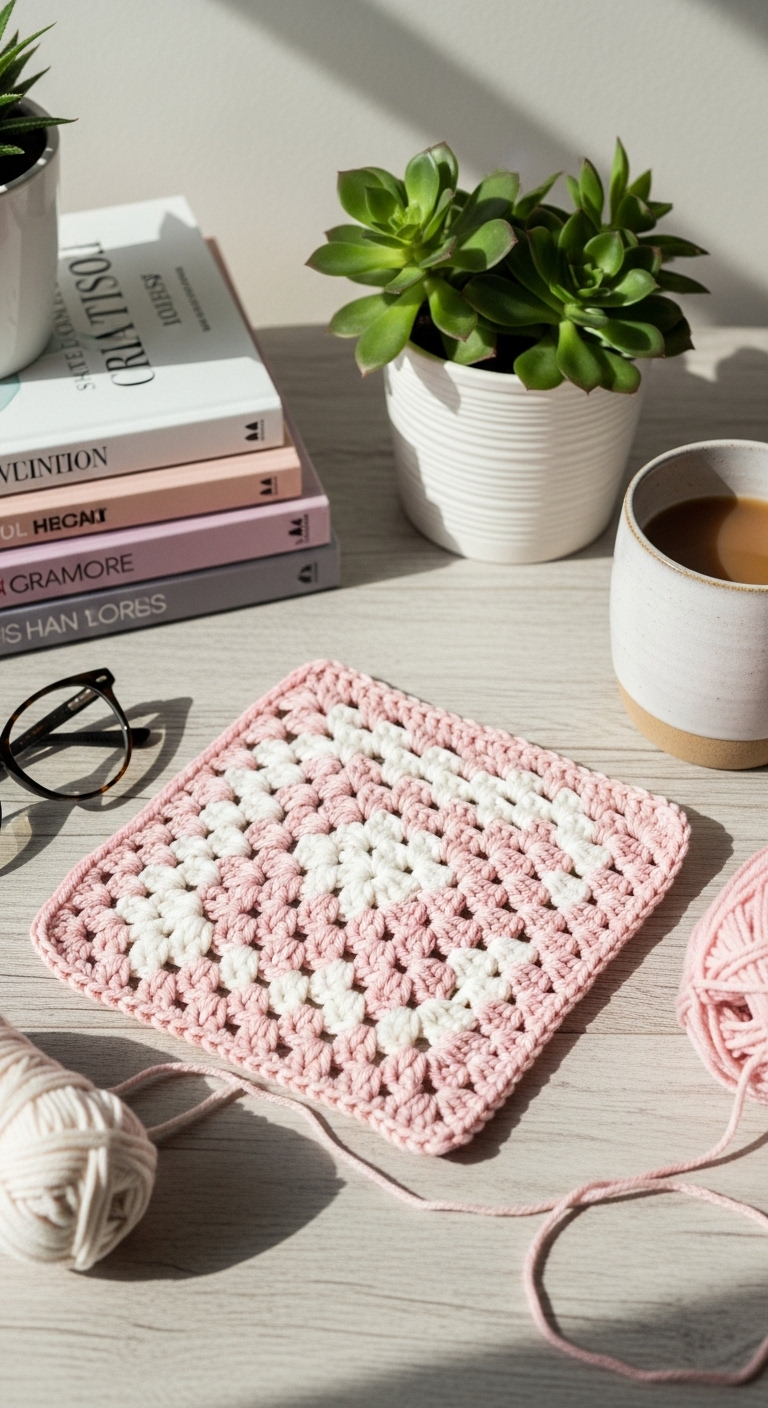
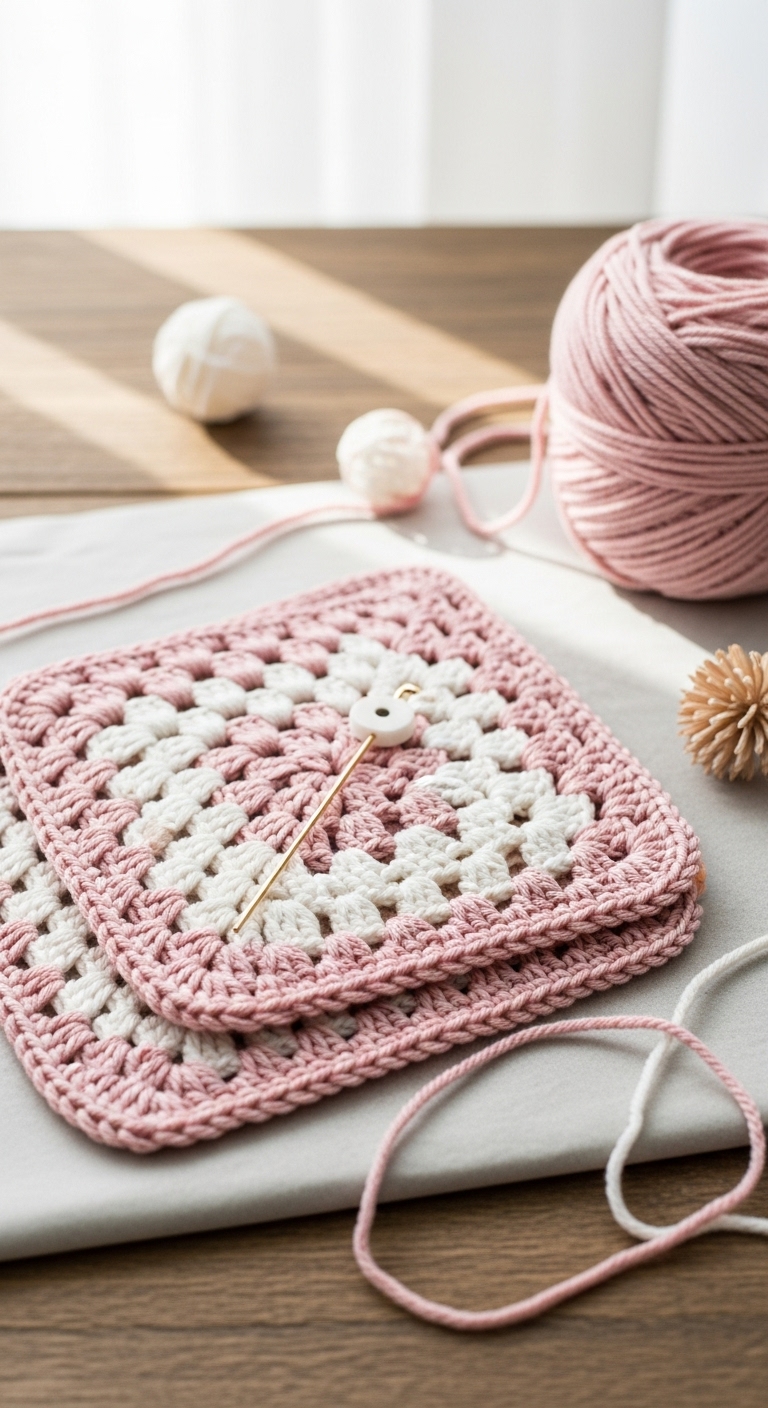
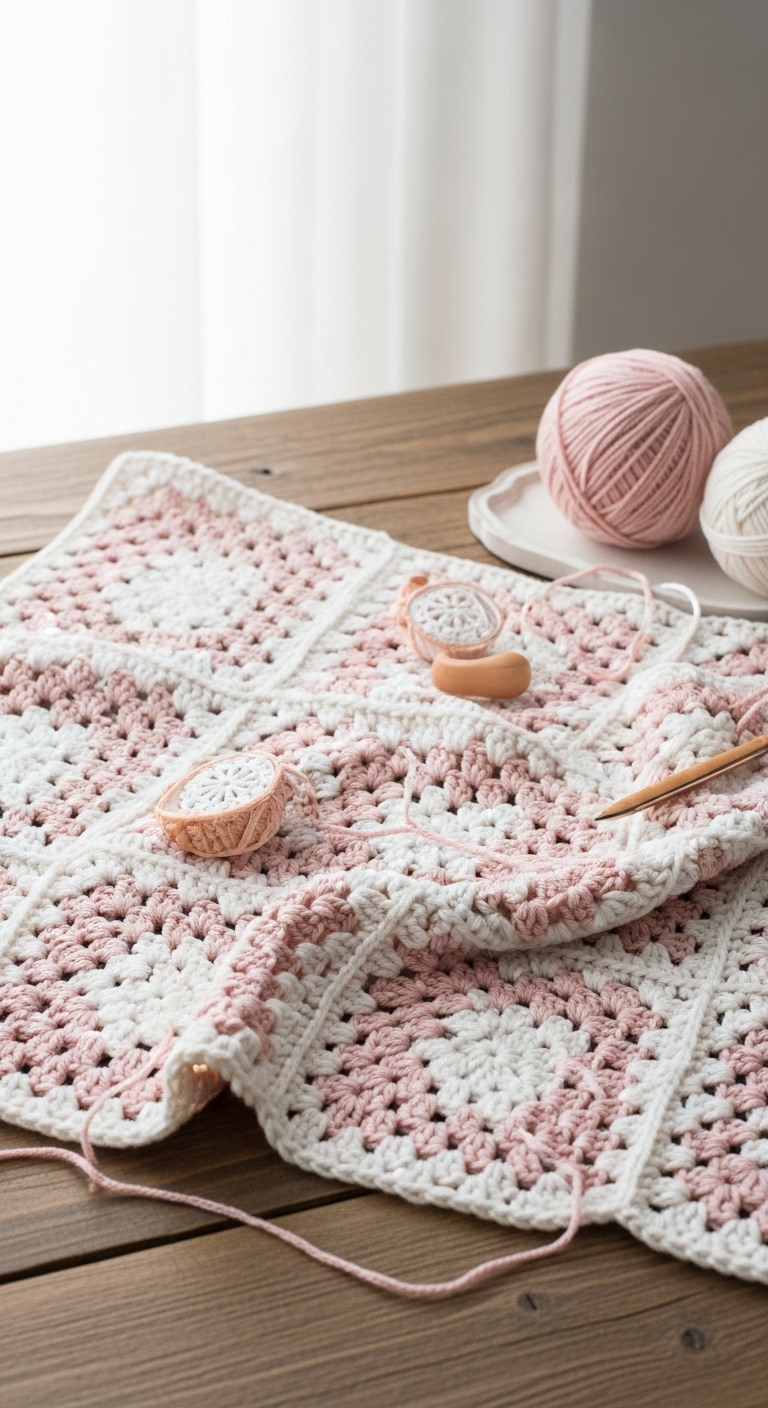
Welcome to your guide on how to crochet the perfect solid granny square! This timeless crochet project is not only functional but also a beautiful addition to your home decor. Each square is approximately 6 inches by 6 inches, making it the perfect size for coasters, blankets, or even as a vibrant wall hanging when combined into a larger piece.
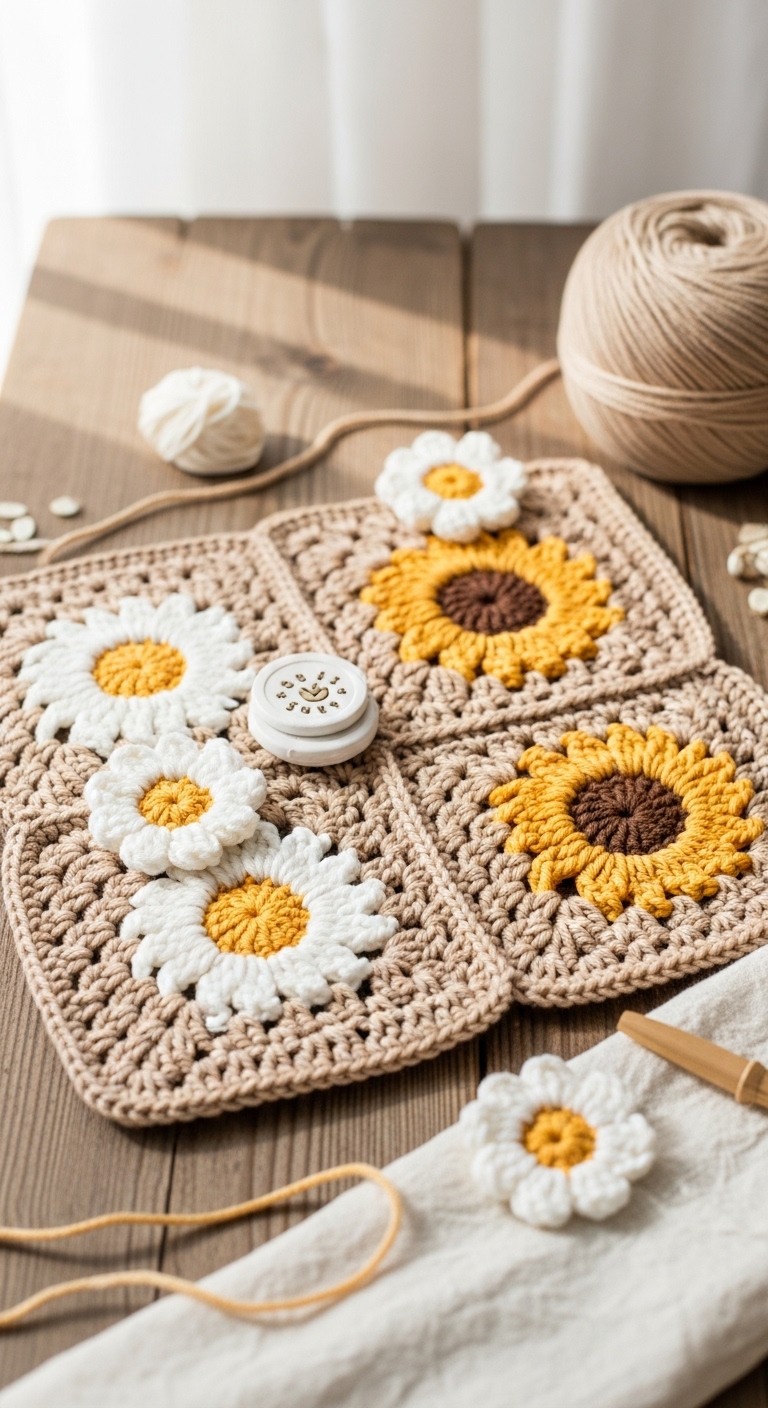
For this project, we’ll be using a soft, worsted weight yarn in three sophisticated colors: a deep navy blue, a bright mustard yellow, and a crisp white. These adult-friendly colors complement each other beautifully and can be easily adapted to suit your personal style or home decor! The best part? Crocheting a solid granny square is a fun and quick project, ideal for both seasoned crafters and those who are just starting their crochet journey. You can easily whip up a few squares over a cozy afternoon, making them perfect as gifts for friends or as a cozy addition to your own collection.
This project is beginner-friendly, providing a great opportunity to practice essential crochet skills like double crochet stitches and working in rounds. Whether you’re making a thoughtful housewarming gift or preparing for a cozy winter season, these solid granny squares will surely impress!
3. Materials Needed
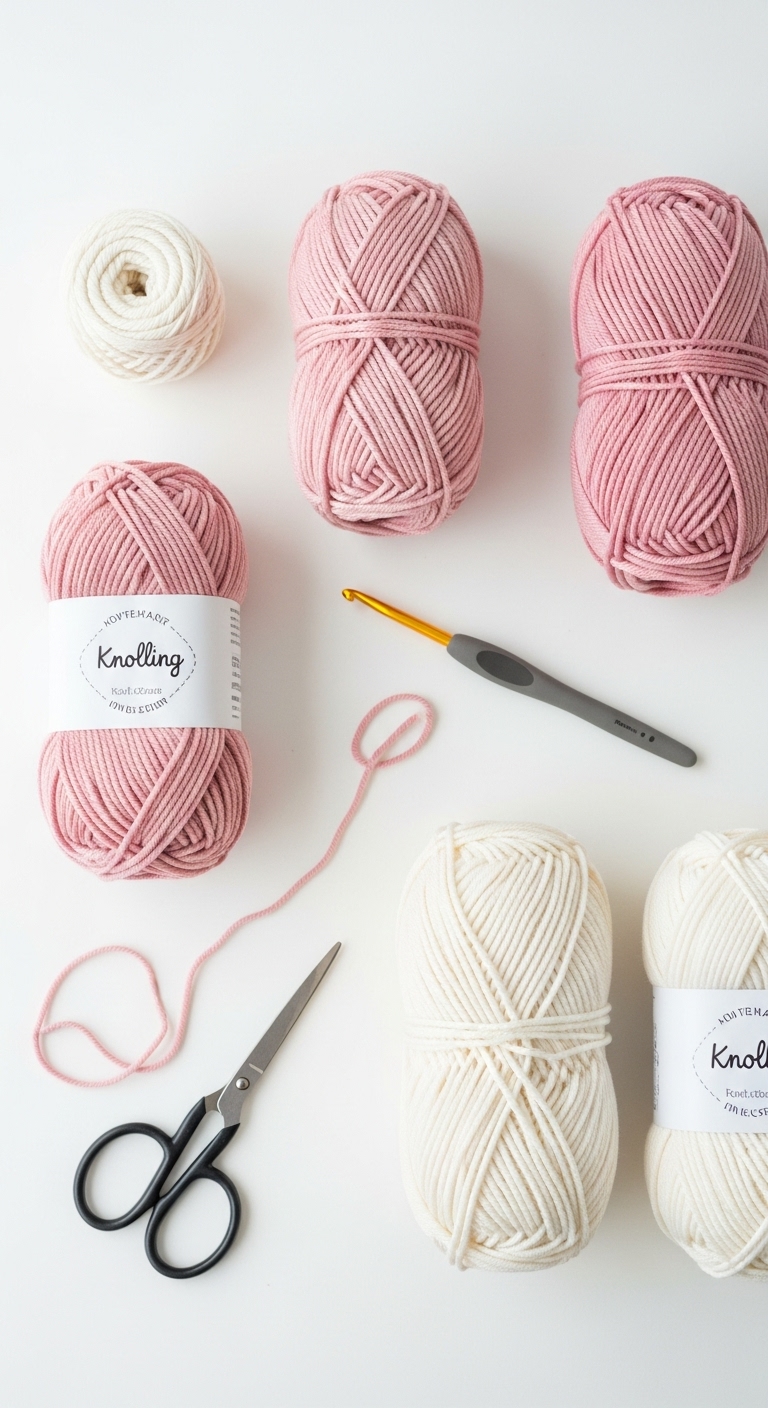
– Yarn: Worsted weight yarn in navy blue (approx. 100 yards), mustard yellow (approx. 100 yards), and white (approx. 100 yards)
– Hook: 4.0mm crochet hook
– Marker: Stitch marker
– Needle: Tapestry needle for weaving in ends
– Optional extras: None needed for this project, but feel free to add embellishments like buttons for a personalized touch!
4. Designer Notes / Tips
When creating your solid granny square, you’ll primarily use the double crochet stitch, which gives the square its lovely texture. The stitch technique allows for a sturdy yet flexible fabric, perfect for various applications.
When it comes to stuffing density, this project does not require stuffing, but if you were to use the squares in a plushie application later, aim for a light fill to maintain shape without bulking.
To ensure even squares, keep an eye on your gauge. If your stitches seem too tight, don’t hesitate to go up a hook size! If you’re working with varying yarns, maintain a similar weight for consistency in size and texture.
Lastly, if you plan to gift your granny squares to children, consider sewing a layer of fabric behind each square for added safety and durability, especially if using buttons or embellishments.
5. Pattern Instructions
Let’s get started on your solid granny square!
Solid Granny Square
This pattern is worked in rounds, and you will need to join your rounds with a slip stitch at the end of each round.
Round 1: Chain 4, join with a slip stitch to form a ring.
Round 2: Chain 3 (counts as first dc), 2 dc in ring, *chain 2, 3 dc in ring* repeat from * to * two more times, chain 2, join with a slip stitch to top of chain 3 (12 dc).
Round 3: Slip stitch to the first chain 2 space, chain 3 (counts as first dc), 2 dc in same space, *chain 2, 3 dc in next chain 2 space* repeat from * to * two more times, chain 2, join with slip stitch to top of chain 3 (24 dc).
Round 4: Slip stitch to first chain 2 space, chain 3 (counts as first dc), 2 dc in same space, *chain 2, 3 dc in next chain 2 space, chain 1, 3 dc in next space* repeat from * to * two more times, chain 2, join with slip stitch to top of chain 3 (36 dc).
Round 5: Slip stitch to first chain 2 space, chain 3 (counts as first dc), 2 dc in same space, *chain 2, 3 dc in next chain 2 space, chain 1, 3 dc in next space* repeat from * to * two more times, chain 2, join with slip stitch to top of chain 3.
Now you have completed your perfect solid granny square! You can make as many as you’d like, either in one color or mixing up the colors for a beautifully vibrant blanket.
6. Closing & Social Engagement
I hope you enjoyed crocheting your perfect solid granny square! I’d love to see your version! Share your finished squares or any unique color combinations you tried in the comments below. What color combination will you try next? Don’t forget to share your creations on social media, and let’s inspire more crochet lovers to join the fun!