how to crochet a magic ring magic circle tutorial
2. Introduction
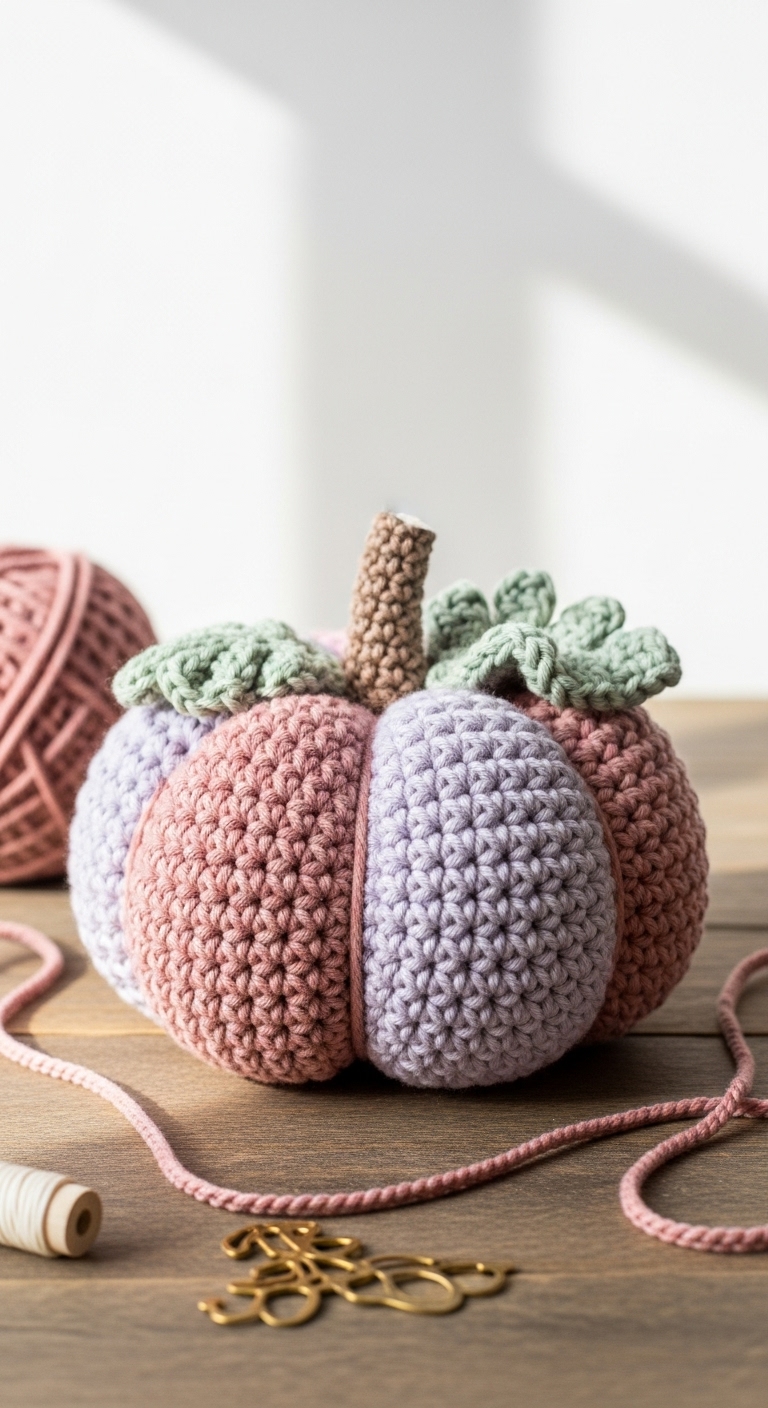
Welcome to your first step into the enchanting world of crocheting with a magic ring (or magic circle)! This technique is a fantastic foundation for creating plushies, amigurumi, or even cozy accessories. The magic ring allows you to start your crochet projects with a closed center, which helps avoid the dreaded hole at the start of your work. Whether you’re aiming to create adorable stuffed animals or charming decorative pieces, mastering the magic ring will make your projects look neat and professional.
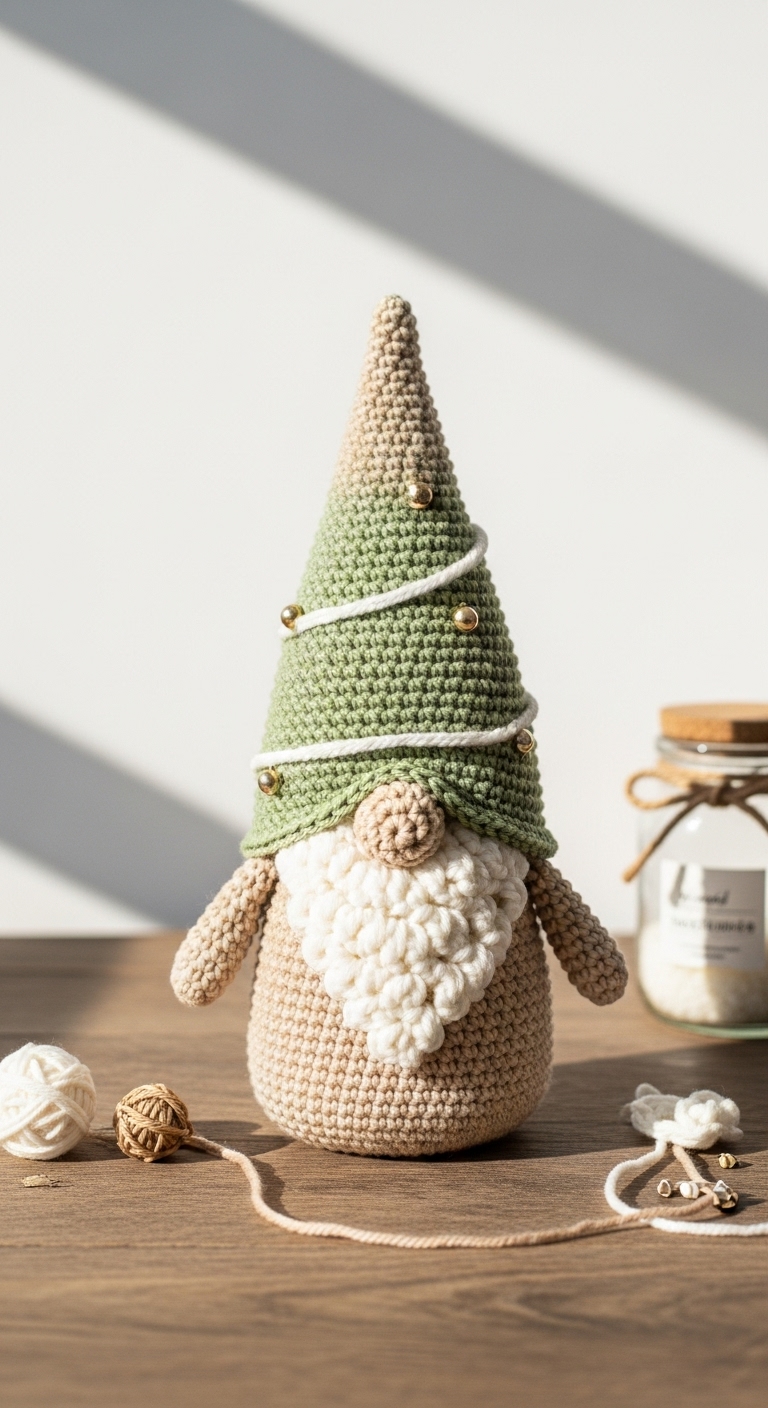
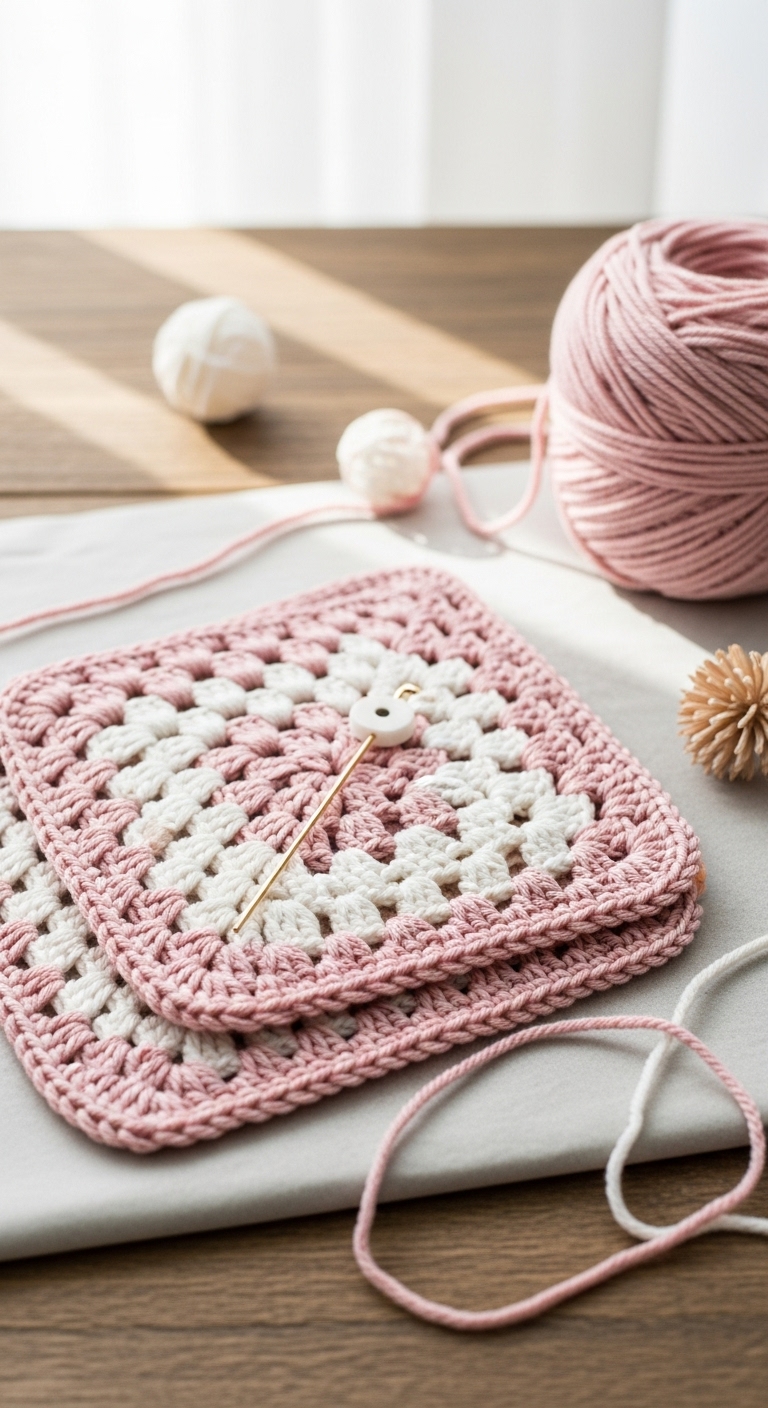
For this tutorial, we’ll be using a soft worsted weight yarn in complementary adult-friendly colors: a subtle mint green, a calming grey, and a warm cream. This color palette is not only contemporary but also incredibly versatile, allowing it to fit seamlessly into any modern home décor. The magic ring technique is fun, quick to learn, and incredibly satisfying—perfect for beginners eager to expand their crochet skills. Plus, projects made using this technique make lovely gifts for friends and family, especially for baby showers, birthdays, or just because!
3. Materials Needed
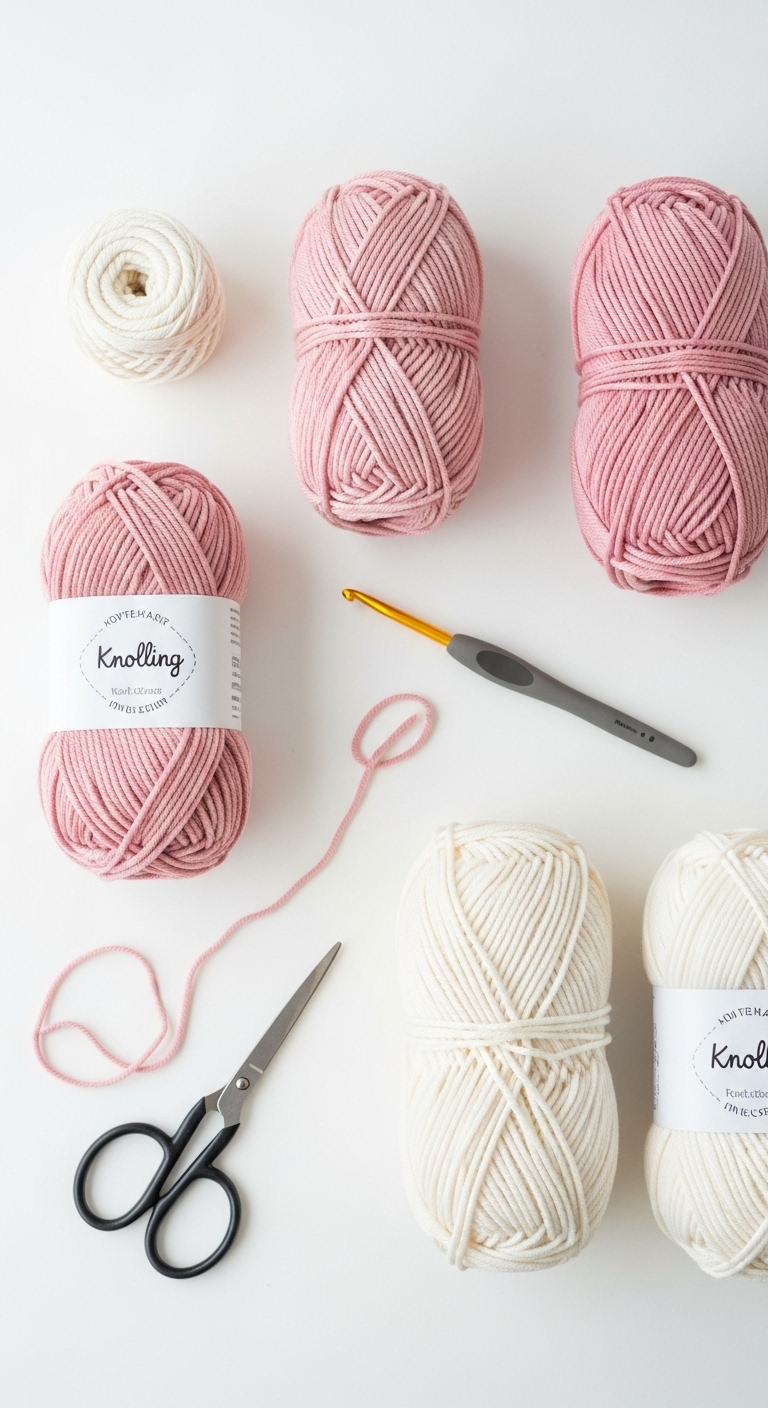
– Yarn: Worsted weight yarn in mint green (approx. 50 yards), grey (approx. 50 yards), and cream (approx. 25 yards)
– Hook: 3.5mm or 4.0mm crochet hook
– Eyes: Safety eyes (12mm) OR black embroidery thread for detailing
– Stuffing: Polyester fiberfill stuffing
– Needle: Tapestry needle for sewing ends
– Marker: Stitch marker to keep track of rounds
– Optional extras: Pipe cleaners for added stability in limbs, buttons for embellishment, or a zipper if creating a pouch
4. Designer Notes / Tips
When working with the magic ring, it’s important to pull your yarn snugly to ensure a tight center. This technique involves starting with a loop rather than chaining, which gives your project a polished look. Remember to keep your tension consistent; if you find your stitches are too tight or loose, adjust your grip and yarn placement accordingly.
When stuffing your plushies, aim for a balance between light and firm. Light stuffing allows your creation to maintain a soft shape, while firmer stuffing provides structure and durability. If you’re making pieces for little ones, consider using securely attached safety eyes or embroidering the features for added safety.
If you’re experimenting with different yarns, look for worsted weight substitutes that have a similar texture and fiber content to maintain gauge. Always check your tension and size to ensure that your pieces fit together nicely! And when it comes to safety, always opt for child-safe materials and securely stitch any embellishments.
5. Pattern Instructions
For Plushies:
Head:
*Note: Place safety eyes between Rounds 4 and 5, about 6 stitches apart.*
Body:
*Tip: Stuff the body lightly before closing it up.*
Arms/Legs:
– *Arms:*
– *Legs:* Follow the same instructions as the arms but make two.
Ears:
Assembly:
– Sew the head onto the body securely.
– Attach the arms and legs to the body, positioning them evenly for balance.
– Finally, sew the ears onto the head and ensure all pieces are securely fastened.
6. Closing & Social Engagement
Congratulations on mastering the magic ring technique! This skill will open up a world of possibilities for your crochet projects. I’d love to see your version of this tutorial! Leave a comment below sharing your thoughts or any questions you might have. What color combinations will you try? Don’t forget to share your finished plushies or accessories on social media with your unique twist—happy crocheting!