how to crochet a granny square
2. Introduction
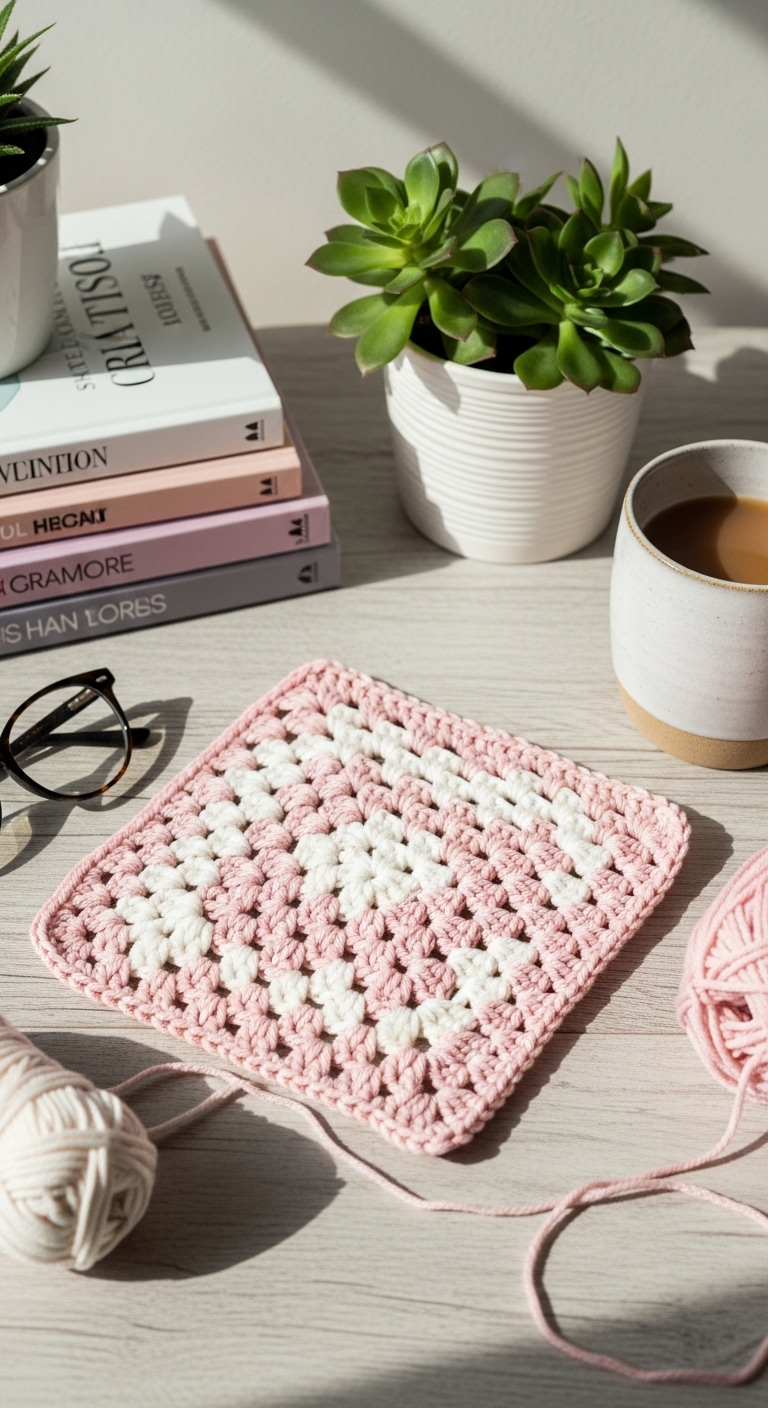
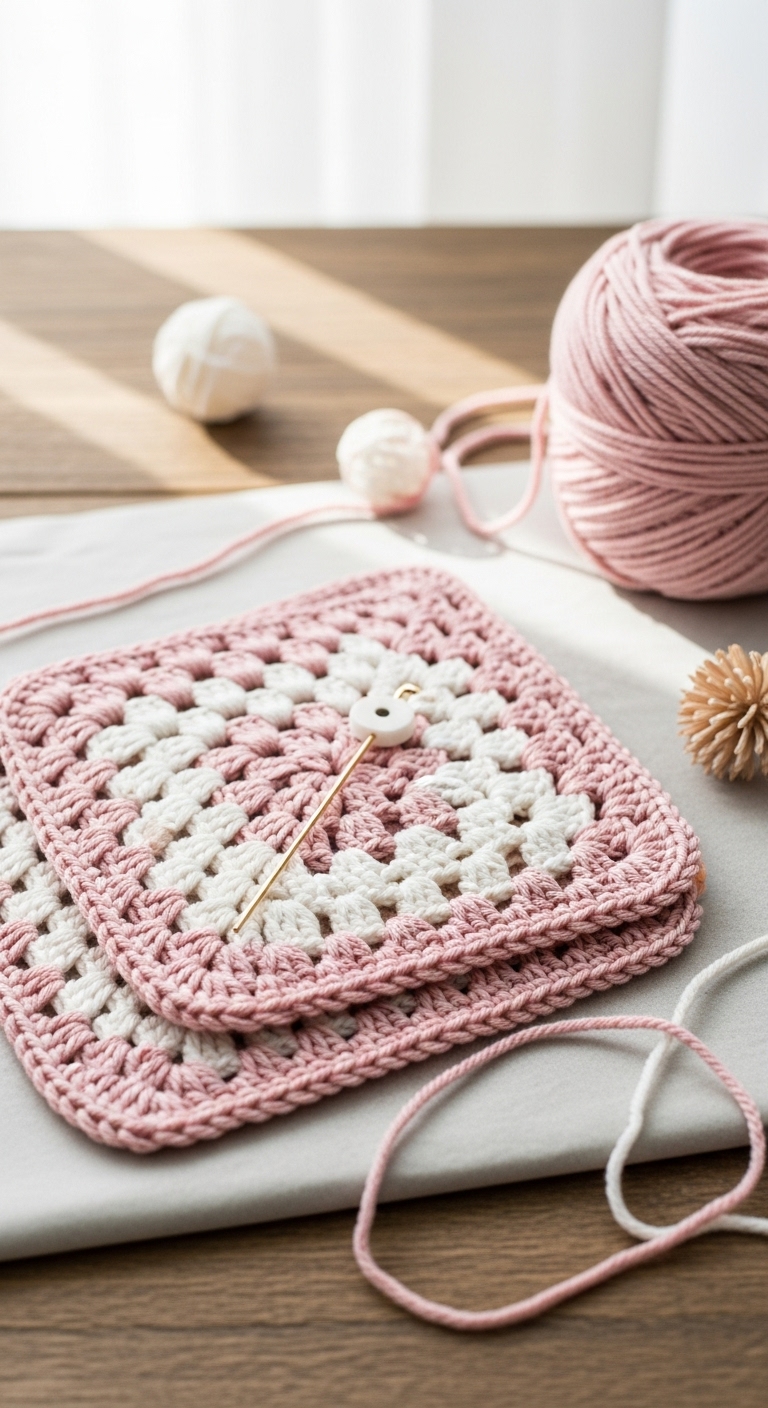
Welcome to the wonderful world of crochet! In this article, we’re diving into the delightful art of creating a classic granny square. This timeless project measures approximately 6-8 inches square, making it perfect for various uses, from coasters and pot holders to blanket squares or even a stylish bag. The granny square is a versatile building block that can be combined into larger projects, inviting creativity and a chance to express yourself through color.
For our granny square, we’ll be using medium-weight yarn in a beautiful combination of teal, mustard yellow, and cream. These adult-friendly colors not only blend harmoniously but also add a touch of elegance to your finished piece. Crocheting granny squares is a fun and quick endeavor, perfect for both new crocheters and seasoned artisans looking for a relaxing project. This pattern is beginner-friendly, so don’t worry if you’re just starting your crochet journey! Plus, a set of granny squares makes a thoughtful gift for friends or family, especially as the seasons change.
3. Materials Needed
To get started on your granny square, here’s a list of materials you’ll need:
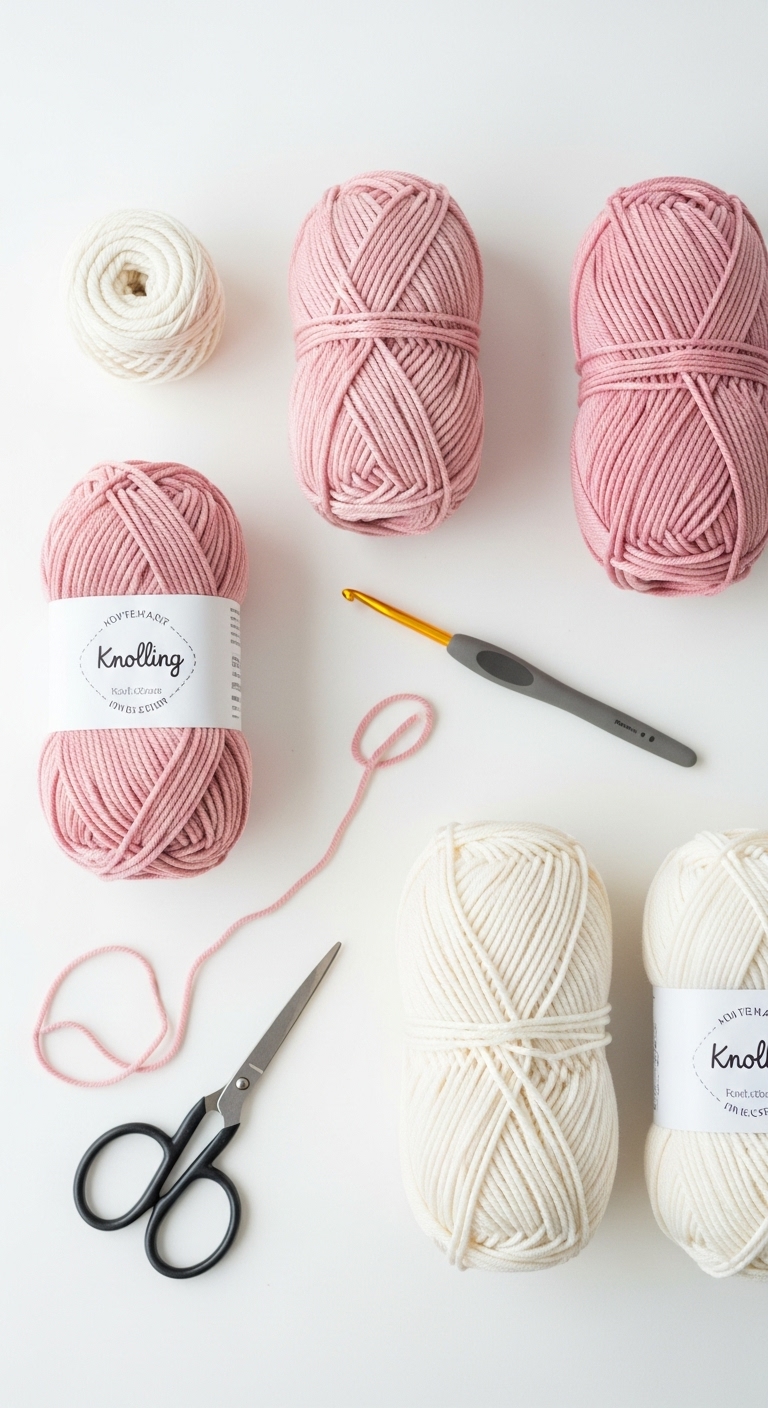
– Yarn: Medium weight (Worsted) yarn in teal (approx. 100 yards), mustard yellow (approx. 50 yards), and cream (approx. 50 yards)
– Hook: 4.0mm crochet hook
– Marker: Stitch marker for marking the beginning of rounds
– Needle: Tapestry needle for weaving in ends
– Optional extras: None required, but you may want a pair of scissors for cutting yarn
4. Designer Notes / Tips
As you embark on your granny square adventure, here are some helpful tips to ensure a smooth process:
– Stitch technique: The granny square utilizes basic stitches like chains, double crochet (dc), and slip stitches (sl st). Remember to keep your tension even to maintain a uniform look.
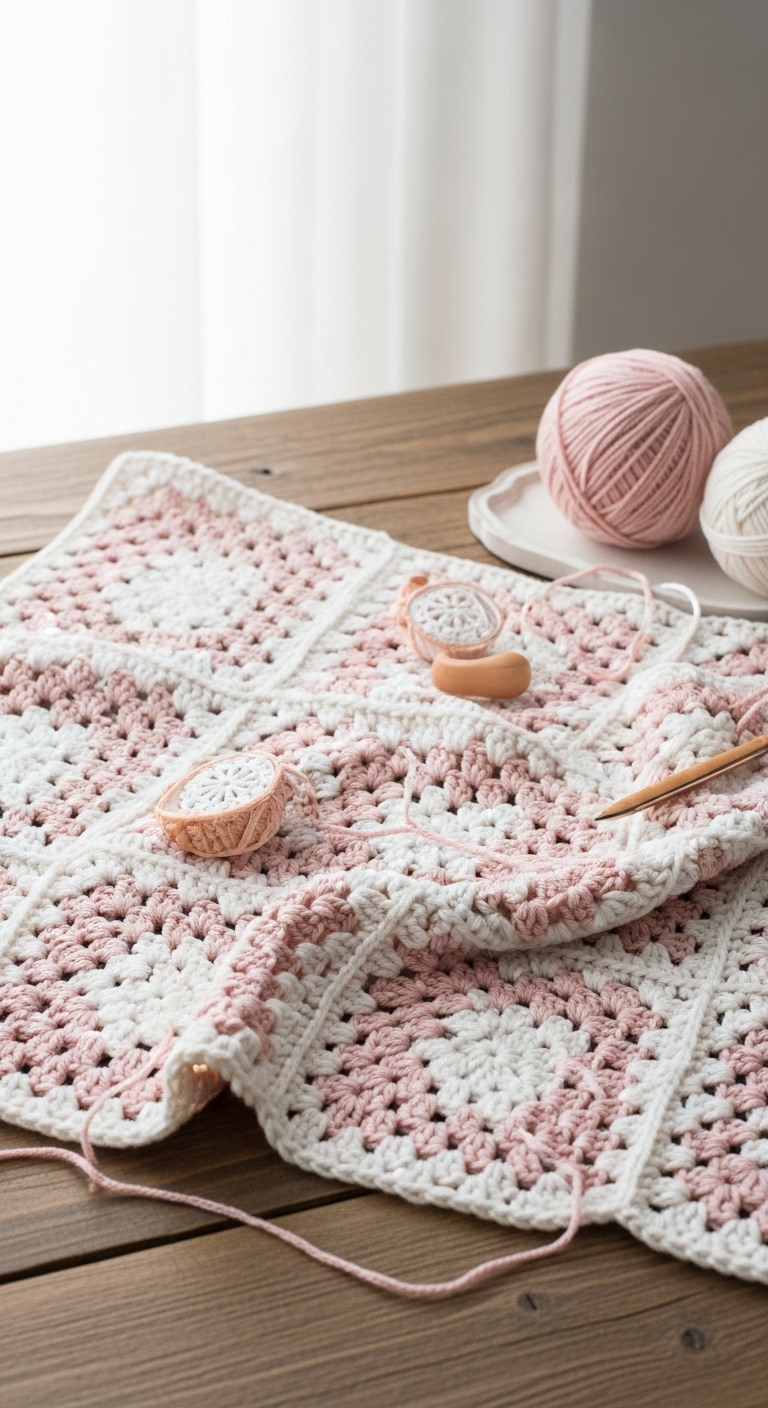
– Assembly: If you plan to join multiple granny squares, consider using a whip stitch or slip stitch method for a seamless finish.
– Yarn substitutions: Feel free to use any medium weight yarn you like! Cotton yarn could be a great alternative for items like coasters.
– Gauge tips: While gauge is not critical for a simple granny square, be sure your stitches are not too tight or too loose, as this will affect the overall look.
– Safety considerations: If making items for children, ensure you use securely woven ends and avoid embellishments that could pose a choking hazard.
5. Pattern Instructions
Now, let’s create your granny square step by step!
Granny Square Pattern
Round 1:
– Start with a magic ring. Alternatively, you can chain 4 and join with a slip stitch to form a ring.
– Round 1: 3 ch (counts as first dc), 2 dc in the ring, *3 ch, 3 dc in the ring*; repeat from * to * two more times. Join with a sl st to the top of the beginning chain (12 dc, 4 ch spaces).
Round 2:
– Round 2: Slip stitch into the next 2 dc and into the ch-3 space. 3 ch (counts as first dc), 2 dc in the same ch-3 space, *3 ch, 3 dc in the next ch-3 space*; repeat from * to * two more times. Join with a sl st to the top of the beginning chain (24 dc, 4 ch spaces).
Round 3:
– Round 3: Slip stitch into the next 2 dc and into the ch-3 space. 3 ch (counts as first dc), 2 dc in the same ch-3 space, *3 ch, 3 dc in the next ch-3 space*; repeat from * to * two more times. Join with a sl st to the top of the beginning chain. Finish off and weave in ends (36 dc, 4 ch spaces).
Color Changes (Optional):
If you wish to incorporate color changes, simply finish off the yarn at the end of each round and join your new color in the first stitch of the next round.
Final Touches:
– When you’re satisfied with your granny square, you can use it as is, or combine it with others to create beautiful blankets, bags, or home decor items. The possibilities are endless!
6. Closing & Social Engagement
Congratulations on completing your granny square! I hope you enjoyed this simple yet rewarding project. I’d love to see your version! Leave a comment below or share your finished granny squares on social media. What color combination will you try next? Remember, every stitch brings you closer to mastering your crochet skills. Happy crocheting!