graduation gnome crochet pattern free

2. Introduction
Celebrate the momentous occasion of graduation with a delightful crochet project: the Graduation Gnome! This charming plushie, standing approximately 10 inches tall, captures the spirit of achievement with its playful design, complete with a graduation cap and a diploma. It’s a fantastic way to honor the graduates in your life, whether they are finishing high school or pursuing higher education.
For this project, I recommend using soft, high-quality yarn in complementary adult-friendly colors. A rich navy blue for the gown, a bright gold for the tassel and diploma, and a neutral skin tone will create a sophisticated look that appeals to all ages. This gnome is not only fun to make, but it comes together quickly, making it an ideal last-minute gift or celebration decoration.
The skill level for this pattern is beginner-friendly, making it perfect for crafters of all experience levels. Whether you’re gifting it to a loved one or adding it to your own home decor, this Graduation Gnome is sure to bring a smile to anyone’s face. Plus, it can be a lovely seasonal decoration for graduation parties or ceremonies!
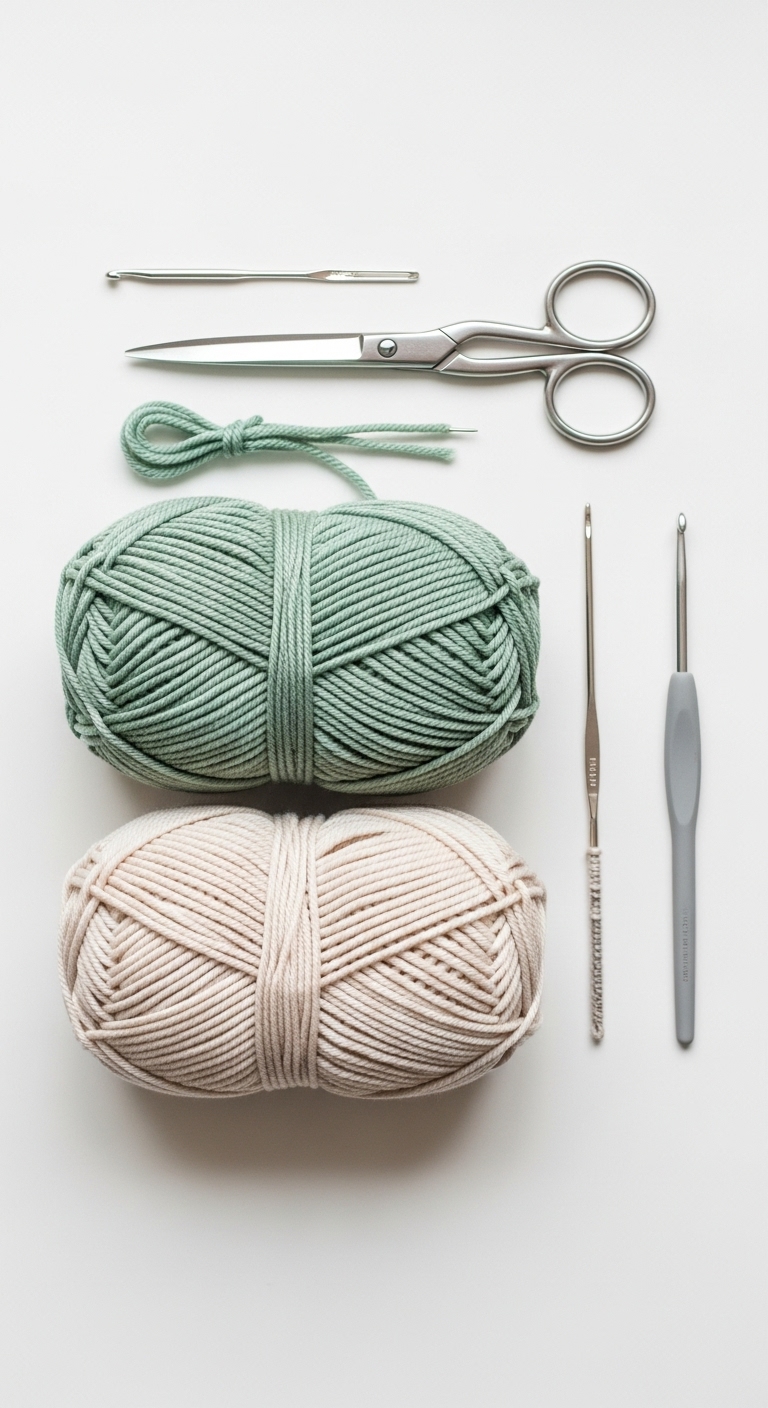
3. Materials Needed
– Yarn: Worsted weight yarn in navy blue (approx. 120 yards), gold (approx. 30 yards), and beige or tan (approx. 30 yards)
– Hook: 3.5mm or 4.0mm crochet hook
– Eyes: 12mm safety eyes OR black embroidery thread
– Stuffing: Polyester fiberfill stuffing
– Needle: Tapestry needle for sewing
– Marker: Stitch marker
– Optional extras: Pipe cleaner for the diploma, buttons for added decoration
4. Designer Notes / Tips
– Stitch technique: This pattern primarily uses single crochet (sc) and increases (inc), which are straightforward and perfect for beginners. Feel free to play with the tension to create a denser or fluffier gnome.
– Stuffing density: For a plush and sturdy gnome, I recommend stuffing it firmly. However, be cautious not to overstuff as it can distort the shape.
– Assembly: When joining pieces, use a whip stitch for a seamless look. Don’t forget to position the arms and legs symmetrically!
– Yarn substitutions: If you prefer a more textured look, consider cotton yarn. Just keep in mind that it may alter the size slightly.
– Gauge tips: While gauge is not critical for this project, aiming for a tight tension will help with maintaining the shape of the gnome.
– Safety considerations: If you’re making this for a young child, consider using embroidered facial features instead of safety eyes for added safety.
5. Pattern Instructions
For Plushies:
Head
Body
Arms (Make 2)
Legs (Make 2)
Hat
Assembly
– Attach the head to the body using the long tail from the head. Position it centrally.
– Sew on the arms and legs, placing them evenly on the sides and bottom.
– Secure the hat on the head, ensuring it tilts slightly for added character.
– Attach safety eyes and embroider a smile or add other facial features as desired.
– Create a diploma by rolling a small piece of white yarn and securing it with the gold yarn.
6. Closing & Social Engagement
You’ve now created a charming Graduation Gnome to celebrate a special milestone! I’d love to see your version! Leave a comment below with your color combinations or any tips you discovered along the way. What color combination will you try? Share your finished gnome on social media and tag your friends to inspire them to make one too!