gnome ornament free crochet pattern
2. Introduction
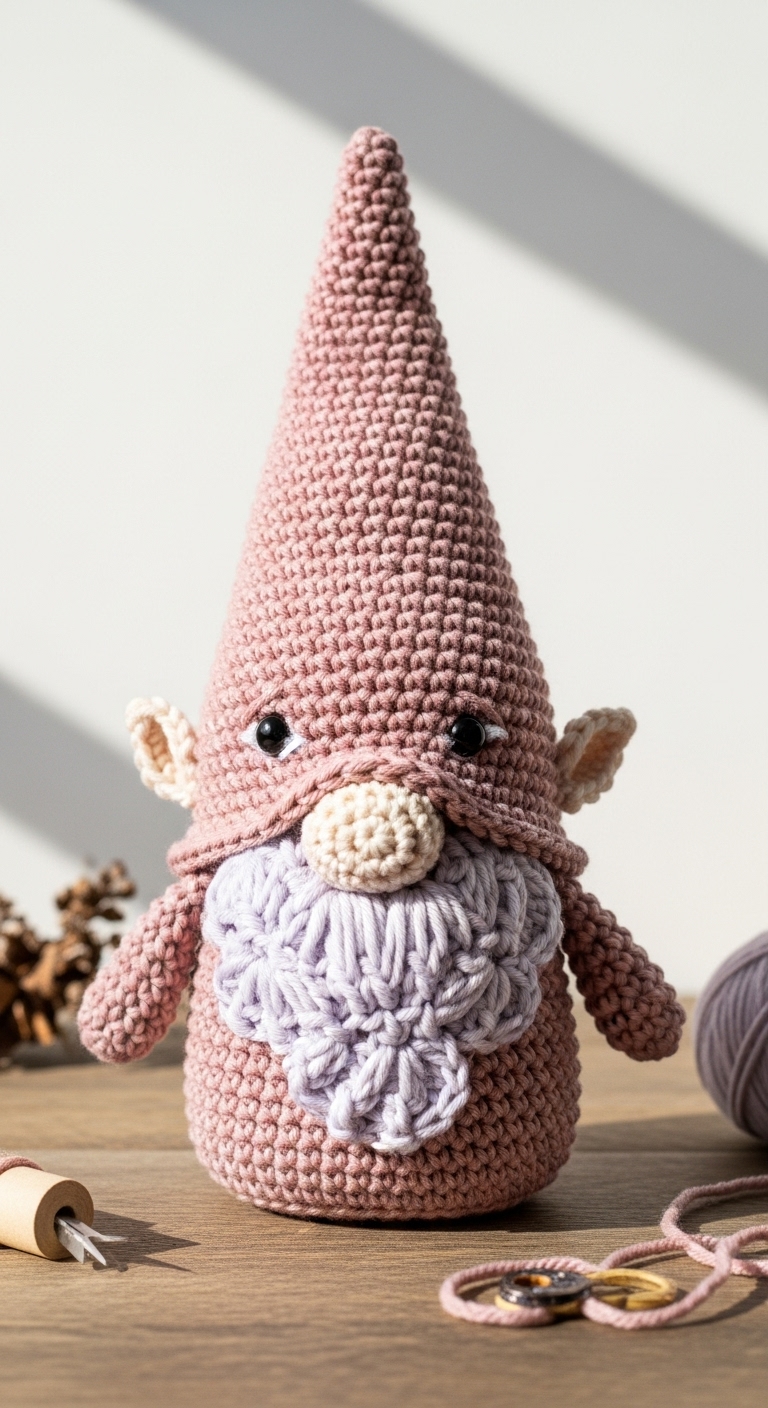
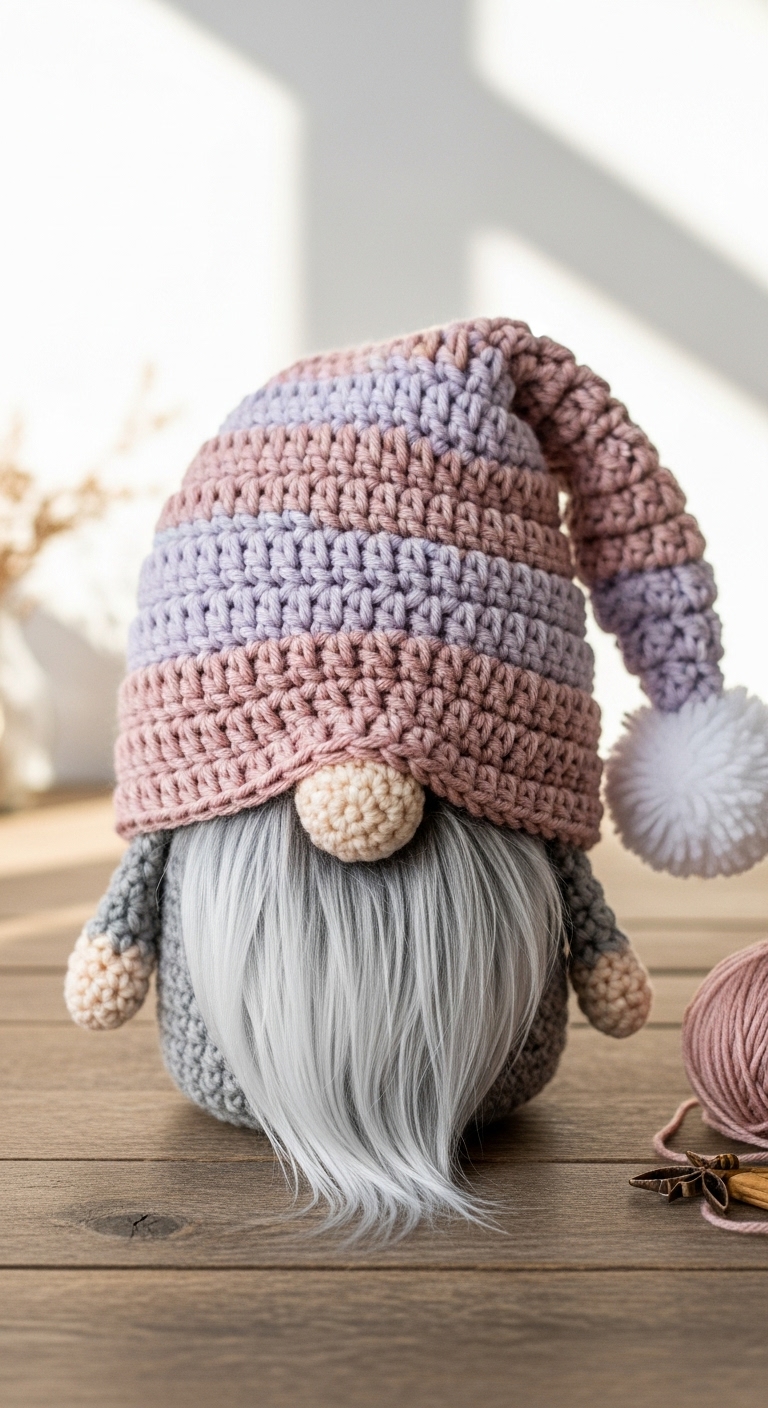
Welcome to the delightful world of crochet with this charming gnome ornament free crochet pattern! This adorable little gnome stands approximately 6 inches tall, making it the perfect size for hanging on your Christmas tree, adorning a gift package, or simply adding a touch of whimsy to your home décor. With its friendly face and colorful attire, this ornament is sure to bring a smile to anyone who sees it.
For this project, I recommend using worsted weight yarn in complementary adult-friendly colors such as forest green, soft cream, and a pop of vibrant red. These colors not only create a classic gnome look but also ensure that the ornament will fit seamlessly into any festive or cozy home setting. The best part? This project is beginner-friendly and can be completed quickly, making it a fantastic choice for a last-minute gift or a fun self-made decoration for the holiday season.
Crocheting your own gnome ornament is not just a joy but also a wonderful way to embrace the spirit of giving. Whether you decide to create a whole family of gnomes or use this little guy as a thoughtful gift for a loved one, the satisfaction of making something by hand will surely brighten your day!
3. Materials Needed
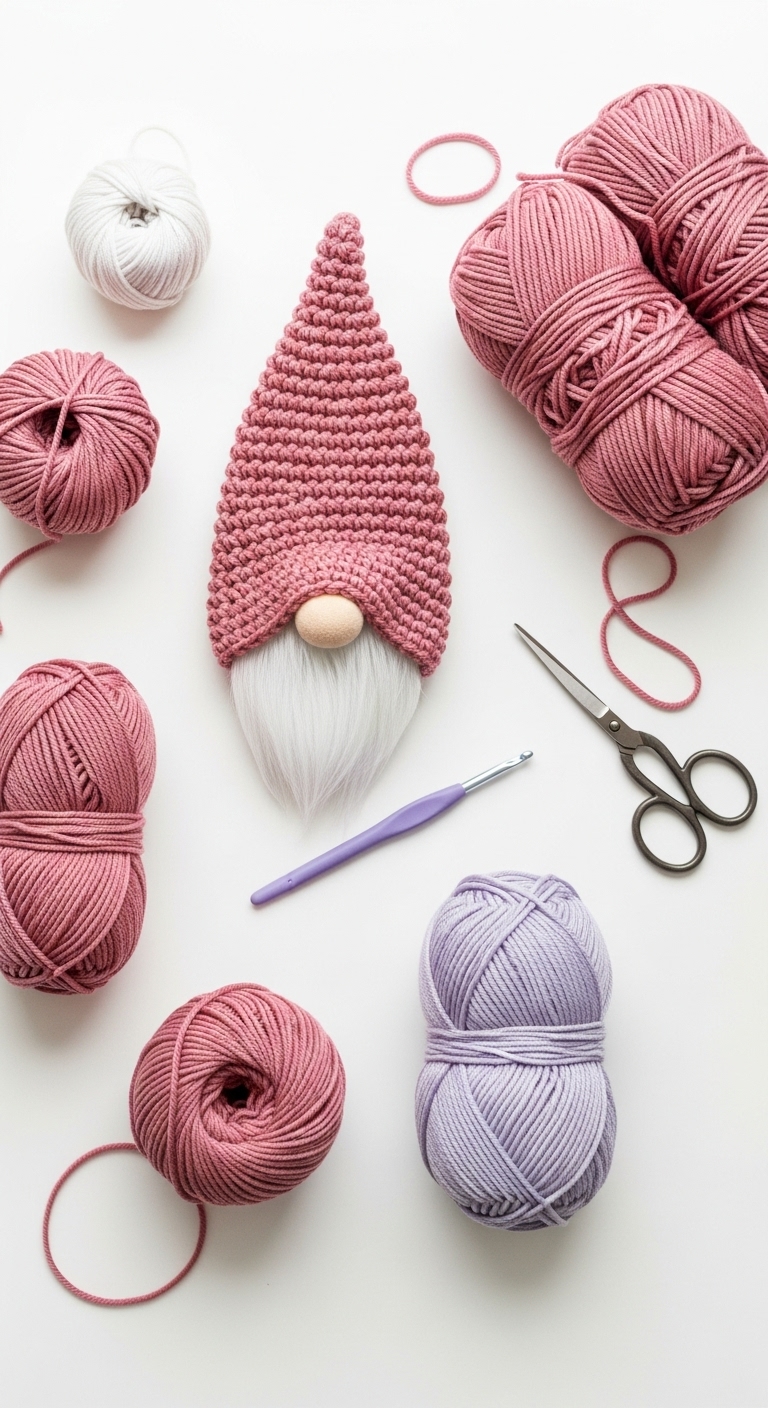
– Yarn: Worsted weight yarn in forest green, soft cream, and vibrant red – approximately 100 yards of each color
– Hook: 3.5mm or 4.0mm crochet hook
– Eyes: 10mm safety eyes OR black embroidery thread
– Stuffing: Polyester fiberfill stuffing
– Needle: Tapestry needle for sewing
– Marker: Stitch marker
– Optional extras: Small bells or embroidery floss for additional decoration
4. Designer Notes / Tips
– Stitch technique: This pattern primarily uses single crochet stitches (sc), making it perfect for beginners. If you’re feeling adventurous, you can also experiment with half double crochet (hdc) for a different texture.
– Stuffing density: Aim for a medium firmness when stuffing your gnome to ensure it retains its shape while still being soft and cuddly.
– Assembly: Pay special attention when attaching the gnome’s hat and beard. Use a tapestry needle to secure these pieces firmly but gently to avoid any stretch or distortion.
– Yarn substitutions: If you want to use lighter yarn, consider using DK weight yarn, but be sure to adjust your hook size accordingly.
– Gauge tips: While gauge is not critical for this project, ensuring that your stitches are tight enough to prevent stuffing from showing through will lead to a neater finish.
– Safety considerations: If making this ornament for young children, consider using embroidery thread for the eyes instead of safety eyes to avoid choking hazards.
5. Pattern Instructions
For Plushies:
Head:
Body:
Hat:
Beard:
Using cream yarn, create a small piece with:
Assembly:
– Attach the beard to the bottom of the head securely.
– Position the hat on top of the head, allowing it to drape slightly over the face.
– Sew on the safety eyes, placing them about 3 stitches apart for a balanced look.
– Finally, attach the head to the body, ensuring it sits snugly.
6. Closing & Social Engagement
Congratulations on creating your own charming gnome ornament! I’d love to see your version! Leave a comment below sharing what colors you chose or any modifications you made to personalize your gnome. Whether you stick to the classic colors or get creative with your palette, each ornament will be unique. Don’t forget to share your finished gnome on social media using #GnomeOrnamentCrochet so we can all admire your beautiful handiwork!


