free crochet turkey gnome pattern for thanksgiving

2. Introduction
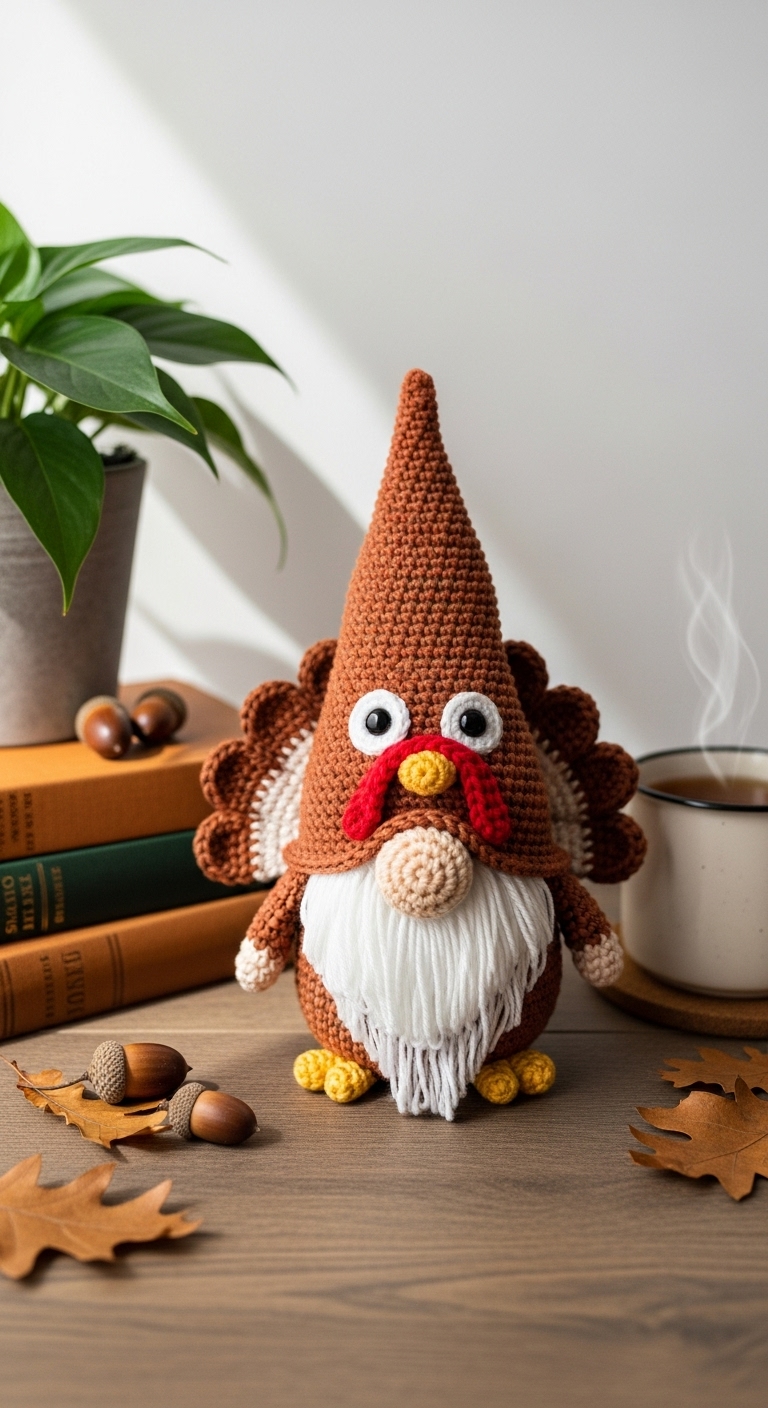
Get ready to add a whimsical touch to your Thanksgiving celebrations with this adorable crochet turkey gnome pattern! This charming plushie stands approximately 12 inches tall, making it a perfect tabletop decoration or a delightful gift for friends and family. With its vibrant colors and playful design, this turkey gnome is sure to bring smiles and warmth to your autumn festivities.
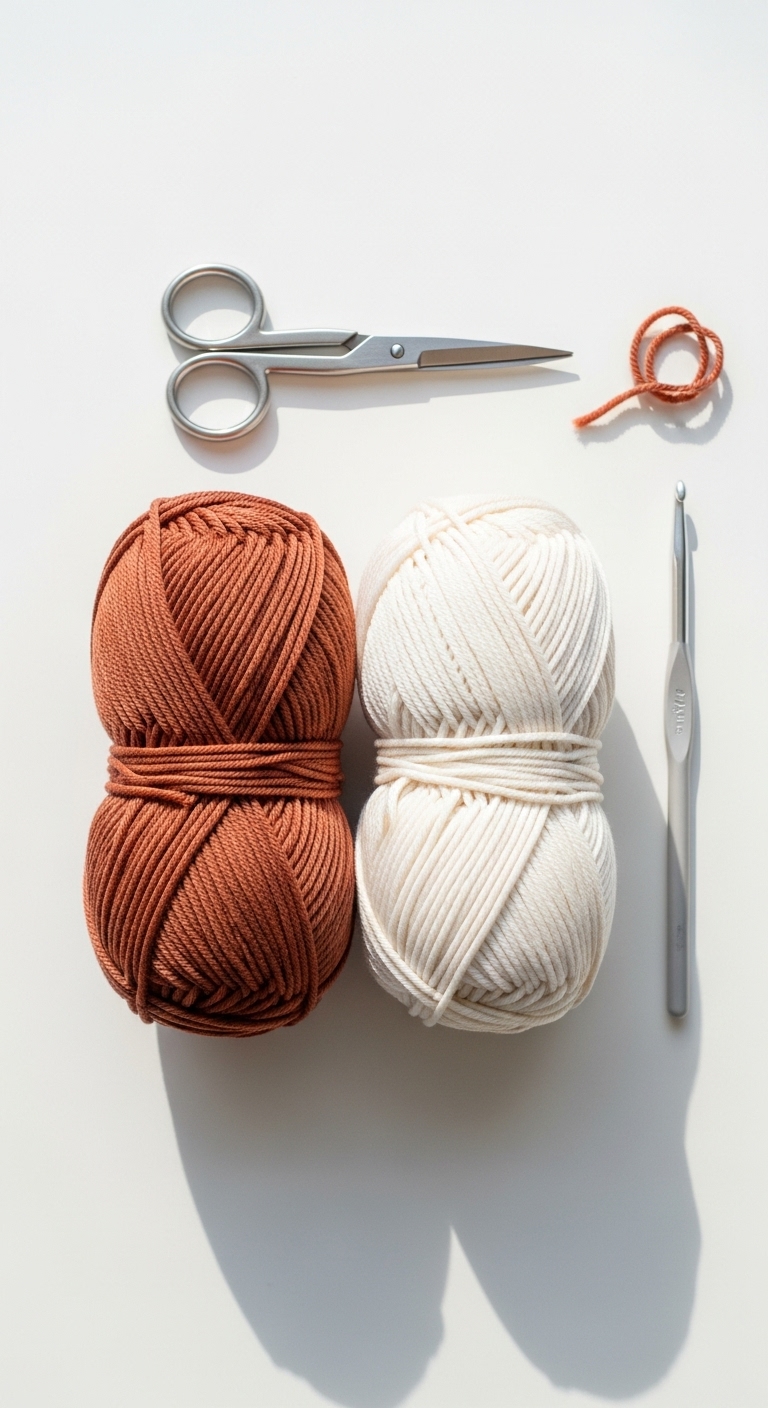
For this project, you’ll want to use medium-weight yarn in warm, earthy tones. I recommend choosing a rich burnt orange for the body, a deep brown for the hat, and a sunny yellow or golden for the beak and feet. These complementary colors not only embody the spirit of Thanksgiving but also create a modern and sophisticated look. This pattern is beginner-friendly, with simple stitches and techniques that make it accessible for crafters just starting out, while still being enjoyable for seasoned crocheters.
The best part about this turkey gnome is how quickly it comes together. With just a few evenings of crafting, you’ll have a delightful turkey gnome ready to adorn your home or to give as a thoughtful gift. This pattern captures the essence of the season and invites you to celebrate gratitude, making it a wonderful addition to your holiday decor collection.
3. Materials Needed
– Yarn: Medium-weight yarn in burnt orange (approx. 150 yards), deep brown (approx. 50 yards), and sunny yellow (approx. 25 yards)
– Hook: 3.5mm or 4.0mm crochet hook
– Eyes: 12mm safety eyes OR black embroidery thread
– Stuffing: Polyester fiberfill stuffing
– Needle: Tapestry needle for sewing
– Marker: Stitch marker
– Optional extras: Pipe cleaners for adding structure to the hat
4. Designer Notes / Tips
When working on this turkey gnome, you’ll be primarily using single crochet (sc) stitches, along with increases and decreases for shaping. If you’re unsure about any stitches, don’t hesitate to look up tutorials for a visual guide! For a plush, well-defined shape, I suggest filling the gnome firmly but not overly packed, allowing for a squishy yet structured look.
Assembling your gnome is part of the fun! Make sure to secure each piece firmly, using a tapestry needle to stitch the hat and body together neatly. If you decide to substitute yarn, opt for a yarn with a similar weight and texture to ensure your gnome retains its shape. Pay attention to gauge; a tight tension will help your gnome hold up better and look more polished.
For those crocheting for children, consider using securely stitched felt for the eyes instead of safety eyes to avoid any choking hazards.
5. Pattern Instructions
For Plushies:
Head:
Body:
Arms:
Legs:
Hat:
Assembly:
– Attach the head to the body securely with the yarn tail.
– Sew on the arms to the sides of the body.
– Attach the legs to the bottom of the body.
– Position the safety eyes on the head and sew or glue in place.
– Shape the hat as desired, adding a pipe cleaner for a bendable brim if desired, then attach it to the top of the head.
– Add a beak and any additional features you like to make your turkey gnome unique.
6. Closing & Social Engagement
I can’t wait to see your version of this delightful turkey gnome! Feel free to leave a comment below sharing your thoughts or any questions you might have. What color combinations will you try? If you post your finished gnome on social media, don’t forget to tag us so we can admire your handiwork. Happy crocheting, and enjoy the cozy vibes of Thanksgiving!