free crochet tiger applique pattern
2. Introduction
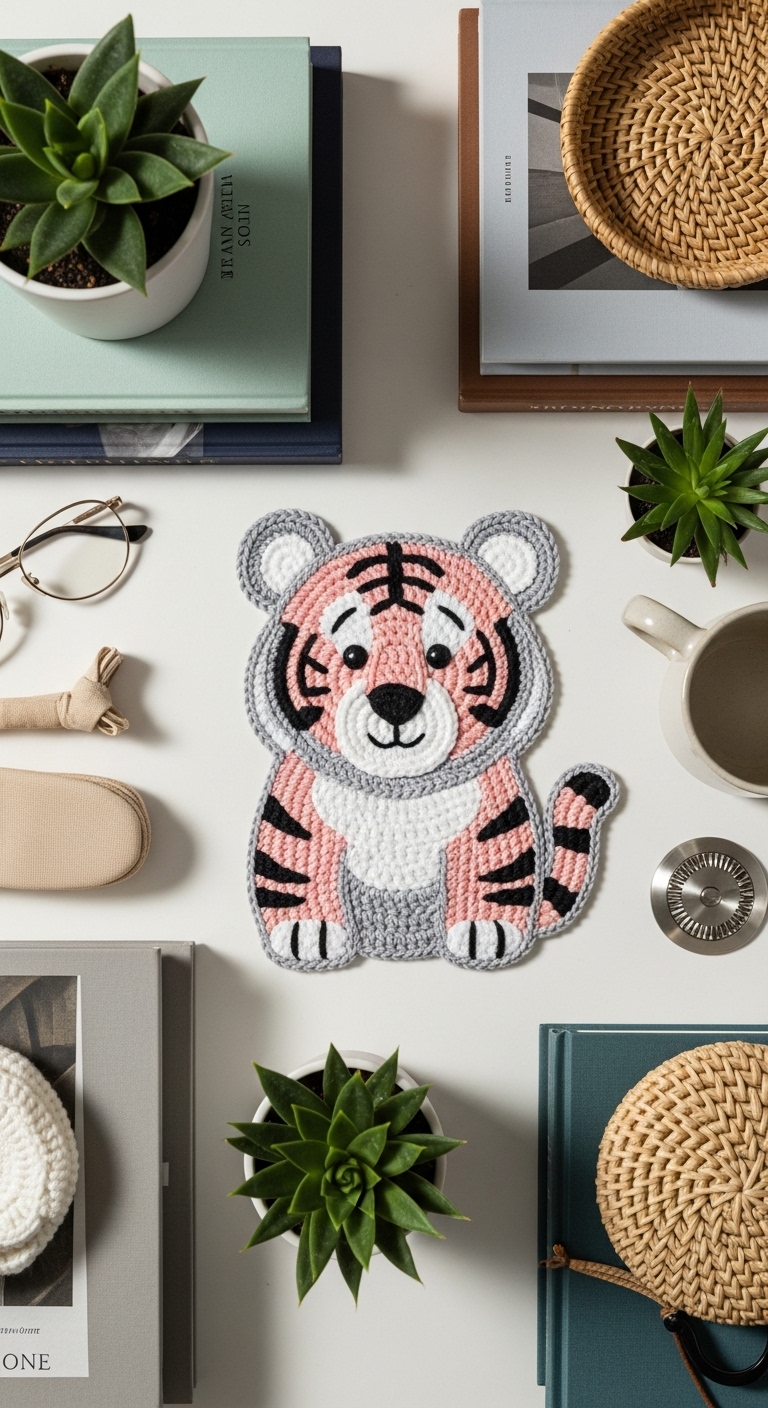
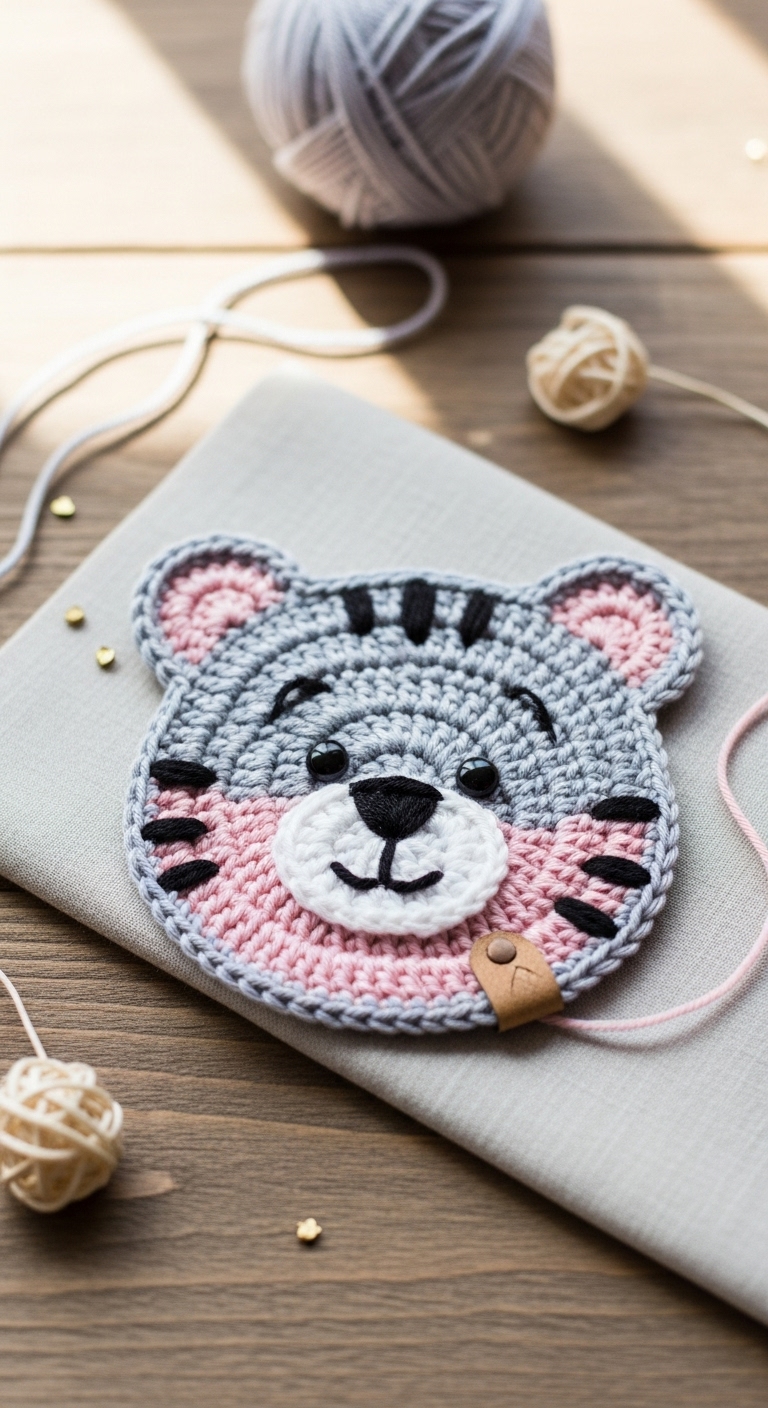
Welcome to this delightful Free Crochet Tiger Applique Pattern! This adorable little tiger measures approximately 5 inches from head to tail, making it the perfect size to embellish a variety of items such as bags, clothing, or blankets. The vibrant colors used in this project include a rich burnt orange, a deep black for markings, and a soft cream for accents, creating a striking and modern look that will appeal to adult crafters and their loved ones.
Crocheting this tiger applique is not only a fun and quick project, but it also provides a unique opportunity to practice basic crochet skills in a playful way. It’s beginner-friendly, so even if you’re just starting your crochet journey, you’ll find this pattern approachable and enjoyable. Plus, the finished tiger can make a charming gift for a child, or serve as a playful decoration for your home, perfect for a jungle-themed nursery or playroom!
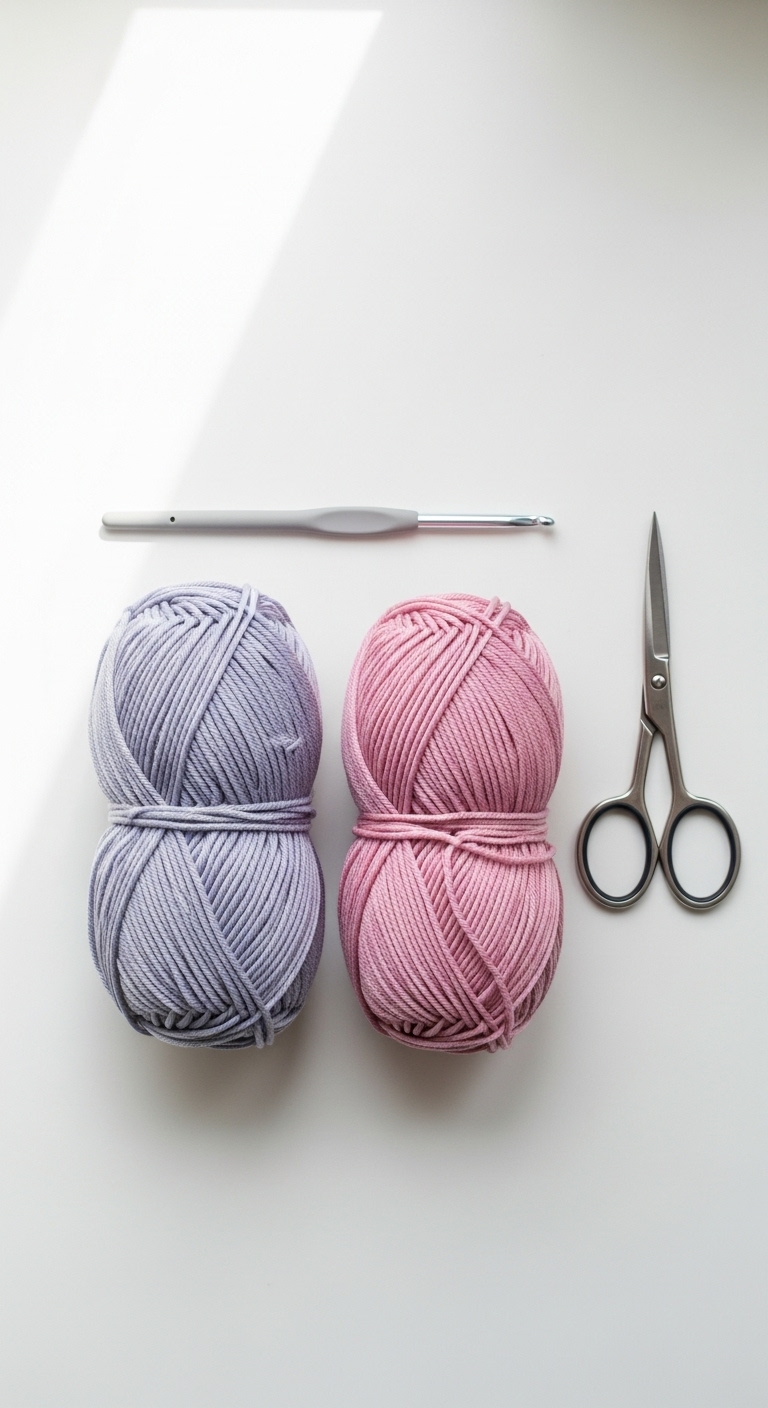
3. Materials Needed
– Yarn: Worsted weight yarn in burnt orange (50 yards), black (20 yards), and cream (20 yards)
– Hook: 3.5mm or 4.0mm crochet hook
– Eyes: Safety eyes (9mm) OR black embroidery thread for stitching on eyes
– Stuffing: Polyester fiberfill stuffing (a small amount)
– Needle: Tapestry needle for sewing
– Marker: Stitch marker
– Optional extras: None for this pattern
4. Designer Notes / Tips
When working this pattern, you’ll be using basic crochet stitches such as single crochet (sc) and increase (inc). If you’re new to these stitches, don’t worry! There are plenty of online tutorials available, and you’ll have this tiger whipped up in no time. For a nice texture, ensure your stitches are neither too tight nor too loose.
For stuffing, a light density is recommended; you want your tiger to be plush but not overly firm. When assembling the pieces, take your time to ensure everything is aligned properly, especially when placing the ears and eyes. If you’d like to substitute yarn, any worsted weight yarn will work, just be aware that variations in thickness may affect the final size of your applique.
Lastly, when it comes to gauge, it’s less crucial for appliques than for garments, but having a consistent tension will give you a neater finished product. Keep safety in mind if making this for small children; consider using stitched eyes instead of safety eyes for a child-safe option.
5. Pattern Instructions
For the Tiger Applique:
Head:
*Stuff lightly at this point.*
Body:
*Stuff the body before closing.*
Ears (Make 2):
Tail:
Assembly:
1. Use your tapestry needle to sew the head to the body securely.
2. Attach the ears to the top of the head, placing them slightly angled for a playful look.
3. Position the safety eyes about 1-2 rows below the top of the head and sew them in place (or stitch on eyes if using embroidery thread).
4. Attach the tail to the back of the body, ensuring it’s secure.
5. Use the black yarn to add outlines for the tiger’s markings, including stripes on the body and face.
6. Closing & Social Engagement
I hope you enjoyed making your crochet tiger applique! I’d love to see your version—feel free to leave a comment below with your thoughts or questions. What color combination will you try for your tiger? Don’t forget to share your finished tiger on social media; it’s always inspiring to see how others interpret the pattern!