free crochet sloth applique pattern
2. Introduction
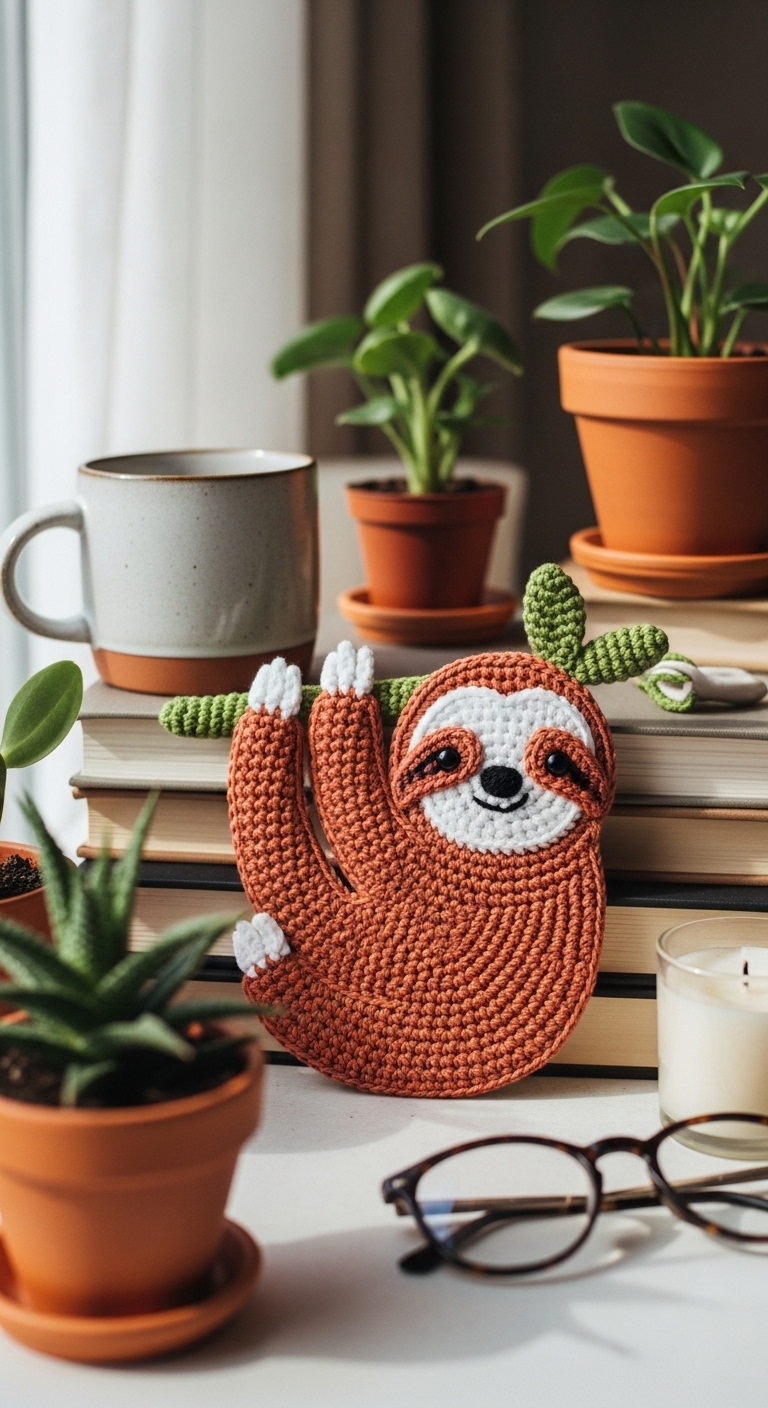
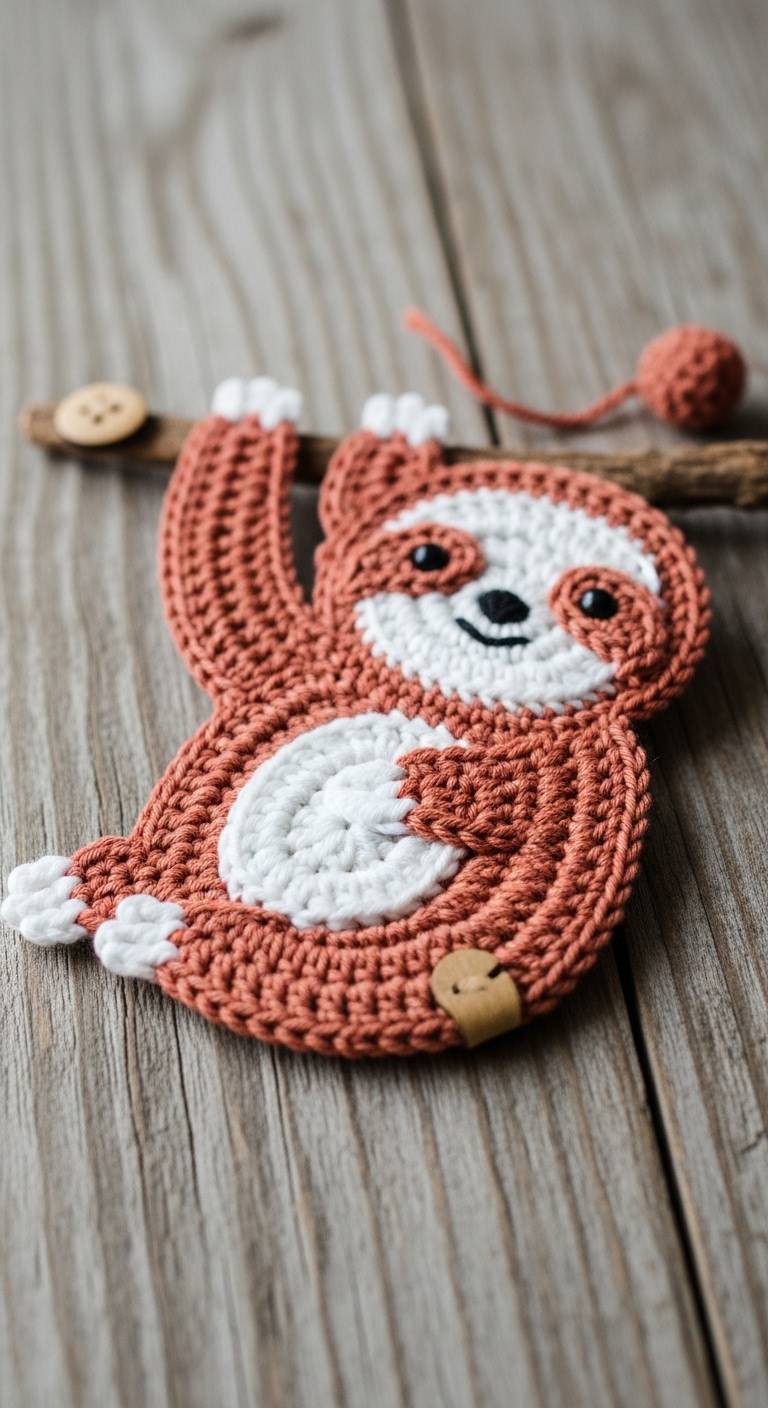
Welcome to your next crochet adventure! In this article, we’ll be creating an adorable sloth applique that measures approximately 4 inches tall. This charming little sloth is perfect for embellishing items like bags, blankets, or hats, adding a touch of whimsy to your projects. We’ll be using soft, worsted-weight yarn in complementary adult-friendly colors: a cozy mocha brown, a gentle cream, and a deep forest green for the leaves.
Crocheting this sloth is not only a fun and quick project that can be completed in an afternoon, but it’s also a wonderful way to express your creativity. Whether you’re making it for yourself or as a delightful gift for a friend, this applique is sure to bring smiles. The pattern is beginner-friendly, making it accessible to crafters of all skill levels. Plus, with the holiday season around the corner, this sloth can add a unique touch to your handmade gifts!
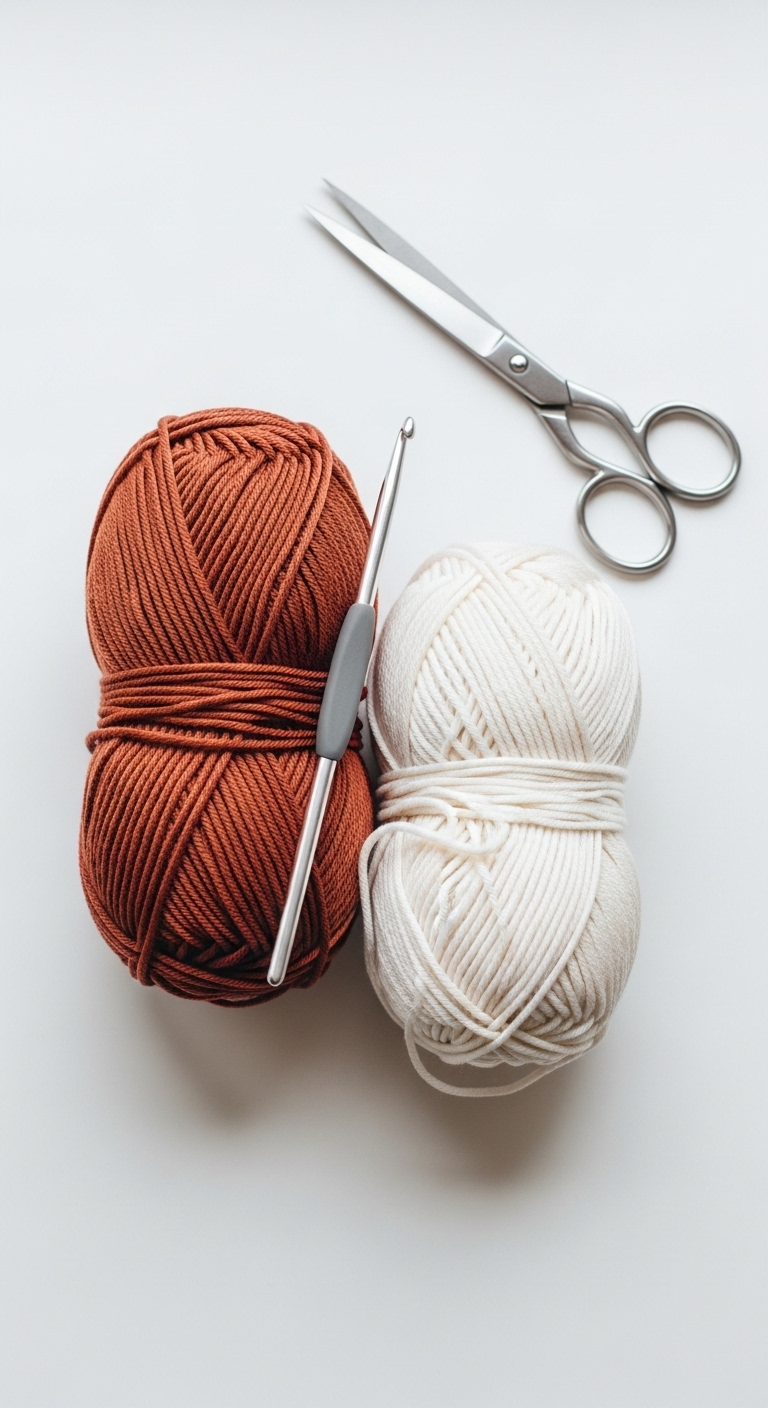
3. Materials Needed
To get started on your sloth applique, gather the following materials:
– Yarn: Worsted-weight yarn in mocha brown (approx. 50 yards), cream (approx. 20 yards), and forest green (approx. 20 yards)
– Hook: 3.5mm or 4.0mm crochet hook
– Eyes: 6mm safety eyes OR black embroidery thread for stitching eyes
– Stuffing: Polyester fiberfill stuffing (only if desired for a 3D effect)
– Needle: Tapestry needle for sewing
– Marker: Stitch marker to keep track of rounds
– Optional extras: A small piece of felt for the back, to reinforce the applique if desired
4. Designer Notes / Tips
Before jumping into the pattern, here are some helpful tips to ensure your sloth turns out just right:
– Stitch technique: This pattern primarily uses single crochet (sc) stitches, making it easy to follow. Keep your tension even for a consistent look.
– Stuffing density: If you’re creating a flat applique, you might skip stuffing; however, for a more plush look, a light fill is great. Be careful not to overstuff, as it could distort the shape!
– Assembly: Use a tapestry needle for smooth sewing when attaching pieces. A whip stitch works well for joining the sloth’s limbs to the body.
– Yarn substitutions: If you can’t find the suggested colors, any worsted-weight yarn in similar shades will work beautifully! Cotton yarn is also a great alternative for a sturdier finish.
– Gauge tips: While gauge isn’t crucial for an applique, a consistent tension will help maintain a uniform appearance.
– Safety considerations: If you’re making this for a little one, consider using embroidery thread instead of safety eyes to avoid any choking hazards.
5. Pattern Instructions
Now, let’s get started with the pattern!
For Plushies:
Head
Body
Arms (make 2)
Legs (make 2)
Ears (make 2)
Tail
Assembly
1. Attach safety eyes to the head after round 8, about 6 stitches apart.
2. Stuff the head lightly if desired, then sew it to the body.
3. Attach arms and legs, ensuring they are evenly spaced.
4. Sew the ears to the top of the head, and secure the tail at the back.
5. Weave in all ends and enjoy!
6. Closing & Social Engagement
I hope you enjoyed making your very own adorable sloth applique! I’d love to see your version! Leave a comment below sharing your favorite color combinations or any tips you might have. What color combination will you try next? Remember to share your finished sloth on social media! Happy crocheting!