free crochet pattern pencil gnome keychain perfect for teachers gifts
2. Introduction
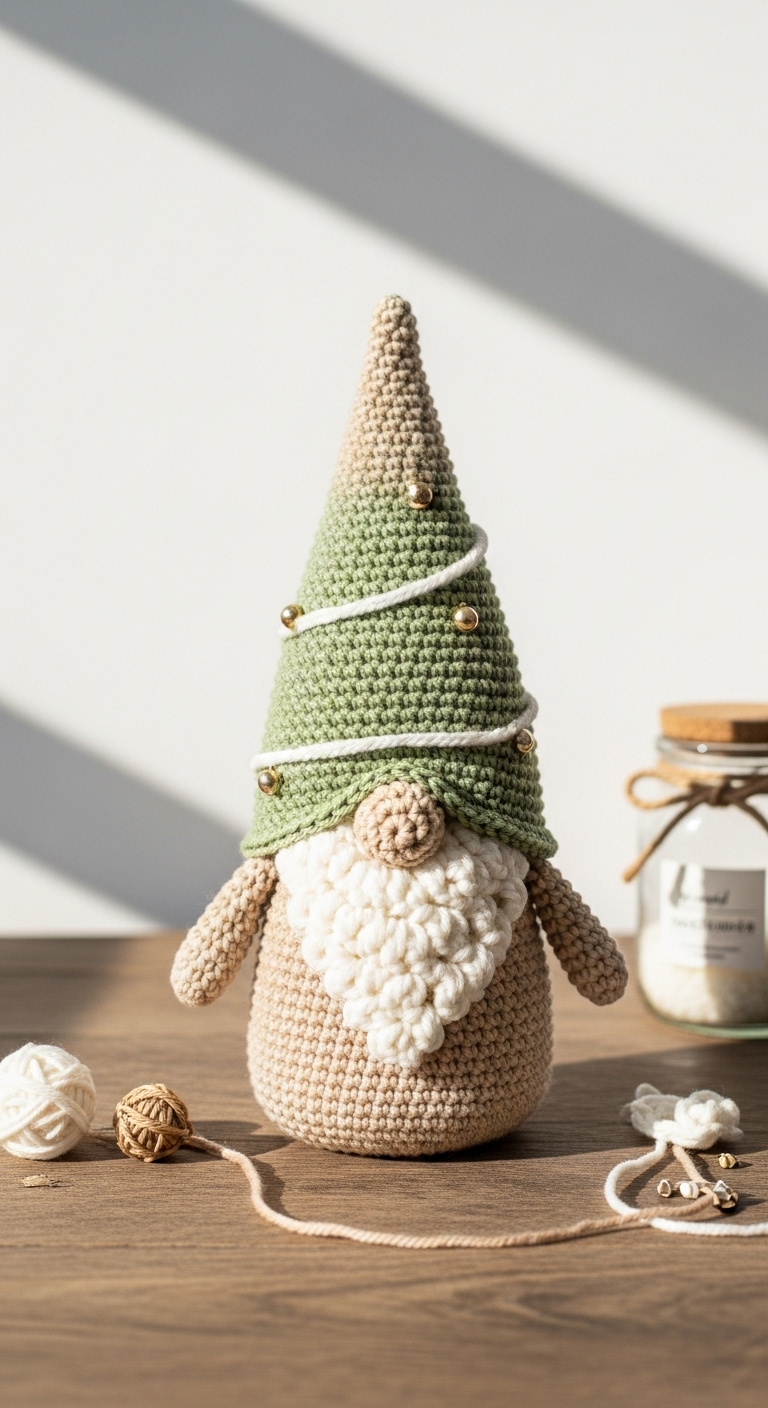
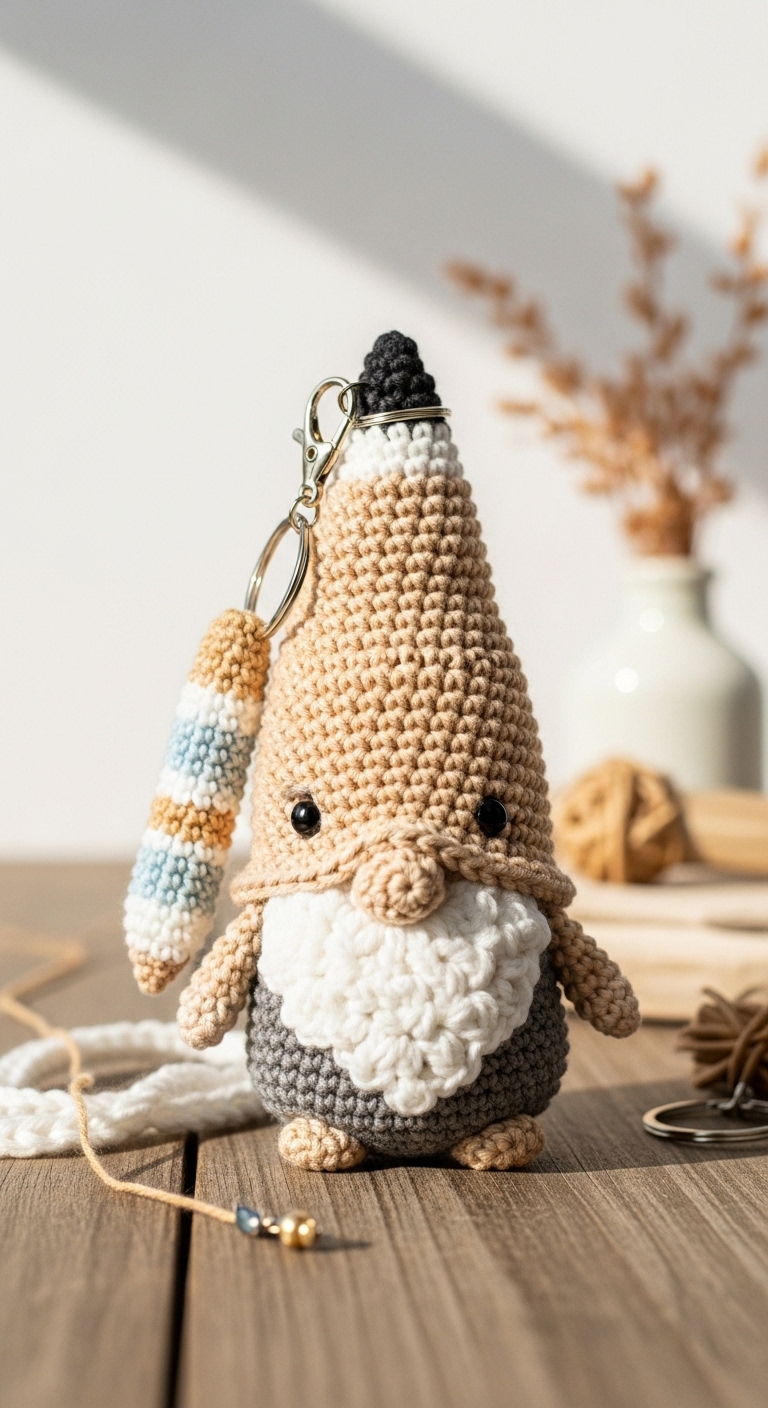
Welcome to your new favorite crochet project! This adorable pencil gnome keychain is the perfect crafty creation to express your appreciation for teachers, friends, or anyone who loves a touch of whimsy in their lives. Measuring about 4 inches tall, this little gnome is not only delightful but also functional, as it can easily attach to bags or keys, bringing a splash of creativity wherever it goes.
For this project, you will need a medium weight yarn in complementary adult-friendly colors. I recommend a soft mustard yellow for the pencil body, a rich forest green for the gnome’s hat, and a warm cream for the gnome’s beard. These colors not only create a visually appealing contrast but also evoke the spirit of education and nature, making it a thoughtful gift for any teacher. This project is quick to complete, taking around 2-3 hours, making it a fantastic option for last-minute gifts or seasonal events like Teacher Appreciation Day.
This pattern is designed to be beginner-friendly, with simple stitches and techniques that are easy to master. It’s a perfect starting point for new crocheters looking to enhance their skills while creating something special. So grab your yarn and hook, and let’s crochet a delightful gnome that will surely bring a smile to someone’s face!
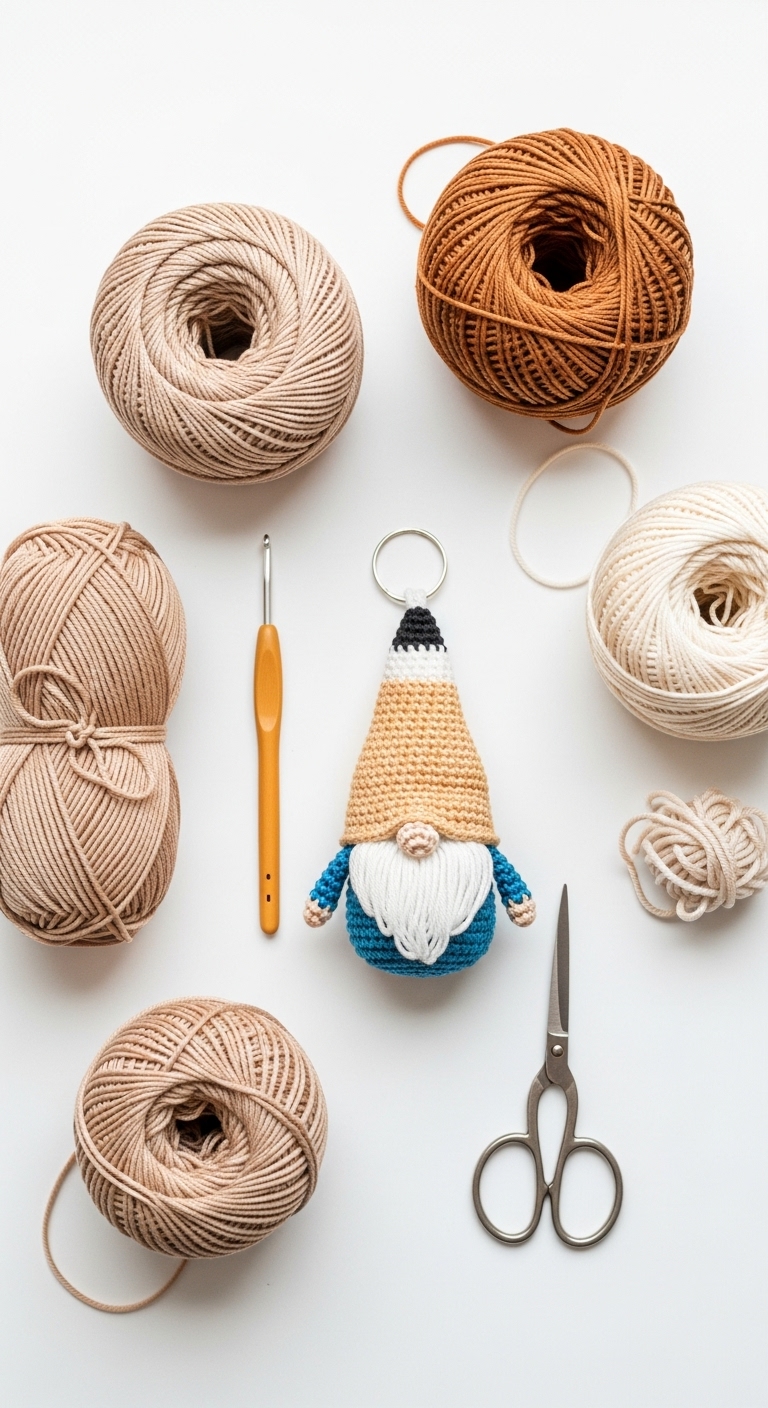
3. Materials Needed
– Yarn: Medium weight (worsted) yarn in mustard yellow (approx. 50 yards), forest green (approx. 20 yards), and cream (approx. 20 yards)
– Hook: 3.5mm (E) crochet hook
– Eyes: 6mm safety eyes
– Stuffing: Polyester fiberfill stuffing
– Needle: Tapestry needle for sewing
– Marker: Stitch marker
– Optional extras: A small piece of felt for the bottom, keychain ring
4. Designer Notes / Tips
As you begin this project, keep in mind that the gnome’s body is made using basic single crochet stitches, which should be familiar to most beginners. To add some texture to the gnome’s hat, I recommend using half double crochet stitches in the round. This will give it a nice, plump appearance.
When stuffing the gnome, aim for a light density. This will help keep the gnome’s shape without making it overly firm, allowing it to sit comfortably without toppling over. Assemble your gnome carefully by sewing each piece securely, ensuring everything stays in place during use.
If you want to substitute yarn, consider using cotton yarn for a sturdier finish, or a softer acrylic blend for a cuddly touch. Just keep in mind that different yarns may slightly alter the final size of your keychain. For gauge, aim for a tight stitch to prevent stuffing from showing through.
Safety-wise, if your gnome will be given to a young child, consider using embroidered eyes instead of safety eyes, as they can pose a choking hazard.
5. Pattern Instructions
For Your Pencil Gnome Keychain:
Gnome Body:
Gnome Hat:
Gnome Beard:
Using cream yarn, make a simple rectangle of 6 sc in 2 rows, then fold in half and attach to the bottom of the hat.
Assembly:
– Attach the safety eyes on the gnome body between rounds 5 and 6.
– Position the hat on the gnome’s head and sew it securely.
– Attach the beard beneath the hat.
– For the pencil tip, crochet a small triangle (or use felt) in mustard yellow and attach it to the bottom of the gnome for that perfect pencil look.
– Add any optional embellishments such as a keychain ring at the top to finish.
6. Closing & Social Engagement
I hope you enjoyed making this pencil gnome keychain! It’s such a fun way to show appreciation for the teachers in your life or to keep for yourself as a cheerful accessory. I’d love to see your version! Leave a comment below sharing what color combination you chose.
What other creative designs might you envision for your own gnome? Share your finished pencil gnome keychain on social media with the hashtag #CrochetGnomeGift to inspire others in our crochet community!