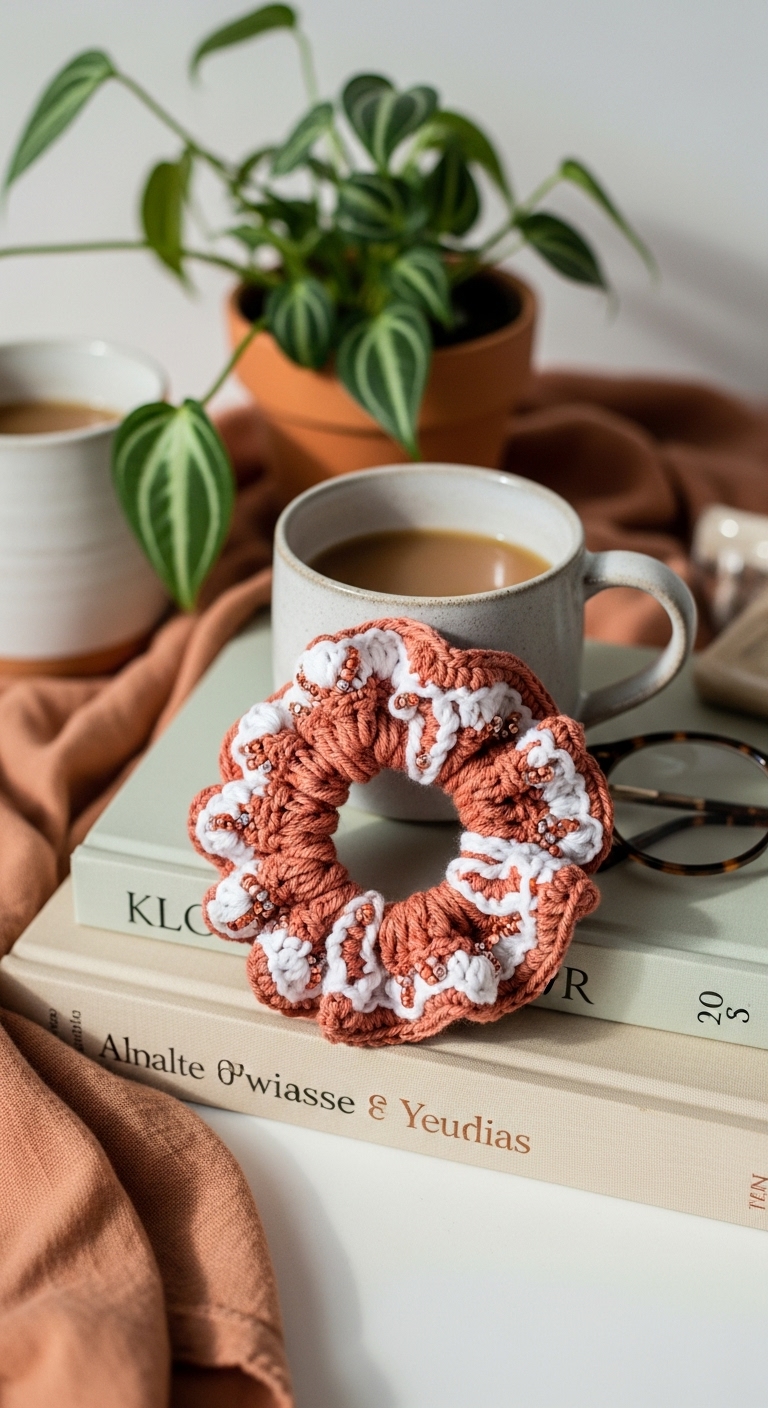
free crochet pattern beaded boho scrunchie
2. Introduction
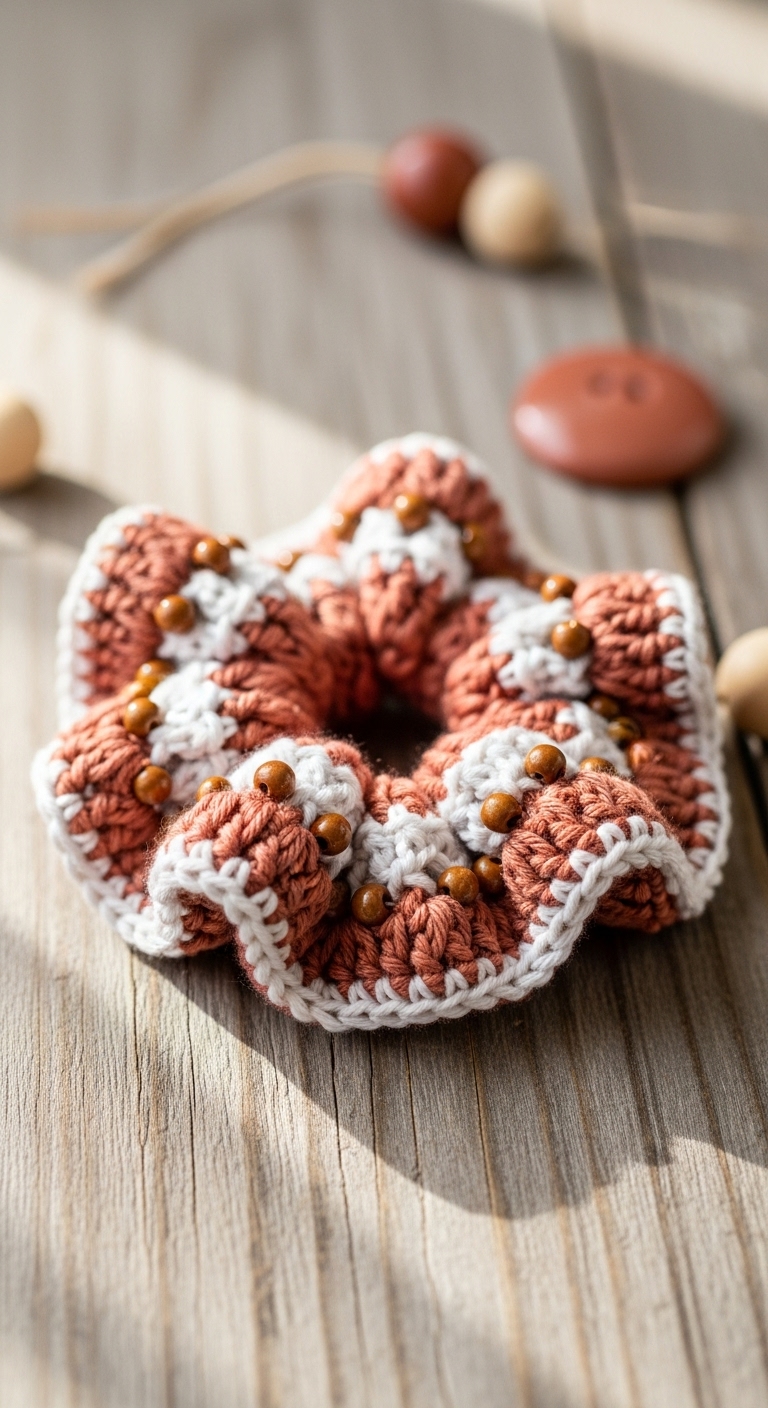
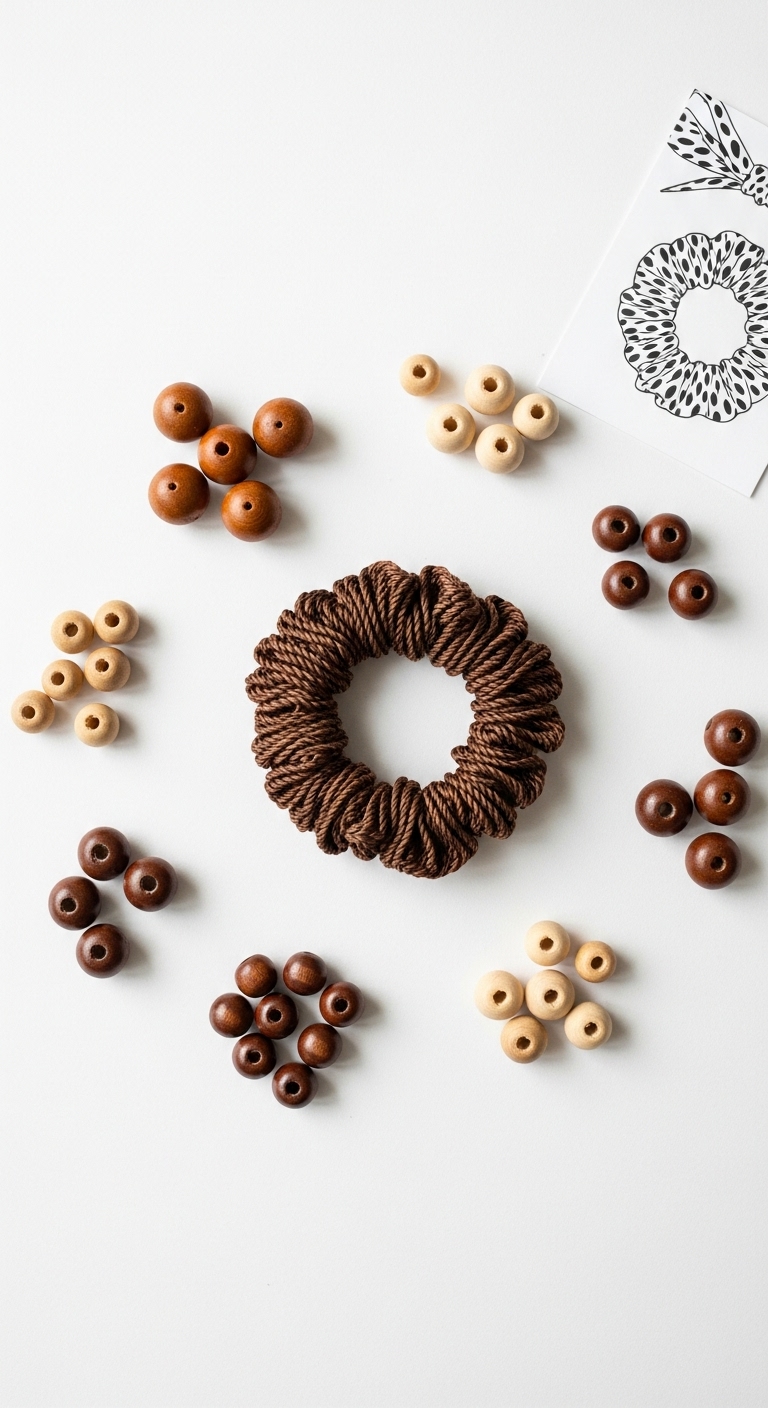
Welcome to your next fun crochet adventure—the Beaded Boho Scrunchie! This stylish accessory is perfect for adding a touch of crochet flair to your hair while keeping it neat and tidy. Measuring approximately 4 inches in diameter, this scrunchie is not only practical but also a trendy statement piece that can elevate any outfit.
For this project, you’ll be using soft, medium-weight yarn in three complementary adult-friendly colors. Think earthy tones like soft taupe, dusty rose, and sage green, which blend beautifully together to create a bohemian vibe. This pattern is quick to work up, making it an ideal project for crafters who want to create something unique in a short amount of time. With an easy skill level, the Beaded Boho Scrunchie is perfect for beginners looking to practice their crochet skills while making a lovely gift for friends or family. It’s a great accessory for any season, from summer festivals to cozy winter days!
3. Materials Needed
– Yarn: Medium-weight (Worsted) yarn in three colors (approximately 100 yards total)
– Hook: 3.5mm or 4.0mm crochet hook
– Beads: 1/4 inch wooden or acrylic beads (optional, about 10-15)
– Elastic: 1/4 inch elastic hair band (approximately 8 inches)
– Needle: Tapestry needle for weaving in ends
– Marker: Stitch marker
– Optional extras: Scissors, measuring tape
4. Designer Notes / Tips
When working on this scrunchie, you will primarily use the single crochet stitch, which is great for beginners. To create texture, consider varying your stitch height or adding in some stitches from the back loop only (BLO) to give the scrunchie a unique finish.
For stuffing density, you won’t need any fiberfill here; simply work tightly enough to ensure the scrunchie holds its shape without feeling bulky. When adding beads, thread them onto the yarn before starting to crochet. This way, they will easily fit into your pattern as you go along.
If you’re using a different yarn weight, just be sure to adjust your hook size accordingly to maintain the scrunchie’s intended stretch and fit. Keep in mind that maintaining an even tension is key to a polished look, so don’t hesitate to check your gauge if you’re trying to achieve a specific size.
5. Pattern Instructions
Main Panel:
Foundation Chain: First, chain 40 (or adjust based on your desired size).
Row 1: Starting in the second chain from the hook, sc across (39).
Row 2: Ch 1, turn. Sc in each stitch (39).
Row 3: Repeat Row 2 until the piece measures about 2 inches wide.
Adding Beads:
– For every 5 sc, you can add a bead by pulling the yarn through the bead before working the next stitch.
– Ensure the bead sits comfortably on the yarn as you continue.
Scrunchie Assembly:
Now, it’s time to turn this into a scrunchie!
Joining Ends: Once you reach your desired length, join the two short ends together using slip stitch.
Finishing Edges: Ch 1, then sc around the outer edge for a neat finish, making sure to go over the join to secure it well.
Attaching Elastic: Cut your elastic band to approximately 8 inches. Place it inside the row of sc you just created. Gather the fabric around the elastic, ensuring it folds over evenly.
Final Round: Working through both layers, sc around the elastic to create a ruffled effect and secure it in place. Slip stitch to join.
Weaving in Ends: Using your tapestry needle, weave in any loose ends for a clean finish.
6. Closing & Social Engagement
You’ve successfully created your very own Beaded Boho Scrunchie! I’d love to see your version! Leave a comment below to share your experiences or any color combinations you tried. What color scheme will you choose for your next scrunchie? Remember, sharing your finished project on social media helps inspire others in the crochet community!