free crochet flamingo applique personalize your blankets
2. Introduction
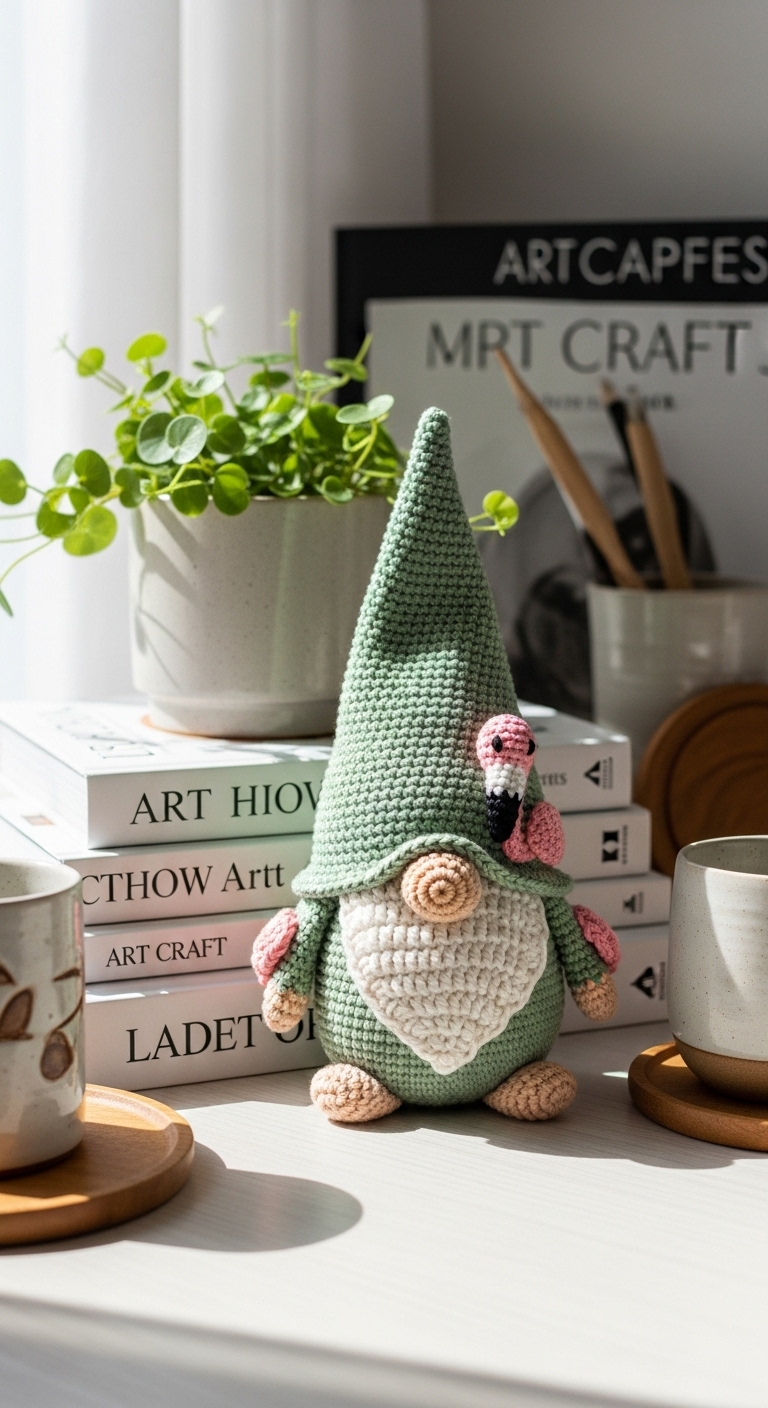
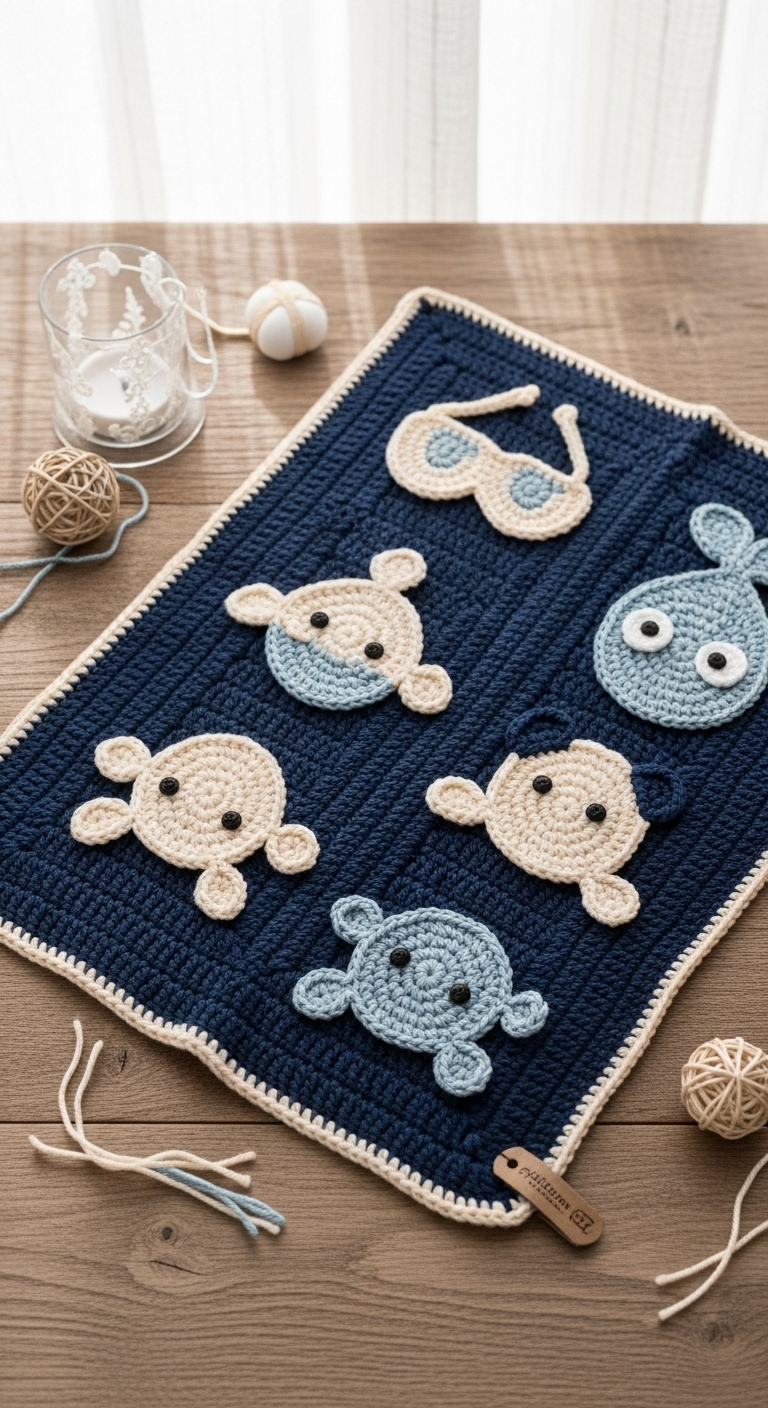
Welcome to the delightful world of crochet! Today, we’re diving into a fun and charming project that is perfect for adding a splash of personality to your blankets: a free crochet flamingo applique! Measuring approximately 5 inches tall, this cheerful flamingo will bring a touch of tropical flair wherever you choose to place it. Whether you’re sprucing up a cozy throw or personalizing a baby blanket, this applique is sure to make your project stand out.
For this project, we will be using soft worsted weight yarn in a combination of coral pink, sandy beige, and vibrant green. These adult-friendly colors will give your flamingo a modern and sophisticated look while still being playful and eye-catching. This project is not only quick to complete but also a delightful way to practice your crochet skills. It’s beginner-friendly, making it ideal for those just starting their crochet journey or for seasoned crafters looking for a simple project. Plus, a flamingo applique makes for a delightful gift, especially for tropical-themed occasions or for those who adore this iconic bird!
3. Materials Needed
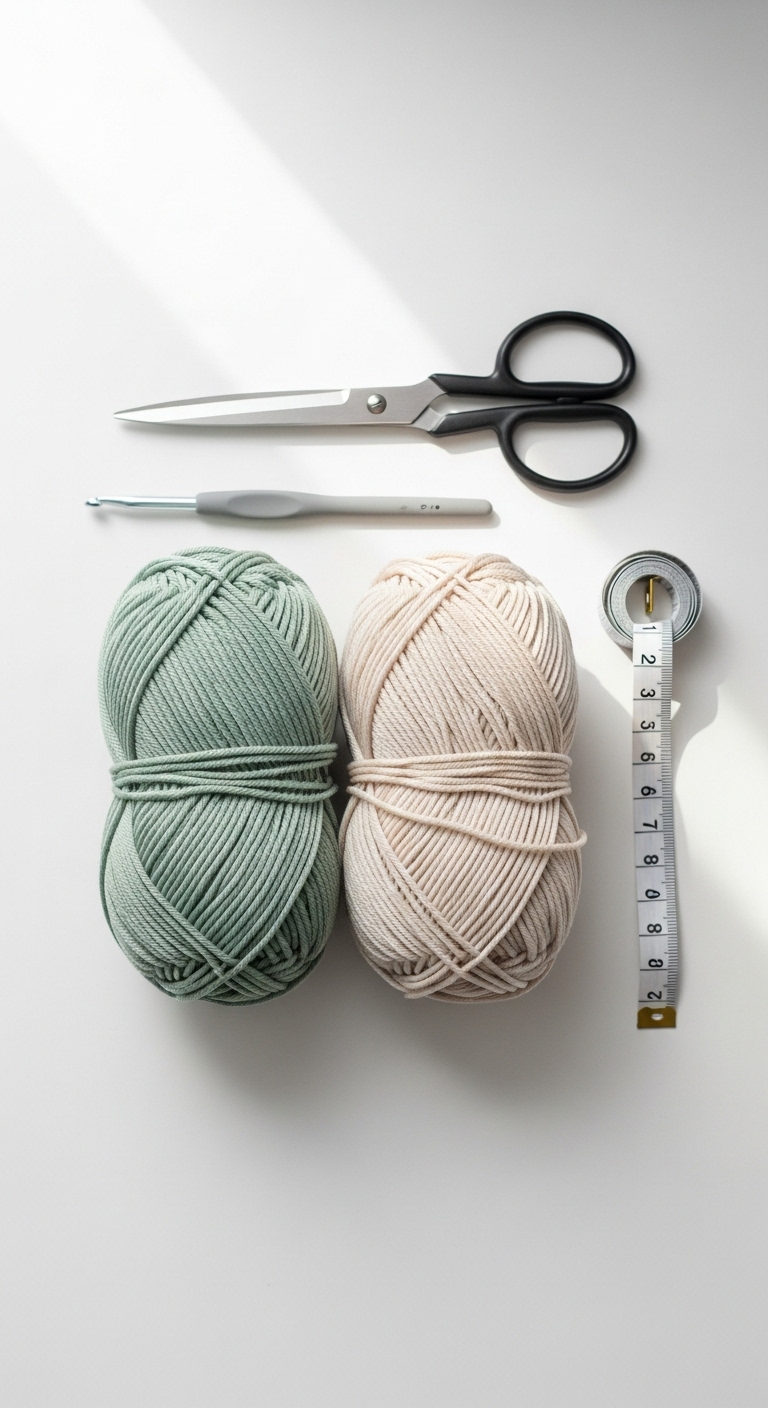
– Yarn: Worsted weight yarn in coral pink (approximately 50 yards), sandy beige (approximately 30 yards), and vibrant green (approximately 10 yards)
– Hook: 3.5mm or 4.0mm crochet hook
– Eyes: 12mm safety eyes OR black embroidery thread for detailing
– Stuffing: Polyester fiberfill stuffing (optional, for added dimension)
– Needle: Tapestry needle for sewing pieces together
– Marker: Stitch marker
– Optional extras: Hot glue for attaching to fabric, a small piece of felt for the beak if desired
4. Designer Notes / Tips
When creating your flamingo, don’t worry if your stitches vary slightly in size – this is a playful piece, and slight imperfections will add to its charm! The use of double crochet stitches in the wings gives a lovely texture, so be sure to maintain consistent tension when working these sections.
If you choose to stuff your flamingo, light stuffing is recommended to keep it soft and flexible. For assembly, attaching the wings with a slip stitch creates a seamless finish. If you would like to experiment with yarn substitutions, any worsted weight yarn will work, but be mindful of color choices to maintain the flamingo’s character.
As you work, remember to place your stitch marker at the beginning of each round for easy tracking. If you’re making this for a child, consider sewing safety eyes securely or opting for embroidered eyes instead for added safety.
5. Pattern Instructions
For the Flamingo Applique:
Head:
– Note: Attach safety eyes between Round 5 and Round 6, about 5 stitches apart.
Body:
Wings (make 2):
– Note: Do not stuff the wings. Attach them to the body using a slip stitch.
Legs (make 2):
– Note: Attach the legs to the bottom of the body using a yarn needle.
Assembly:
– Attach the head to the body using the tapestry needle, ensuring it is secure. Position the wings on either side of the body and sew them in place. Finally, sew the legs to the bottom of the body. Voila! Your flamingo is complete.
6. Closing & Social Engagement
I’d love to see your version of the flamingo applique! Leave a comment below and share what color combination you decided to try. Don’t forget to share your finished flamingo on social media; it’s always inspiring to see how everyone’s unique touch brings the pattern to life. Happy crocheting!