Farmers Market Free Crochet Patterns
2. Introduction
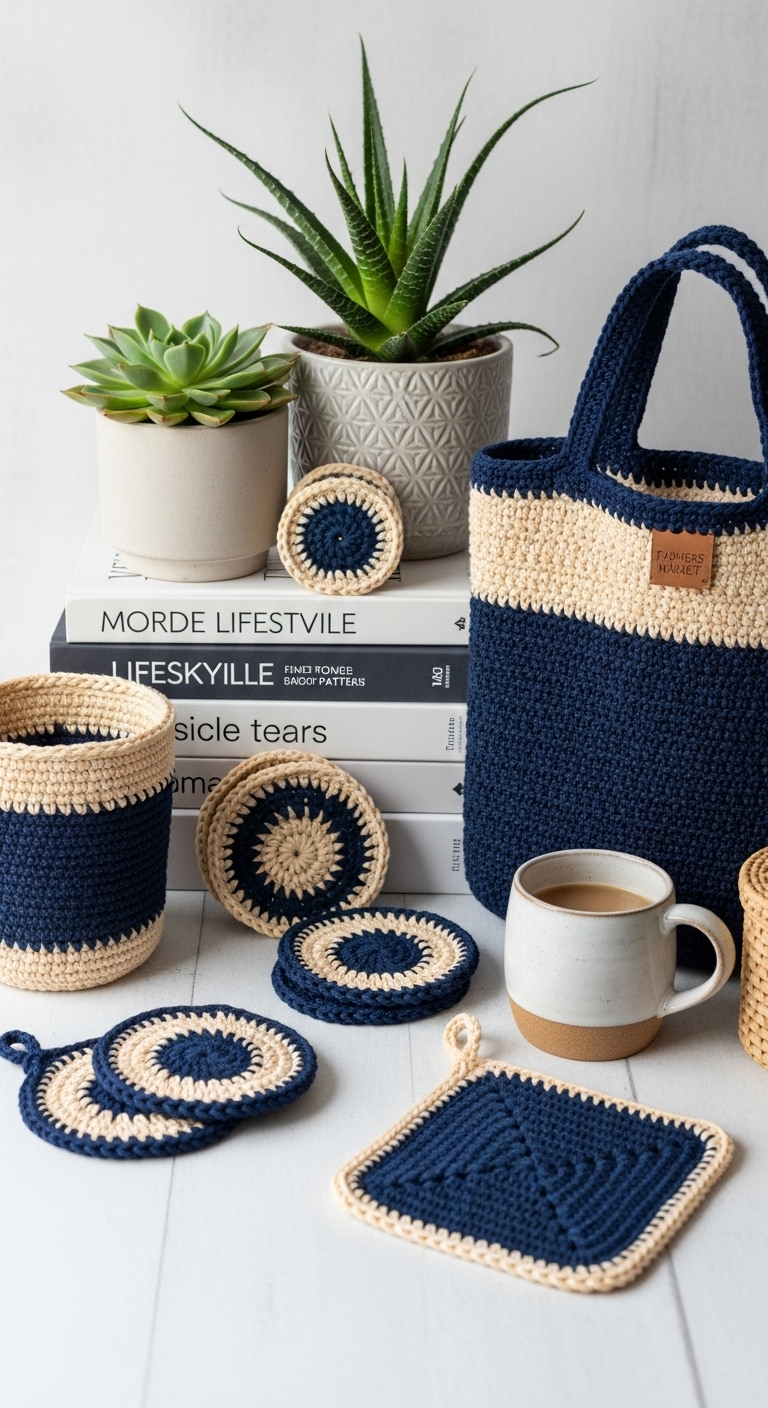
Welcome to the delightful world of crochet with our “Farmers Market Free Crochet Patterns”! This collection features cheerful produce plushies that are not just fun to make, but also a fantastic way to brighten up your home or gift to someone special. Each plushie is approximately 6-8 inches tall, making them the perfect size for little hands or as charming decorations on a kitchen shelf.
For this project, we recommend using a soft, medium-weight yarn like cotton or acrylic in a delightful palette of tomato red, sunny yellow, and leafy green. These adult-friendly colors evoke the freshness of a farmer’s market, adding vibrancy to your crochet creations. This project is not just quick and enjoyable, but also offers a unique opportunity to practice basic stitching techniques, making it ideal for beginners.
Whether you’re looking to create a thoughtful gift for a friend, decorate for a seasonal event, or simply add some whimsy to your home, these crochet patterns are the perfect choice. With clear instructions and a friendly approach, everyone can join in on the fun of creating these adorable plushies!
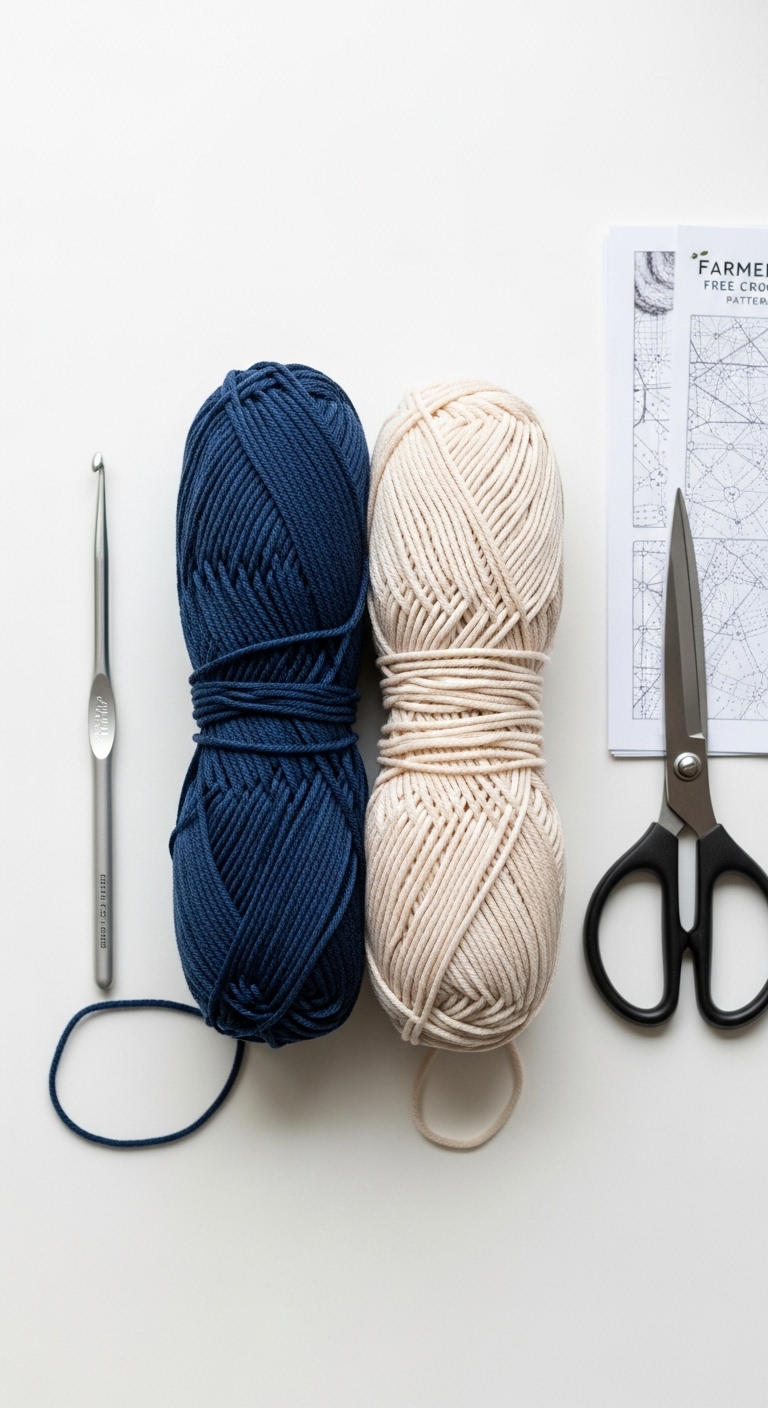
3. Materials Needed
– Yarn: Worsted weight (medium) yarn in tomato red, sunny yellow, and leafy green – approximately 100 yards each
– Hook: 3.5mm or 4.0mm crochet hook
– Eyes: Safety eyes (12mm) OR black embroidery thread
– Stuffing: Polyester fiberfill stuffing
– Needle: Tapestry needle for sewing
– Marker: Stitch marker
– Optional extras: Pipe cleaners for added structure, buttons for embellishments
4. Designer Notes / Tips
– Stitch technique: This pattern features basic crochet stitches: single crochet (sc), increases (inc), and decreases (dec). Familiarize yourself with these as they are essential for shaping your produce plushies.
– Stuffing density: For a soft yet structured plushie, light stuffing works best. It allows for shape while keeping it cuddly. Avoid overstuffing to maintain the desired shape and appearance.
– Assembly: When joining pieces, use a tapestry needle to sew securely, ensuring all parts are aligned. A good tip is to align pieces using the stitch marker for reference to maintain symmetry.
– Yarn substitutions: If you prefer a different texture, any worsted weight yarn will work well! Just ensure it is soft and safe for children if you’re gifting it to little ones.
– Gauge tips: Although gauge is not critical for this project, maintaining consistent tension will give your plushies a uniform look. Aim for a firm but flexible fabric.
– Safety considerations: If creating for small children, consider using embroidery thread for eyes instead of safety eyes to eliminate choking hazards.
5. Pattern Instructions
For Plushies:
Tomato Plushie
– Head:
*(Stuff lightly before closing the head with remaining rounds.)*
– Body:
*(Stuff firmly before finishing the body.)*
– Leaves:
– Assembly: Attach the head to the body using the tapestry needle. Position safety eyes between rounds 5 and 6 of the head for a friendly look. Attach leaves securely on the top of the head.
Lemon Plushie
– Body:
*(Stuff lightly before closing.)*
– Leaves: Follow the same pattern as the tomato plushie for leaves.
– Assembly: Attach the head, ensuring the safety eyes are placed appropriately. Add the leaves to the top, securing them with tight stitches.
For Accessories:
*Not applicable for this pattern focused on plushies.*
6. Closing & Social Engagement
I hope you enjoy making these delightful farmers market plushies as much as I did! They’re perfect little projects to practice your crochet skills while creating something cute and functional. I’d love to see your version! Leave a comment below with your thoughts or questions.
What color combination will you try? Don’t forget to share your finished plushies on social media using #FarmersMarketPlushies!