Fall Pompompurin Plush – Crochet Pattern (Amigurumi)
2. Introduction
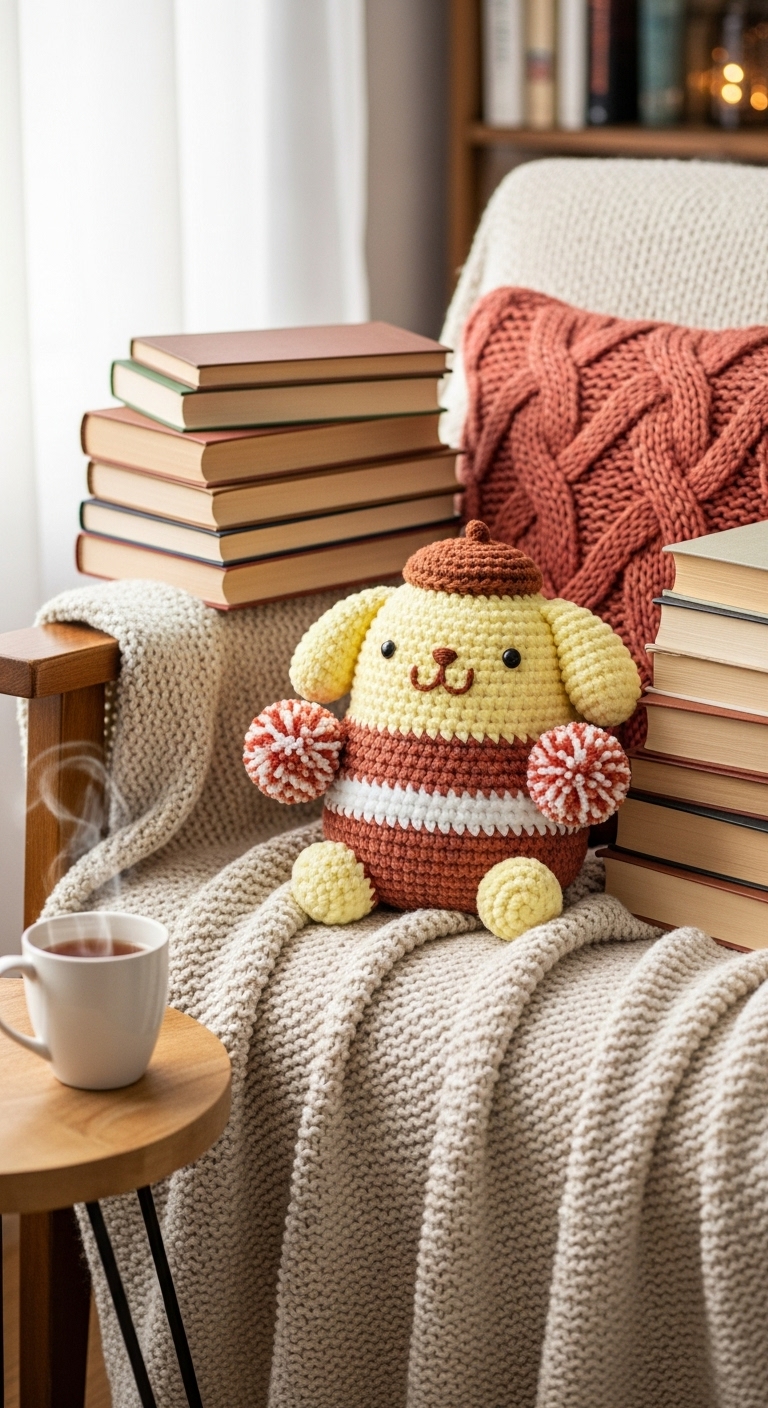
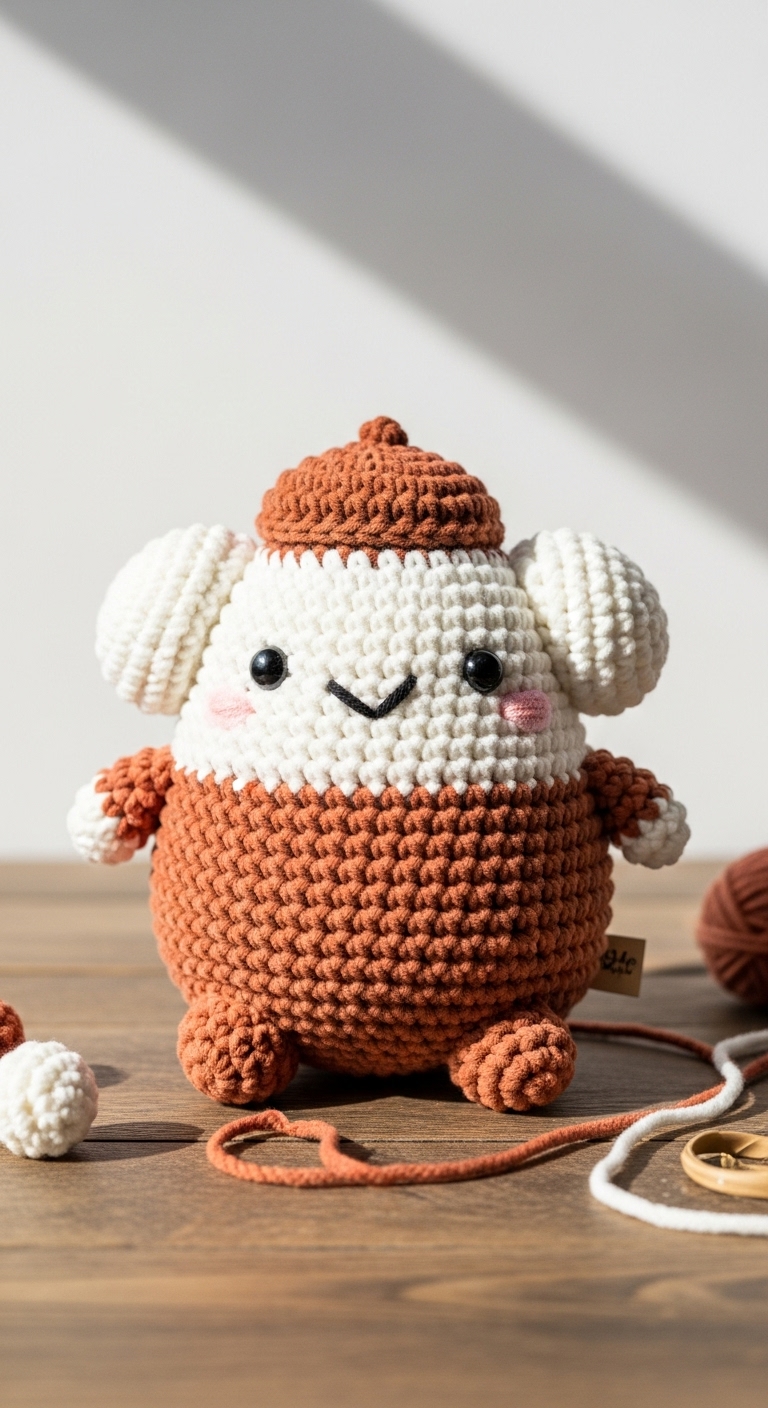
Welcome to the cozy world of crochet! In this article, we’ll create an adorable Fall Pompompurin Plush, perfect for cuddling during chilly autumn evenings. This delightful amigurumi features Pompompurin, the charming golden retriever character, dressed in his autumn attire. When finished, your plushie will measure approximately 12 inches tall, making it an ideal plush companion or a lovely decoration for your seasonal displays.
For this project, we will be using soft worsted weight yarn in warm, inviting colors like rich mustard yellow, earthy brown, and a touch of cream. These complementary colors not only enhance the plush’s adorable features but also reflect the beautiful hues of fall. This project is special because it combines the joy of amigurumi with the warmth of the season; it’s both quick and satisfying to make, making it suitable for crocheters at any skill level, especially beginners looking to expand their repertoire. Plus, with its seasonal relevance, this plush makes a thoughtful gift for loved ones or a delightful personal keepsake!
3. Materials Needed
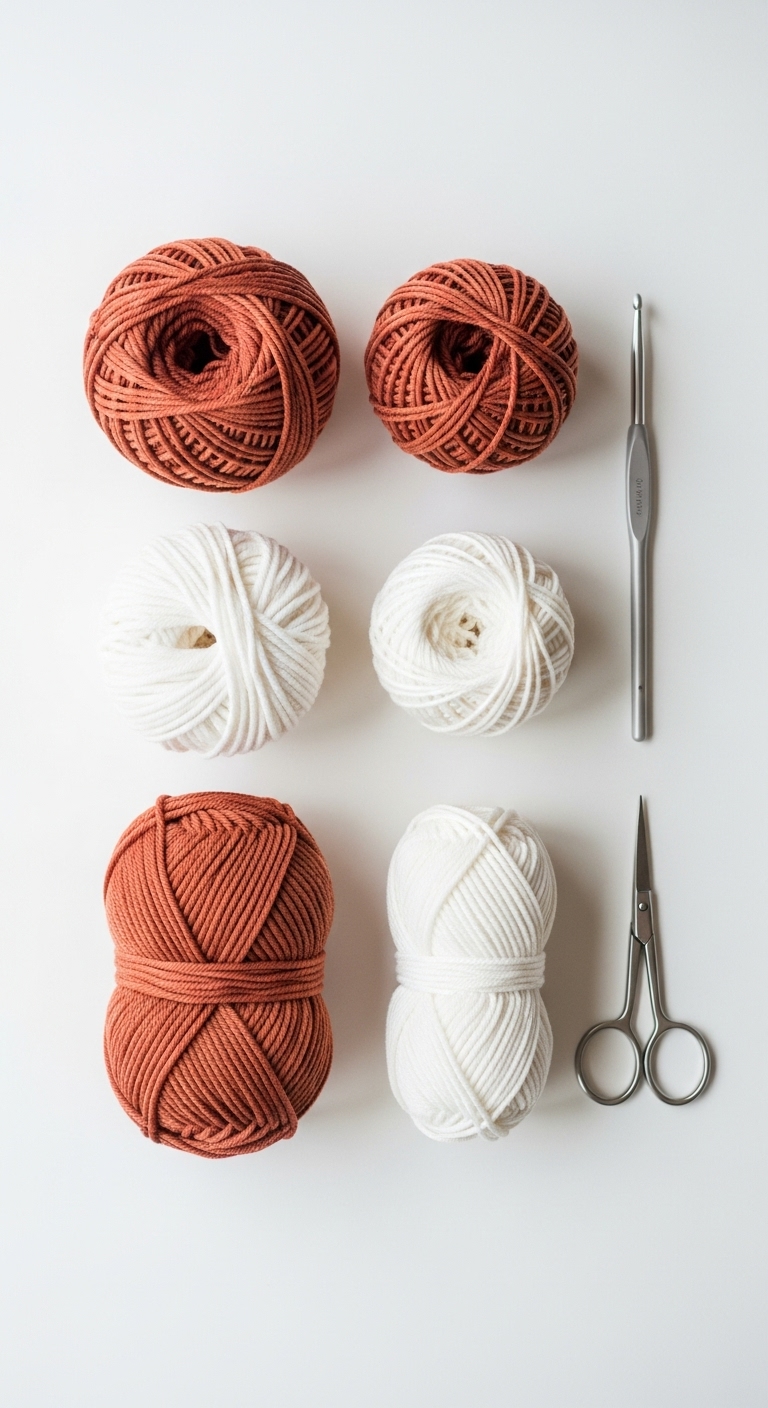
– Yarn: Worsted weight yarn in mustard yellow (approx. 200 yards), brown (approx. 50 yards), and cream (approx. 30 yards)
– Hook: 3.5mm or 4.0mm crochet hook
– Eyes: 12mm safety eyes
– Stuffing: Polyester fiberfill stuffing
– Needle: Tapestry needle for sewing
– Marker: Stitch marker
– Optional extras: Pipe cleaners (for a sturdy tail), felt (for embellishments)
4. Designer Notes / Tips
– Stitch technique: This pattern utilizes basic stitches such as single crochet (sc) and increases (inc). Be sure to keep your tension consistent to maintain an even finish, which is crucial for plushies.
– Stuffing density: For a huggable plush, stuff the body and head lightly. Feel free to add a little more stuffing in the limbs for a firmer feel, but make sure not to overstuff, as it can stretch the stitches.
– Assembly: When joining pieces, use a whip stitch for a seamless finish. It’s helpful to pin pieces together first or use stitch markers to ensure proper alignment.
– Yarn substitutions: If you prefer a softer touch, consider using a baby acrylic or cotton yarn. Just make sure it’s worsted weight to maintain the intended size of the plush.
– Gauge tips: Aim for a gauge that fits 4 inches in 12 stitches. If your gauge is off, adjust your hook size accordingly to ensure your plushie holds its shape.
– Safety considerations: For young children, you may choose to embroider the eyes instead of using safety eyes to eliminate any choking hazards.
5. Pattern Instructions
For Plushies:
Head:
Body:
Arms (Make 2):
Legs (Make 2):
Ears (Make 2):
Assembly:
1. Sew the head to the body using the long tail from the head.
2. Attach arms to the body, positioning them slightly below the head.
3. Sew legs to the bottom of the body for a stable plushie.
4. Position and sew ears on top of the head, ensuring they are symmetrical.
5. Weave in all ends and give your plush a final fluff!
6. Closing & Social Engagement
Congratulations on completing your Fall Pompompurin Plush! I hope you enjoyed making this charming character that captures the spirit of the season. I’d love to see your version! Leave a comment below sharing your experience or asking any questions you might have. What color combination will you try? Don’t forget to share your finished plush on social media using the hashtag #FallPompompurinPlush! Happy crocheting!