Fall Guys – Free Crochet Pattern
2. Introduction
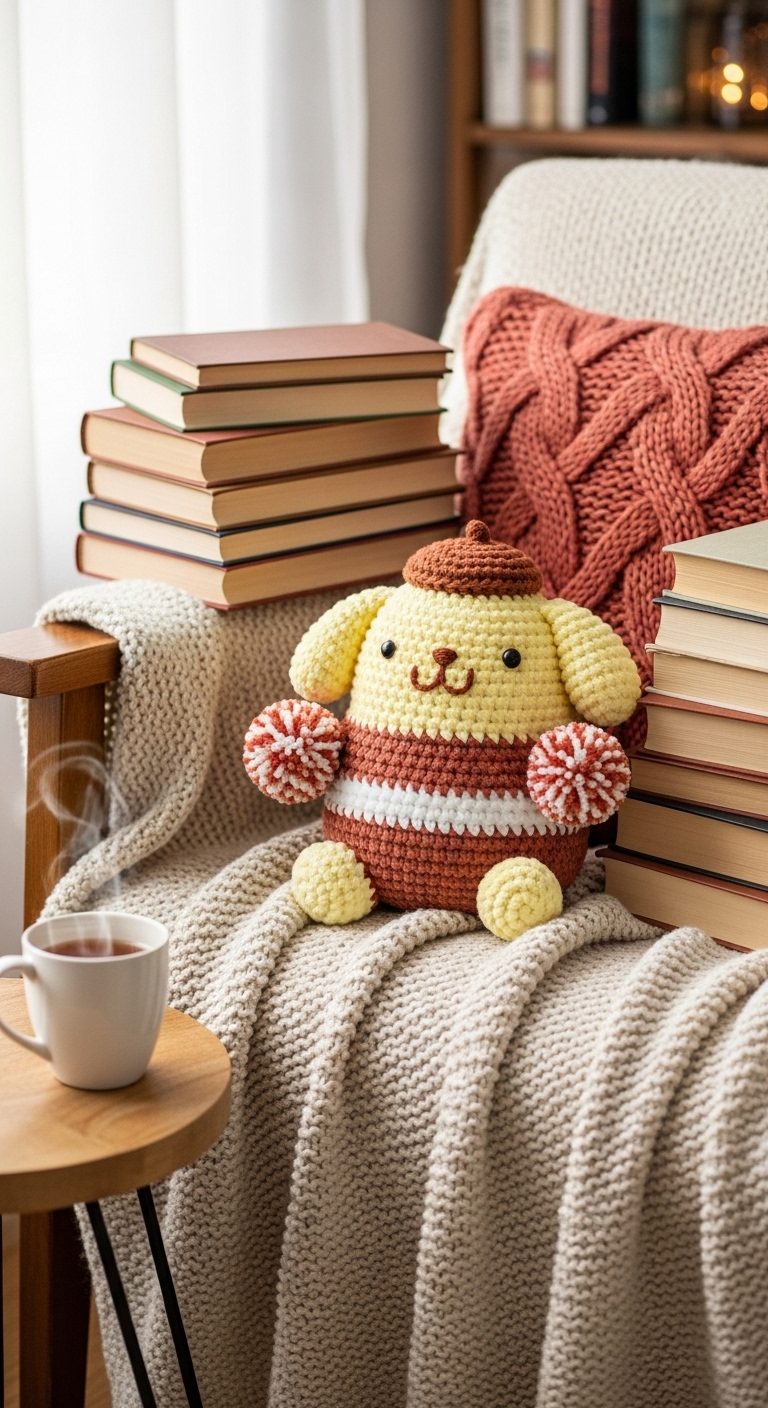
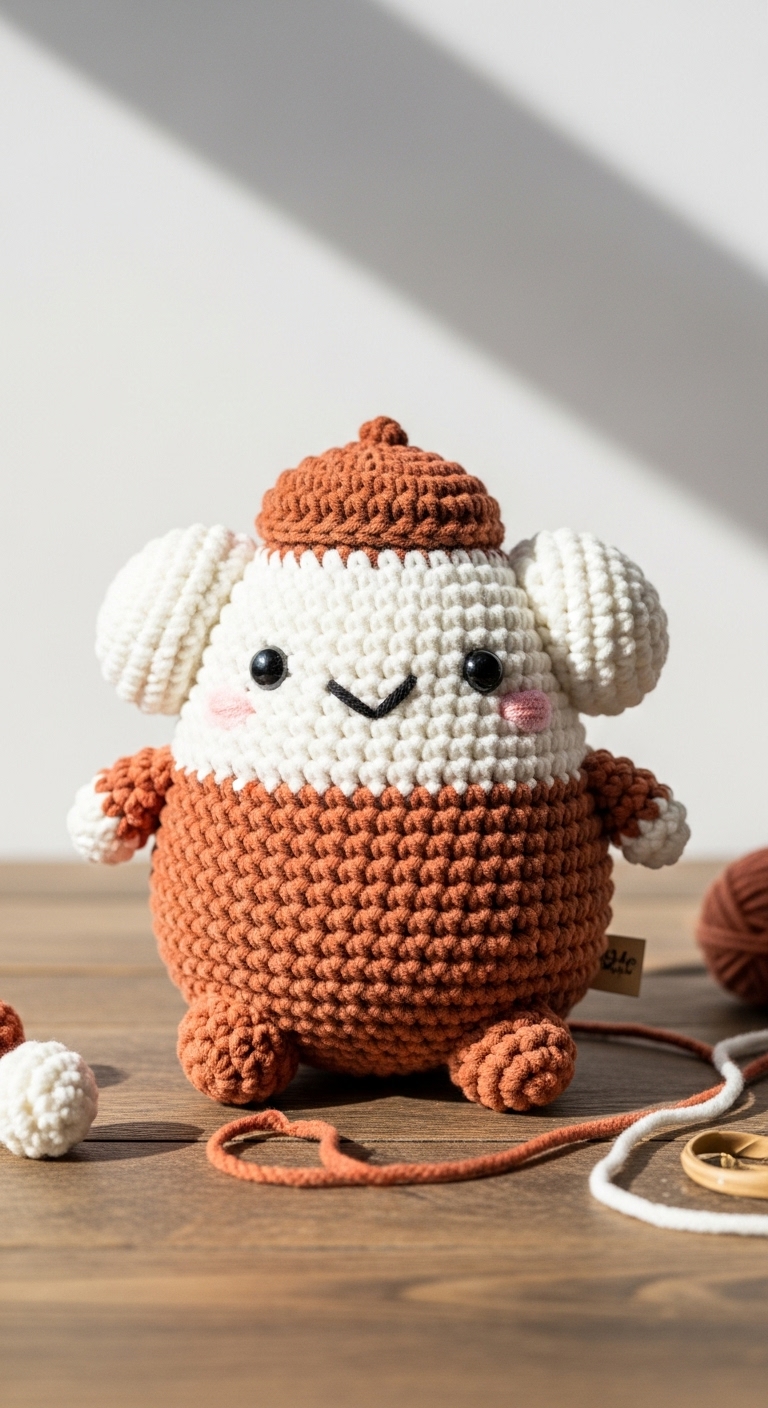
Welcome to the whimsical world of “Fall Guys!” This delightful crochet pattern allows you to create your very own plushie inspired by those adorably clumsy characters we all know and love. When completed, your Fall Guy will measure approximately 12 inches tall, making it the perfect size for cuddling, displaying, or gifting.
For this project, we’ll be using soft worsted weight yarn in three complementary colors: a rich pumpkin orange, a vibrant teal, and a warm cream. These colors not only evoke the cozy feelings of fall but also add a cheerful flair to your finished plushie. This pattern is designed to be both fun and quick to make, making it perfect for crafters looking for a charming project to brighten up their day. Suitable for beginners, this pattern provides clear instructions that will guide you through each step, ensuring a satisfying crafting experience. Plus, with the festive fall season approaching, this plushie makes a wonderful gift for friends, family, or even for yourself!
3. Materials Needed
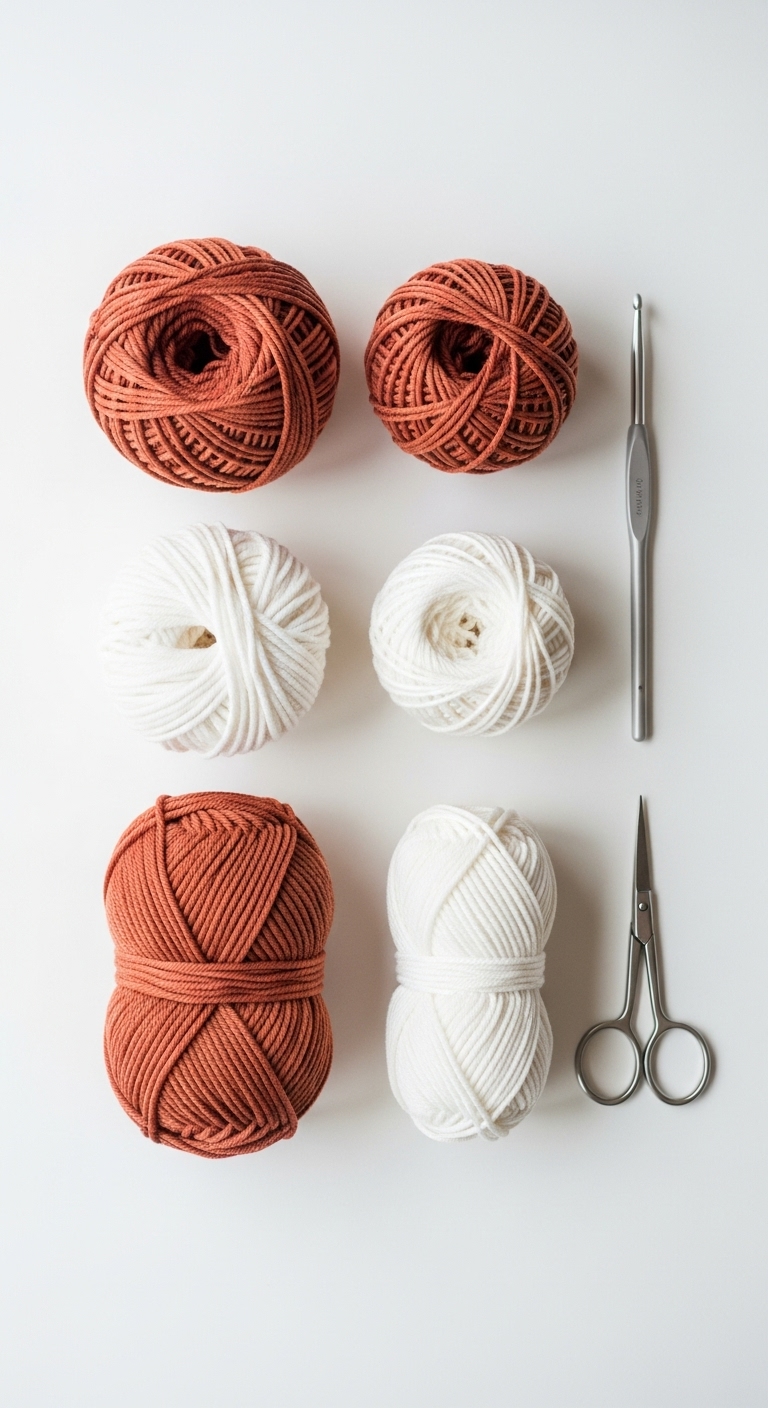
– Yarn: Worsted weight yarn in pumpkin orange (150 yards), teal (100 yards), and cream (50 yards)
– Hook: 3.5mm (E) or 4.0mm (G) crochet hook
– Eyes: Safety eyes (12mm) OR black embroidery thread
– Stuffing: Polyester fiberfill stuffing
– Needle: Tapestry needle for sewing
– Marker: Stitch marker
– Optional extras: Pipe cleaners for added stability in limbs
4. Designer Notes / Tips
As you embark on this crochet journey, here are a few tips to keep in mind. First, we’ll be using basic stitches like single crochet (sc) and increases (inc) to create the plushie’s round shape. To add a bit of texture, don’t hesitate to incorporate slip stitches in certain areas for a cleaner finish.
When it comes to stuffing, I recommend a light stuffing to allow your plushie to maintain its shape without being overly firm. This will also ensure that it remains cuddly and squishable. Assembling your Fall Guy is a crucial step; I suggest joining the pieces securely and doing a few extra stitches at the joints to ensure durability.
If you prefer using alternative yarns, consider a soft cotton yarn or a bamboo blend for a more eco-friendly option. Keep an eye on your gauge, as maintaining consistent tension is key to achieving the correct size. If you’re making this plushie for children, consider using embroidery thread for the eyes instead of safety eyes to avoid any choking hazards.
5. Pattern Instructions
Let’s get started on your Fall Guy! We’ll break this down into logical sections for clarity.
For Plushies:
Head:
At this point, you may choose to place the safety eyes between rounds 6 and 7, about 6 stitches apart.
Body:
Stuff the body lightly and continue:
Arms:
Make 2 arms.
Legs:
Make 2 legs.
Assembly:
– Attach the head to the body using the long tail left on the body.
– Position and sew the arms and legs securely to the body.
– Weave in all ends and make sure to check the sturdiness of the limbs by giving them a gentle tug.
Finishing:
Feel free to embellish your Fall Guy further, perhaps by adding a scarf or little accessories using leftover yarn. Blocking isn’t necessary for plushies, but a gentle reshaping of the body and limbs can help achieve that perfect look!
6. Closing & Social Engagement
Congratulations on completing your very own Fall Guy plushie! I’d love to see your version—leave a comment below with your thoughts or questions. What color combination will you try? Don’t forget to share your finished creation on social media with the hashtag #FallGuyCrochet!