easy crochet rustic pumpkin pattern in 3 sizes video tutorial
2. Introduction
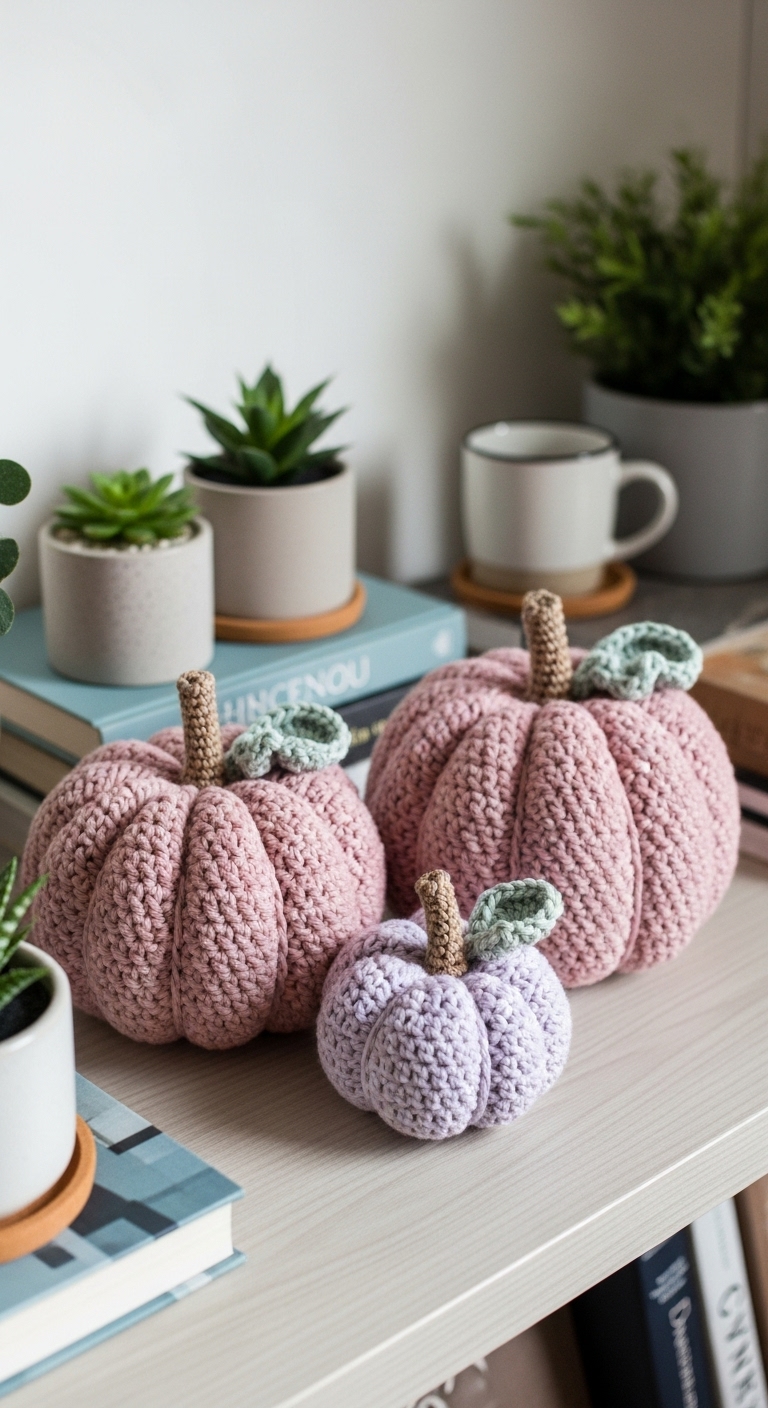
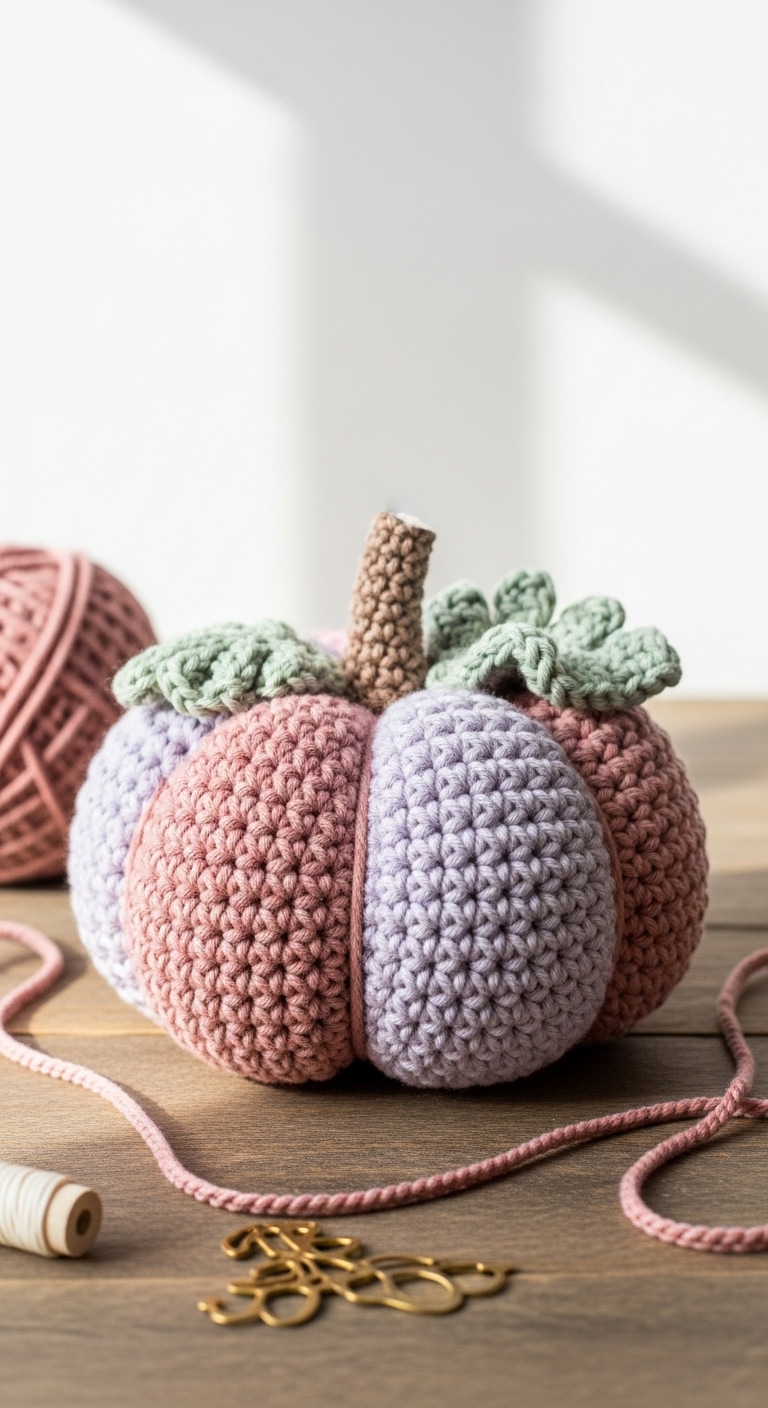
Are you ready to embrace the cozy charm of autumn? This Easy Crochet Rustic Pumpkin Pattern features three delightful sizes of pumpkins that will bring warmth and whimsy to your home decor. Ranging from a petite 4 inches to a substantial 10 inches, these pumpkins can be used as table centerpieces, mantle decorations, or even as gifts for loved ones.
For this project, I recommend using soft, medium-weight yarn in earthy tones like burnt orange, olive green, and cream. These adult-friendly colors evoke the beauty of fall and complement each other beautifully, making your pumpkins not only cute but also sophisticated. This pattern is designed to be beginner-friendly, meaning it’s perfect for those new to crochet or anyone looking for a quick and enjoyable project. Plus, with the seasonal relevance of fall, these pumpkins can be a perfect gift or decoration for harvest celebrations and Halloween.
3. Materials Needed
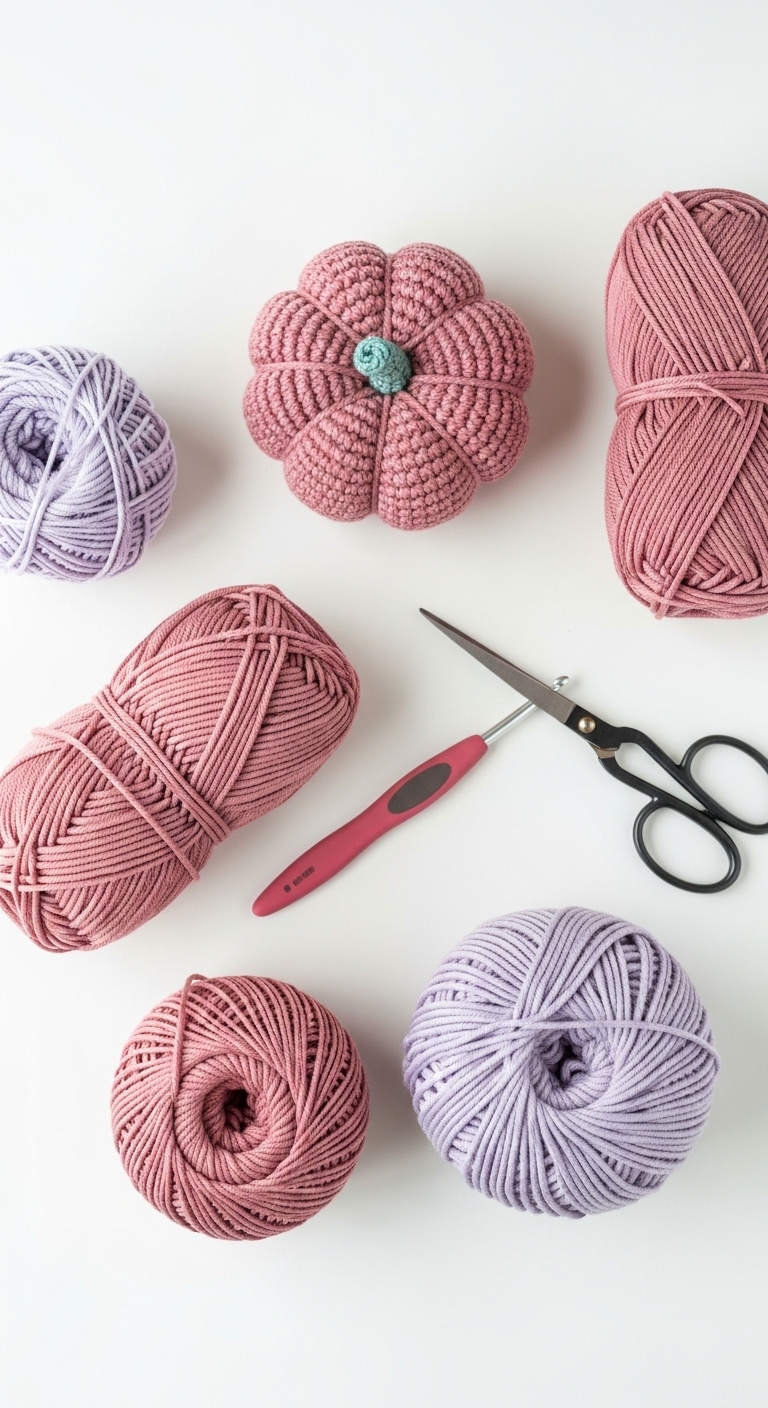
– Yarn: Medium weight yarn (4) in burnt orange (approx. 75-100 yards), olive green (approx. 25 yards), and cream (approx. 25 yards)
– Hook: 3.5mm or 4.0mm crochet hook
– Eyes: Safety eyes (12mm) or black embroidery thread for optional embellishment
– Stuffing: Polyester fiberfill stuffing
– Needle: Tapestry needle for sewing ends
– Marker: Stitch marker for keeping track of rounds
– Optional extras: Pipe cleaners for stems, small twigs for a rustic touch
4. Designer Notes / Tips
– Stitch technique: This pattern primarily uses single crochet (sc) stitches, making it a great project to practice your tension. To achieve a rustic texture, don’t hesitate to experiment with your tension; a looser stitch can give a more relaxed look.
– Stuffing density: Aim for a medium density when stuffing your pumpkins. Too light may cause them to droop, while too firm will distort their shape. A happy medium will help your pumpkins hold their lovely rounded form.
– Assembly: When you are ready to assemble your pumpkins, use the whip stitch to join pieces together for a seamless finish. Take your time to ensure they are well stuffed before closing up.
– Yarn substitutions: If you prefer a different texture, consider using a cotton blend or a bulky yarn for a more whimsical look. Just be sure to adjust your hook size accordingly.
– Gauge tips: While exact gauge isn’t crucial for this project, aiming for a consistent stitch will ensure that your pumpkins look uniform in size.
– Safety considerations: If you’re making these pumpkins for young children, opt for embroidered features instead of safety eyes for greater safety.
5. Pattern Instructions
For Plushies:
Pumpkin Body (choose size)
– Small Pumpkin (4″):
– Medium Pumpkin (6″):
– Large Pumpkin (10″):
Pumpkin Stem:
Use olive green yarn:
Assembly:
– Attach safety eyes if using. Place them between rounds 3 and 4 of the pumpkin body.
– Use the tapestry needle to attach the stem to the top of the pumpkin securely.
– For a rustic look, twist a pipe cleaner and incorporate it into the stem or use a small twig.
6. Closing & Social Engagement
Thank you for joining me in creating these adorable rustic pumpkins! I’d love to see your version! Leave a comment below and share what color combinations you’ll be trying. Don’t forget to share your finished pumpkins on social media with the hashtag #RusticPumpkinCrochet!