easter chicken gnome free crochet pattern
2. Introduction
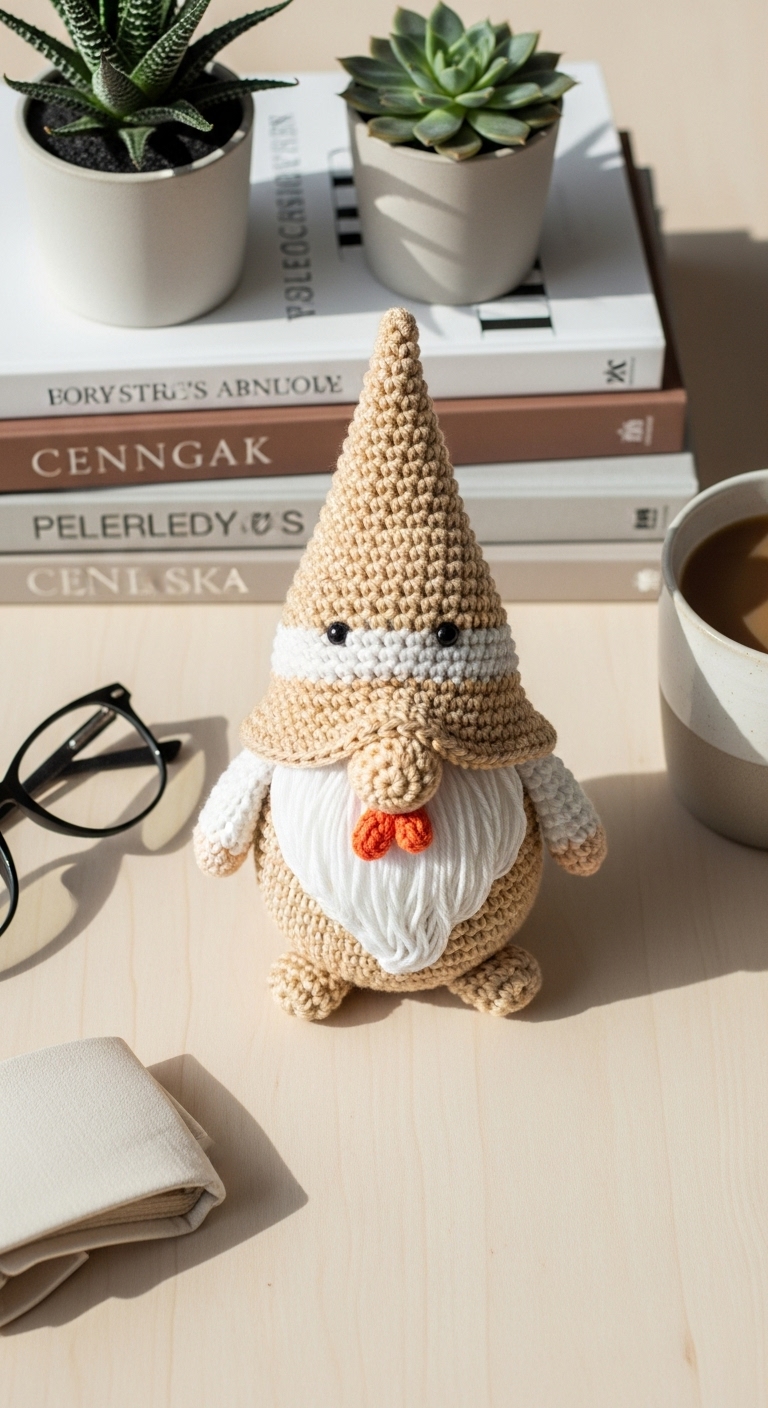
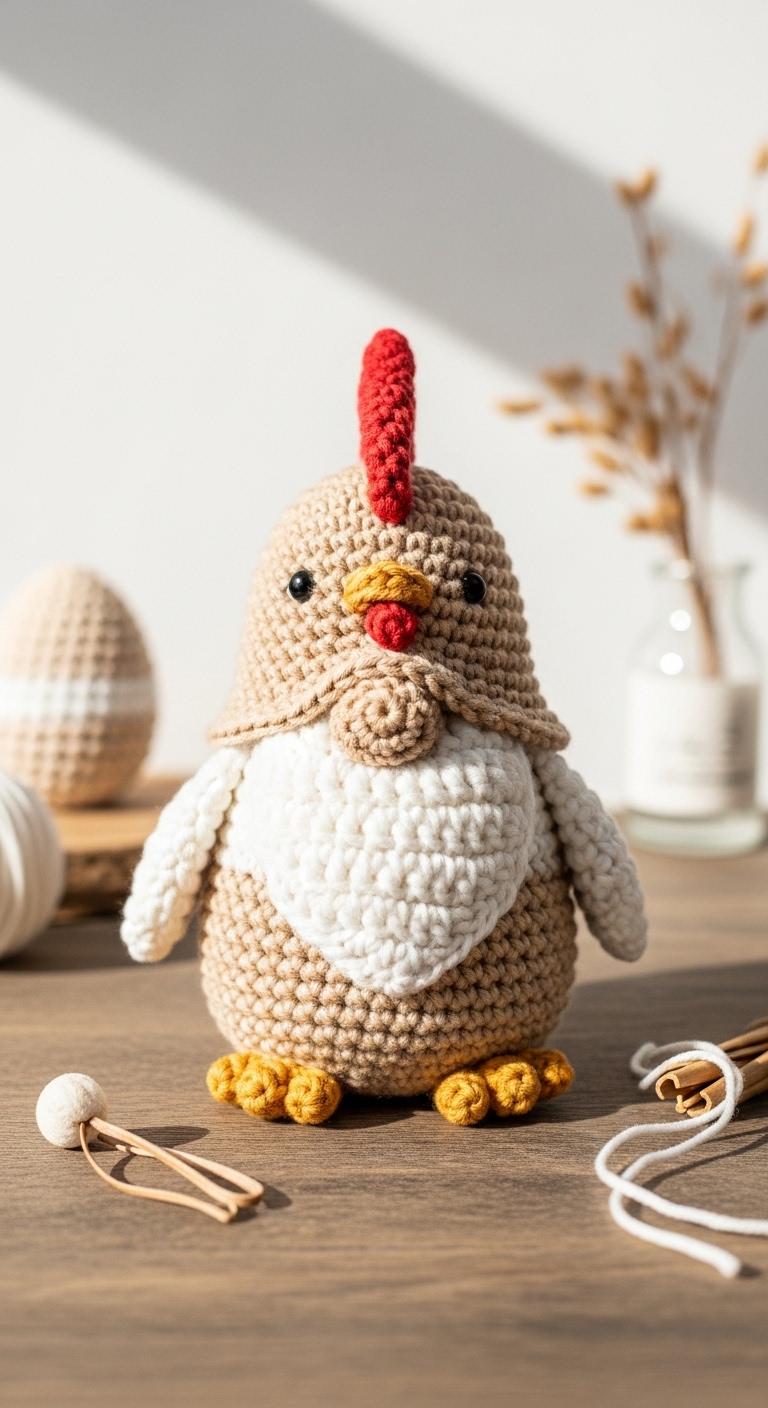
Welcome to the delightful world of crochet with our Easter Chicken Gnome Free Crochet Pattern! This whimsical plushie stands approximately 8 inches tall and is perfect for adorning your home during the Easter season. With its vibrant colors and charming design, it’s sure to bring a touch of spring cheer to any space.
For this project, we will use soft worsted weight yarn in complementary colors that are adult-friendly, such as a sunny yellow for the chicken’s body, a crisp white for the gnome’s beard, and a cheerful pastel pink for the hat. The combination of these hues creates a playful yet sophisticated look that will appeal to crafters and decorators alike.
This pattern is both fun and quick to make, making it an excellent project for beginners looking to expand their skills. With only a few basic stitches involved, you’ll feel accomplished as you watch your gnome come to life. Plus, it makes a delightful gift for Easter celebrations or as a seasonal decoration!
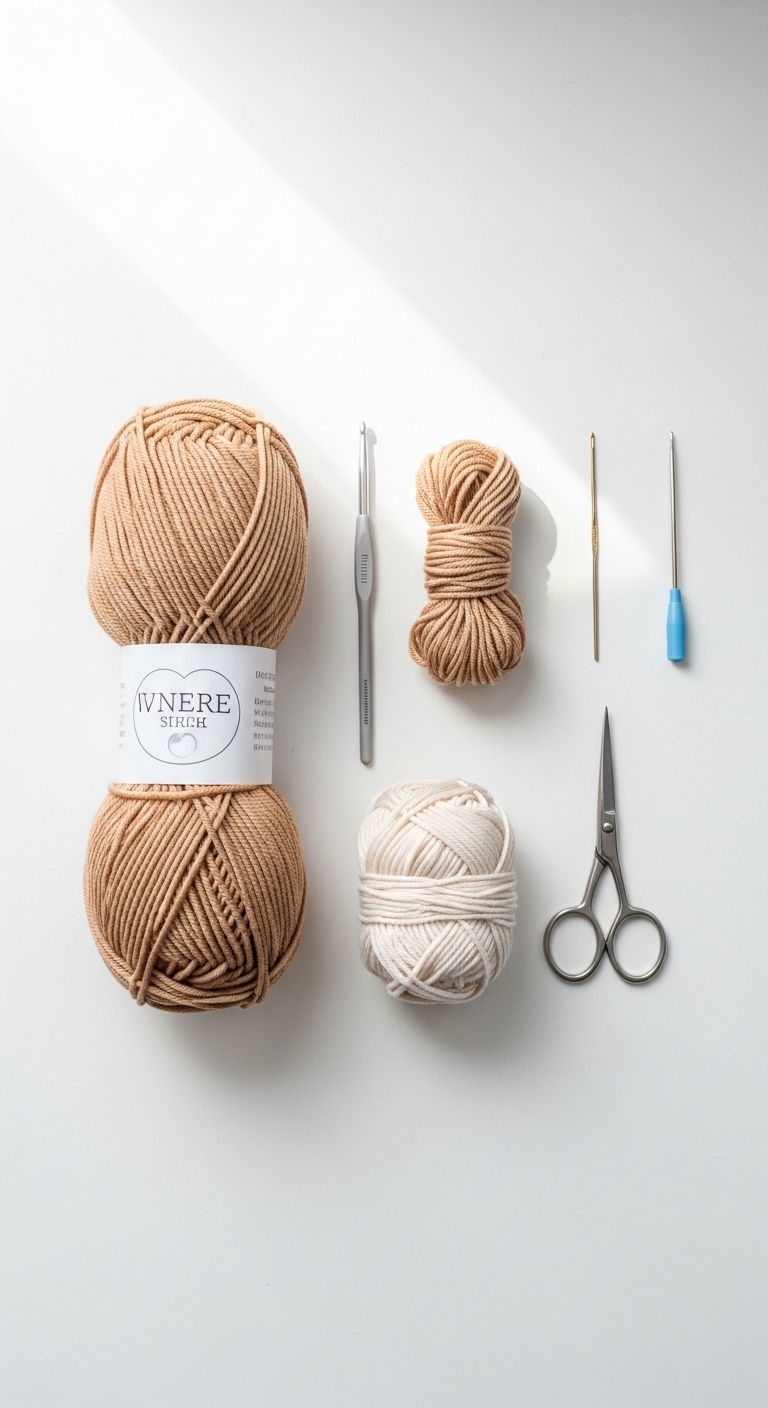
3. Materials Needed
– Yarn: Worsted weight yarn in sunny yellow (approx. 100 yards), white (approx. 50 yards), and pastel pink (approx. 50 yards)
– Hook: 3.5mm (E) or 4.0mm (G) crochet hook
– Eyes: 12mm safety eyes
– Stuffing: Polyester fiberfill stuffing
– Needle: Tapestry needle for sewing
– Marker: Stitch marker
– Optional extras: Small pompom or felt for beak, pipe cleaners for added stability
4. Designer Notes / Tips
When crocheting the gnome’s body, feel free to play around with different textures. Incorporating a slip stitch or half double crochet can add depth to your piece. For stuffing, I recommend a light but firm fill, as it gives the gnome a nice shape without being overly squishy.
As you assemble your gnome, take your time to align the pieces perfectly. Use a stitch marker to keep track of rounds and ensure even spacing when attaching the hat and body. If you are considering yarn substitutions, any medium-weight yarn will work; just keep in mind that the gauge may differ slightly.
For safety, especially if this is intended for young children, consider using embroidered features in place of plastic eyes and optional embellishments like the beak if you’re concerned about small parts.
5. Pattern Instructions
For Plushies:
Head:
Body:
Arms:
Hat:
Assembly:
1. Attach safety eyes to the head between rounds 6 and 7, about 6 stitches apart.
2. Sew the head to the body securely.
3. Attach arms to either side of the body at round 10.
4. Position the hat on the head and stitch in place.
5. Optionally, add a small pompom or felt beak to complete your gnome.
6. Closing & Social Engagement
I’d love to see your version of the Easter Chicken Gnome! Leave a comment below with your thoughts or any questions you may have. What color combination will you try? Don’t forget to share your finished gnome on social media—let’s spread the joy of crochet together!