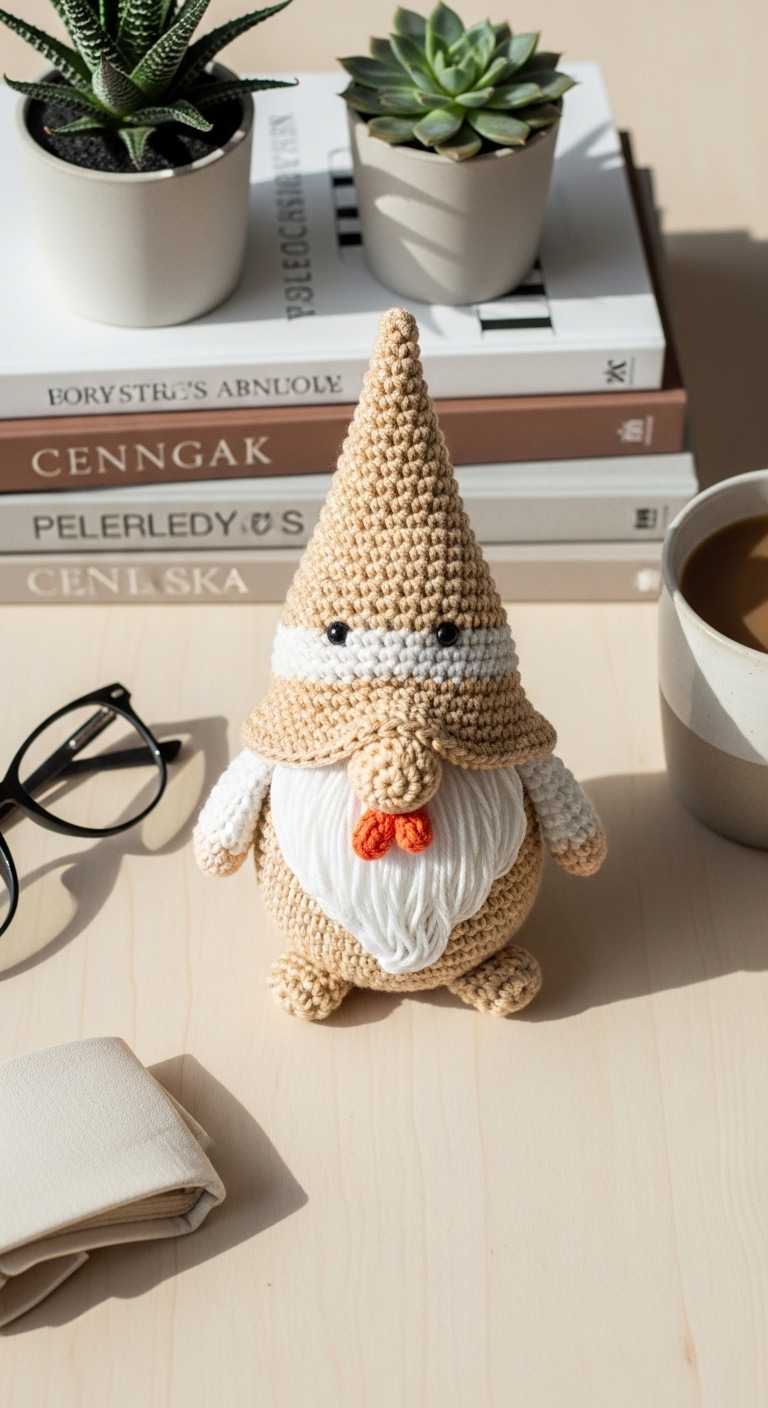
easter carrot gnome free crochet pattern

2. Introduction
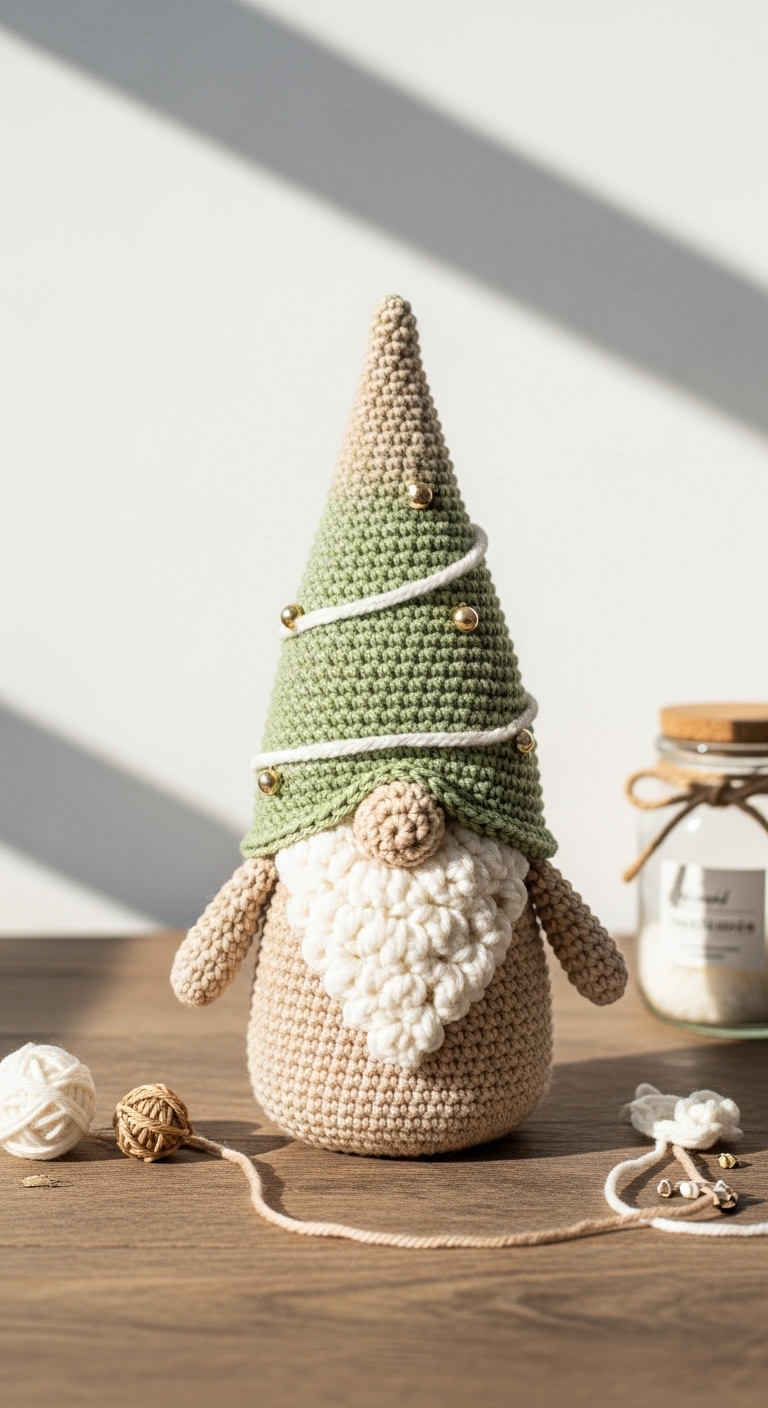
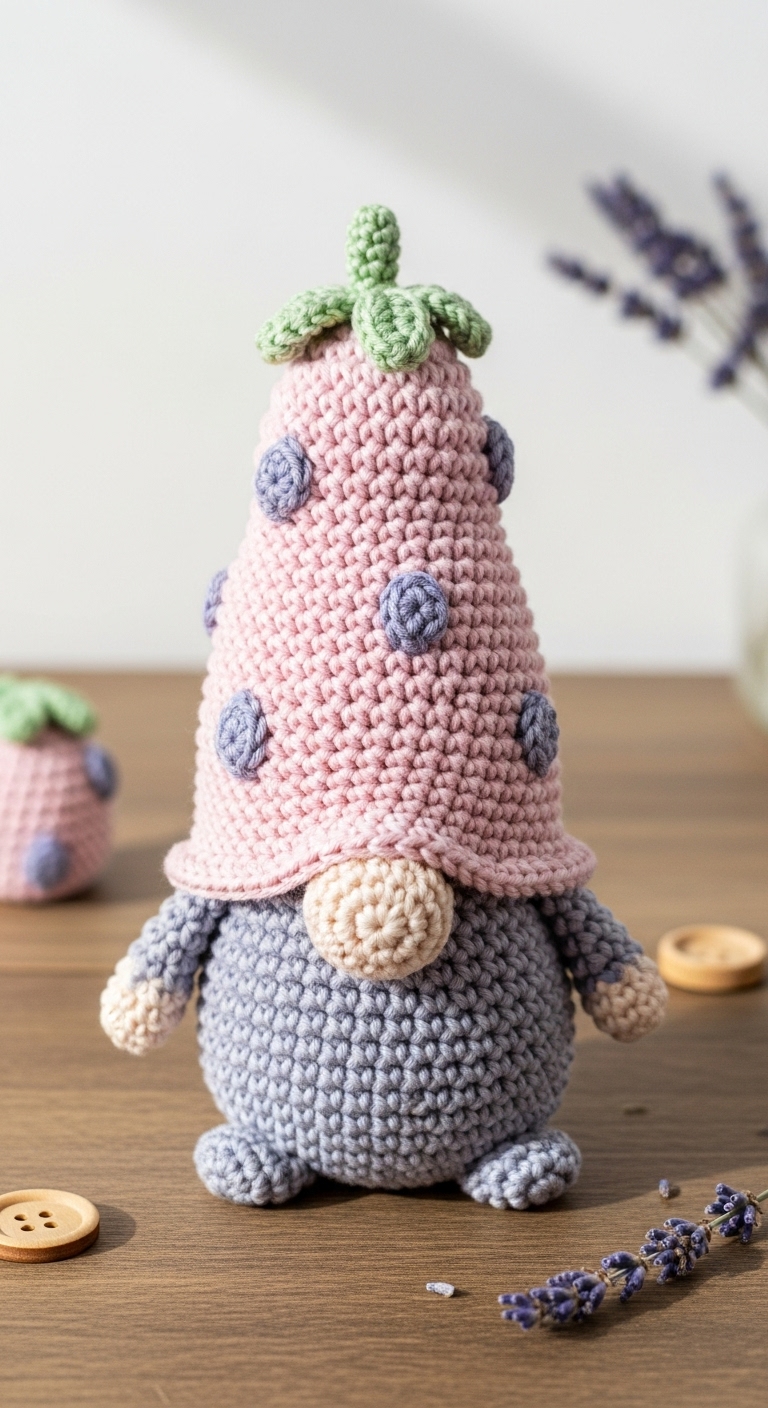
Welcome to the delightful world of crochet! Today, I’m excited to share with you a free pattern for an Easter Carrot Gnome. This adorable plushie stands approximately 10 inches tall, making it the perfect whimsical addition to your spring decor. Its charming design and vibrant colors are sure to bring joy and cheer to any space, whether displayed on a shelf or given as a special gift.
For this project, we’ll be using soft, worsted-weight yarn in a cheerful orange, a refreshing green, and a warm beige. These adult-friendly colors not only evoke the essence of Easter but also complement each other beautifully, creating a lovely gnome that feels both festive and sophisticated. This project is particularly fun because it’s quick to make and allows for some creativity in color choices and embellishments. It’s beginner-friendly, so even if you’re fairly new to crochet, you’ll find the instructions accessible and encouraging. Plus, with Easter just around the corner, this gnome makes for a fantastic seasonal gift!
3. Materials Needed
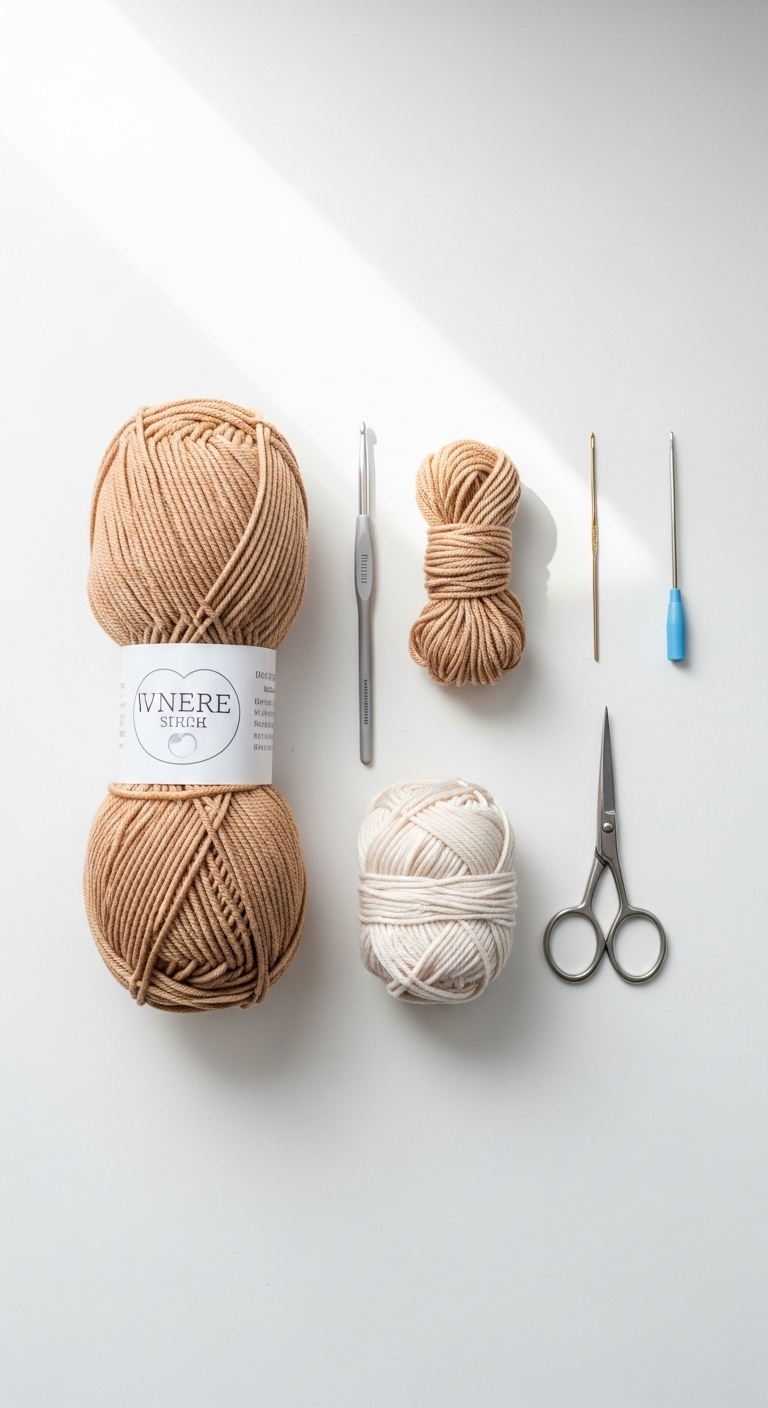
To create your Easter Carrot Gnome, gather the following materials:
– Yarn: Worsted weight yarn in orange (approximately 100 yards), green (approximately 30 yards), and beige (approximately 30 yards)
– Hook: 3.5mm or 4.0mm crochet hook
– Eyes: 12mm safety eyes OR black embroidery thread for stitching
– Stuffing: Polyester fiberfill stuffing
– Needle: Tapestry needle for sewing
– Marker: Stitch marker
– Optional extras: Wire or pipe cleaners for added structure in the carrot tops
4. Designer Notes / Tips
Before diving into the pattern, here are some helpful tips to ensure your gnome turns out perfectly:
– Stitch technique: This pattern uses basic stitches like single crochet and increases. If you’re new to these techniques, don’t hesitate to look up video tutorials for visual guidance!
– Stuffing density: For a plushie like this gnome, a medium firmness is ideal. You want it to hold its shape while still being soft and cuddly.
– Assembly: As you crochet the individual pieces, keep a tapestry needle handy for sewing parts together. It helps to secure pieces tightly without too much stuffing leaking out.
– Yarn substitutions: If you prefer a different yarn, just ensure it’s a similar weight. Cotton yarn can also be a great alternative for a more structured look.
– Gauge tips: While gauge isn’t crucial for this project, ensuring your stitches are not too loose will help maintain the shape of your gnome.
– Safety considerations: If you’re making this for a child, consider using stitched eyes instead of safety eyes to avoid any choking hazards.
5. Pattern Instructions
For Plushies:
Let’s break this down into components for the gnome!
Head
*Note:* Stuff the head firmly before closing.
Body
*Note:* Leave the bottom open to attach to the head. Stuff lightly.
Arms
*Make 2*
*Note:* Lightly stuff each arm.
Legs
*Make 2*
*Note:* Stuff lightly.
Ears
*Make 2 (beige yarn)*
*Note:* Do not stuff the ears.
Assembly
1. Attach the head to the body using the tapestry needle.
2. Sew the arms onto the sides of the body.
3. Attach the legs to the bottom of the body.
4. Position and sew the ears at the top of the head.
5. Insert safety eyes between rounds 6 and 7 of the head.
6. If desired, attach pipe cleaners to the green yarn and shape them as carrot tops, then sew them atop the gnome’s head.
6. Closing & Social Engagement
Congratulations on completing your very own Easter Carrot Gnome! I’d love to see your version! Leave a comment below sharing your experiences and any color combinations you tried. Don’t forget to share your finished gnome on social media—let’s spread the joy of crochet together!