easter bunny gnome free crochet pattern
2. Introduction
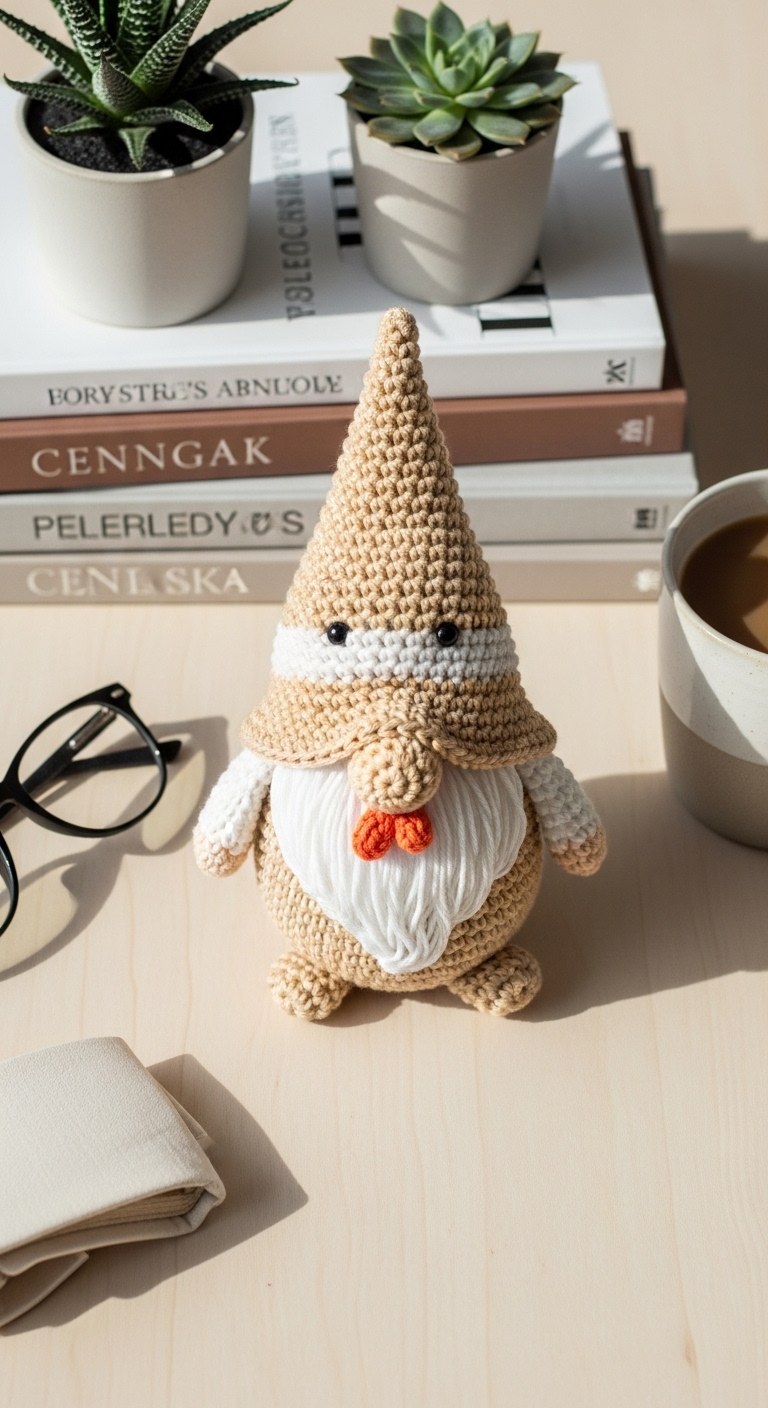
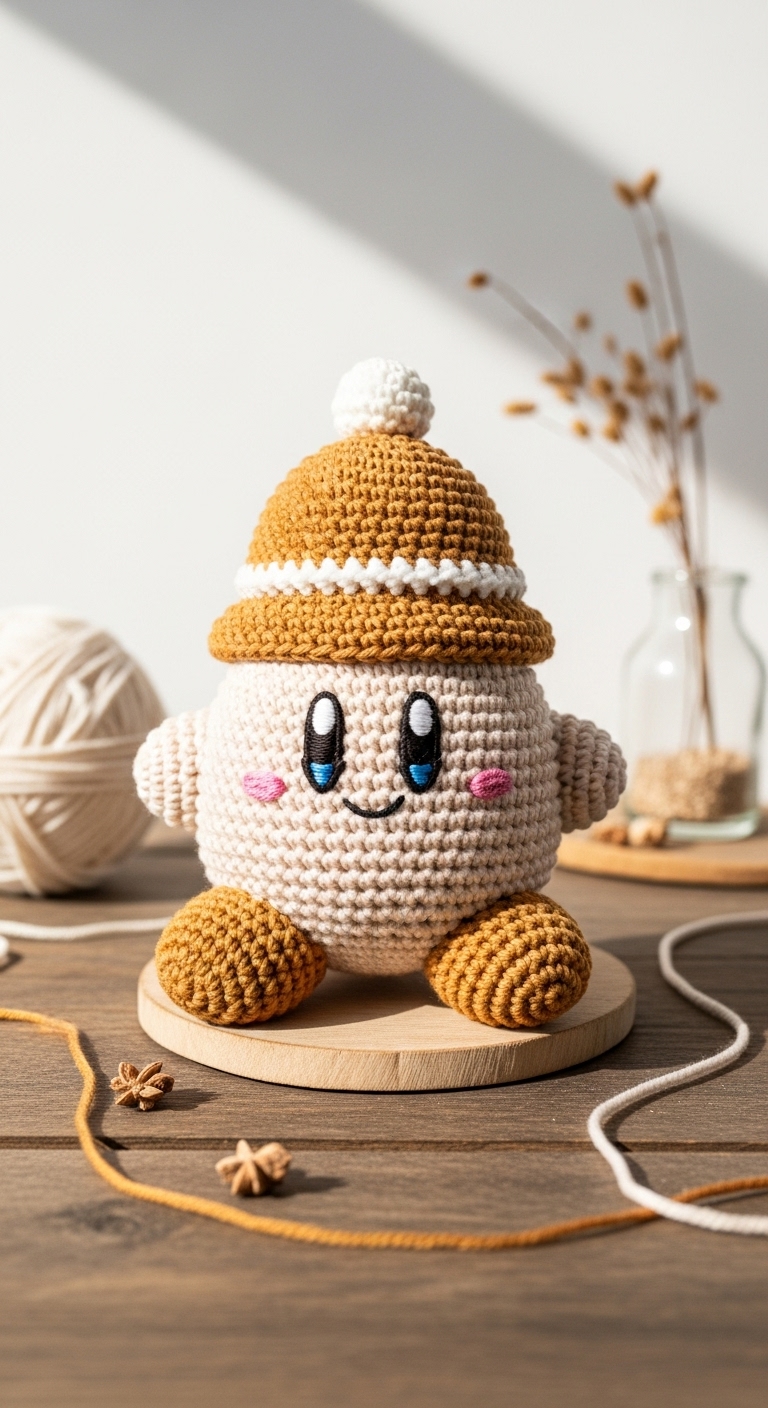
Welcome to the delightful world of crochet with our Easter Bunny Gnome pattern! This charming plushie stands approximately 10 inches tall and embodies the whimsical spirit of spring. With its adorable bunny ears and gnome hat, it’s the perfect project to celebrate the Easter season. Crafted with soft yarn in pastel shades, this gnome makes a cheerful addition to any spring decor.
For this project, we’ll use a soft worsted weight yarn in complementary colors like blush pink, mint green, and cream. These adult-friendly colors not only reflect the festive atmosphere of Easter but also lend a modern touch to your home decor. Plus, this pattern is designed to be beginner-friendly, making it an excellent choice for those who are new to crochet or looking for a quick and satisfying project. Not only is this gnome a fun creation, but it also has great gift potential for family and friends—who wouldn’t love a handmade Easter surprise?
3. Materials Needed
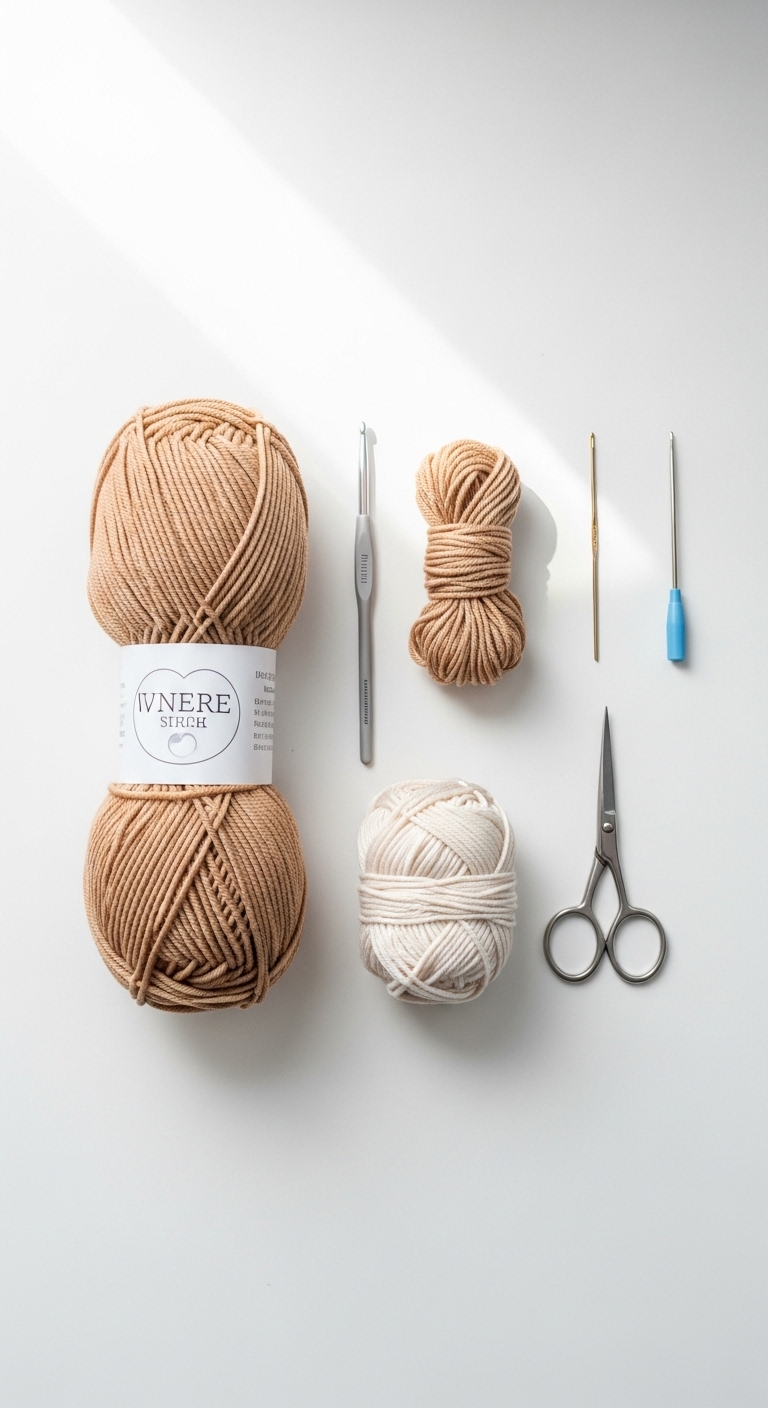
– Yarn: Worsted weight yarn in blush pink, mint green, and cream – approximately 150 yards total
– Hook: 3.5mm or 4.0mm crochet hook
– Eyes: 12mm safety eyes OR black embroidery thread for stitching
– Stuffing: Polyester fiberfill stuffing
– Needle: Tapestry needle for sewing
– Marker: Stitch marker
– Optional extras: Small pom-pom for the gnome’s hat tip
4. Designer Notes / Tips
When crocheting this Easter Bunny Gnome, you’ll be using basic stitches like single crochet (sc), increasing (inc), and decreasing (dec). These stitches are ideal for beginners, and practicing them will help build your crochet confidence. For a nice texture, you can consider using a half double crochet (hdc) for the gnome’s body if you wish to add a little variety.
When it comes to stuffing, a light hand will give your gnome a floppy charm, while firmer stuffing will create a more structured look. Aim for a medium level of stuffing to achieve a good balance.
For assembly, it’s best to sew pieces together using a whip stitch for a seamless finish. If you’re unsure about where to place the safety eyes, a good rule of thumb is to place them about one-third of the way down from the top of the head. If you’re making this as a gift for a child, you might opt to use stitched eyes instead for added safety.
If you want to experiment with yarn, cotton yarn or a bulky acrylic can work nicely too, but keep in mind that these may change the overall size of your gnome. Always check your gauge if you’re trying a new yarn!
5. Pattern Instructions
For Plushies:
Head:
Body:
Arms (make 2):
Legs (make 2):
Ears (make 2):
Assembly:
– Attach the head to the body using the tapestry needle and the tail.
– Position the arms and legs as desired and sew them securely.
– Attach the ears to the top of the head, ensuring they are symmetrical.
– If using safety eyes, insert them before finishing the head.
6. Closing & Social Engagement
I hope you enjoy creating your own Easter Bunny Gnome! Don’t hesitate to share your finished masterpiece in the comments below—I’d love to see your color combinations and personal touches! What charming shades will you choose for your gnome? Let your creativity shine and make this project uniquely yours. Happy crocheting!