Duolingo Owl Plush
2. Introduction
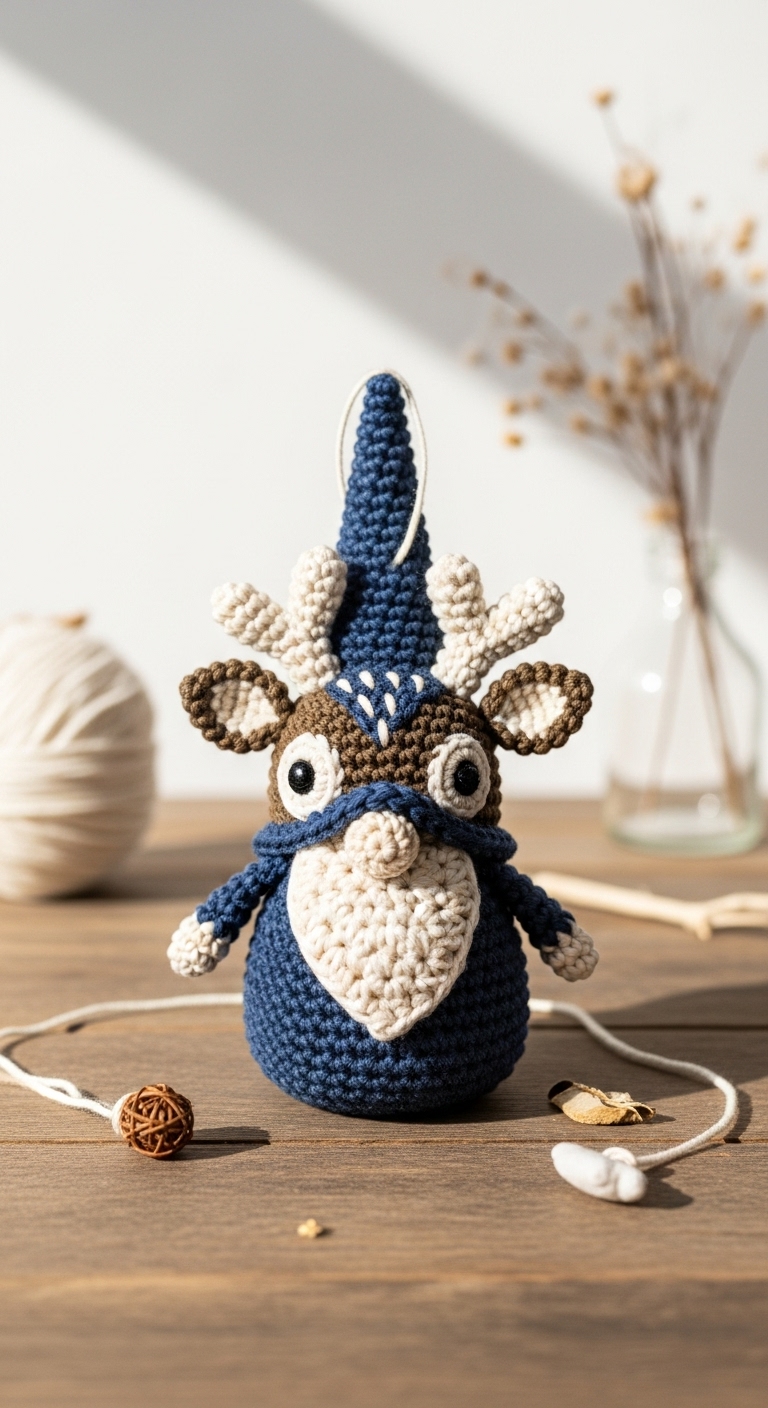
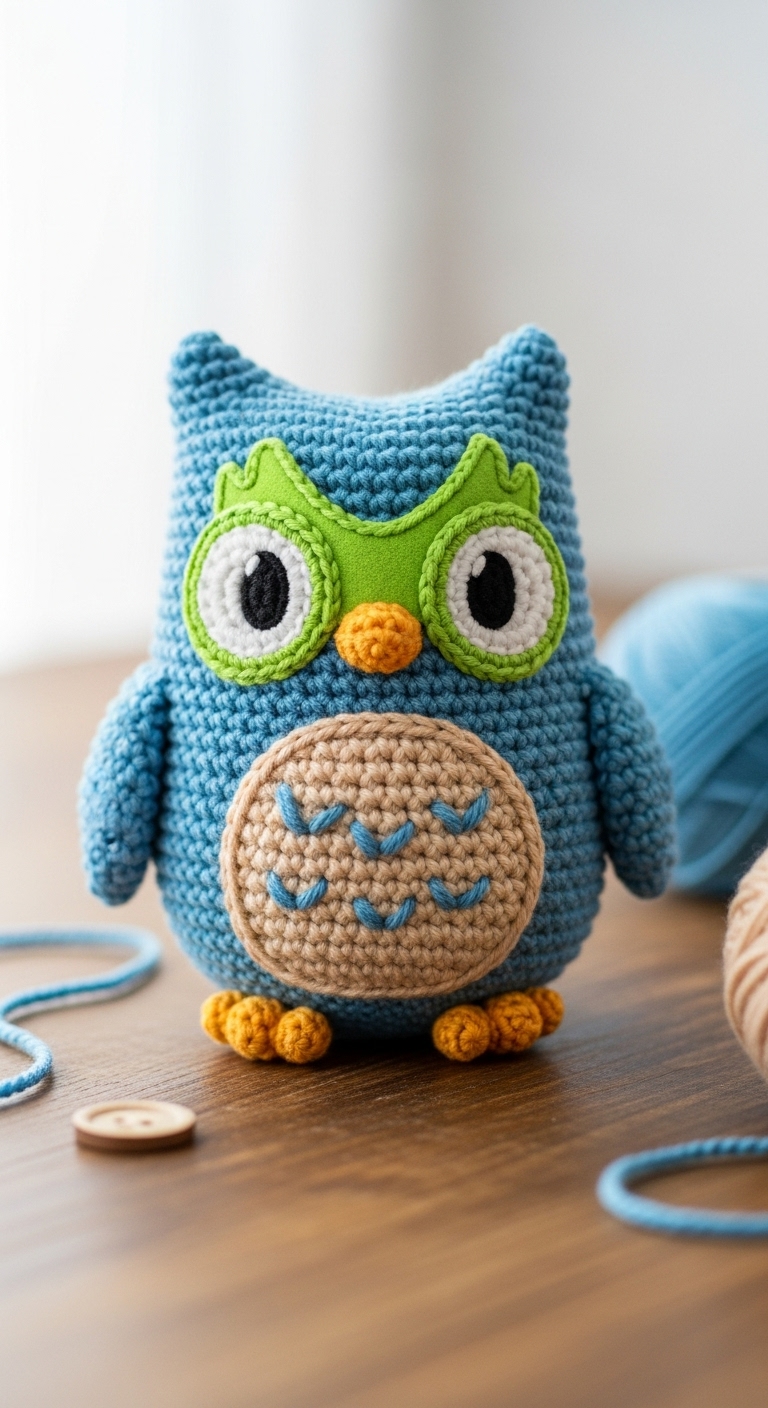
Welcome to your next fun crochet project: the Duolingo Owl Plush! This charming little plushie stands about 12 inches tall, making it the perfect size for a cuddly companion or decorative piece for your home. Using a combination of soft, adult-friendly yarn colors like teal, mustard, and cream, this owl not only looks adorable but also adds a splash of color to any space.
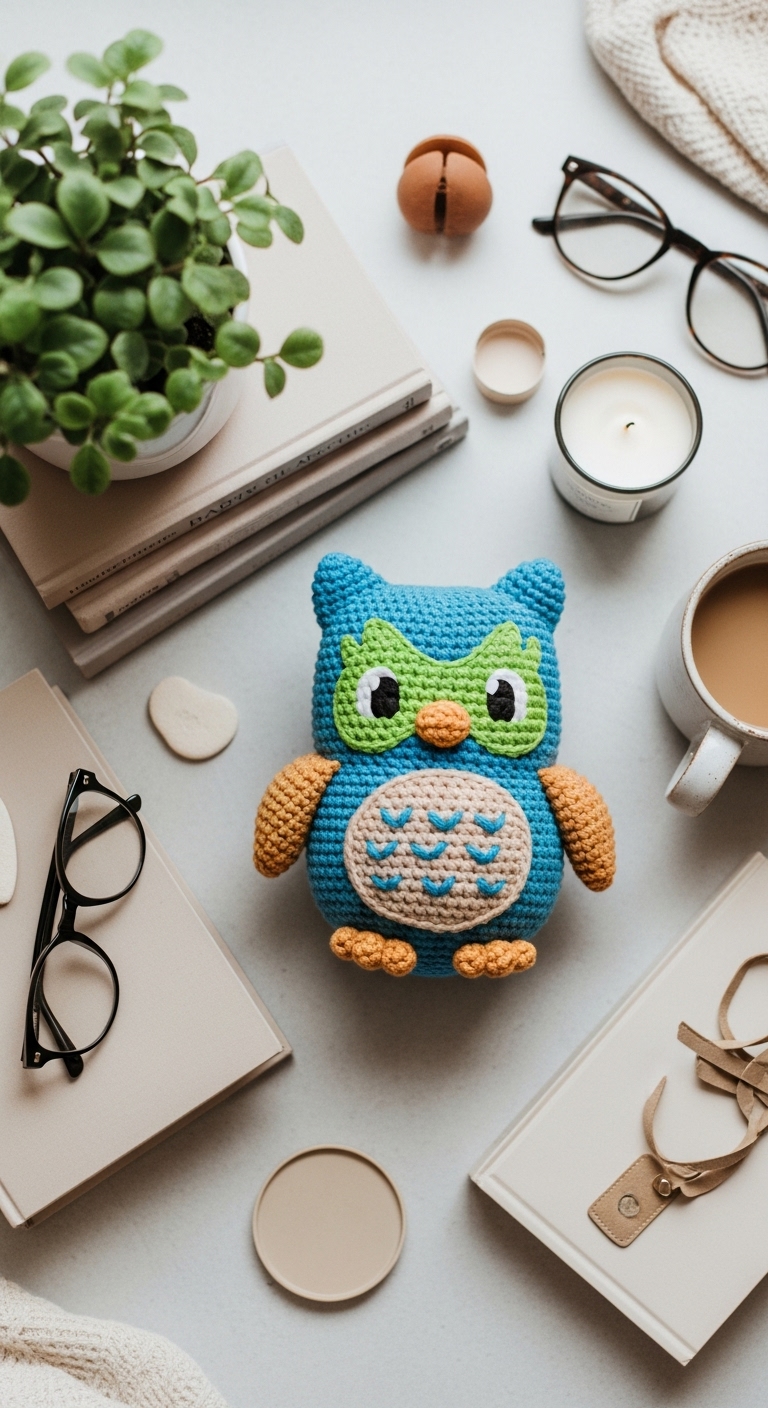
Creating this owl is not only a quick and enjoyable project, but it also makes a fantastic gift for language lovers, educators, or anyone who enjoys a bit of whimsical decor. The simplicity of the design allows even beginner crocheters to dive right in, while those with more experience can appreciate the opportunities for customization and creativity.
This pattern is suitable for crafters of all skill levels, especially beginners looking for a delightful and rewarding project. Whether you’re making it for yourself or as a thoughtful gift, you’ll find joy in every stitch!
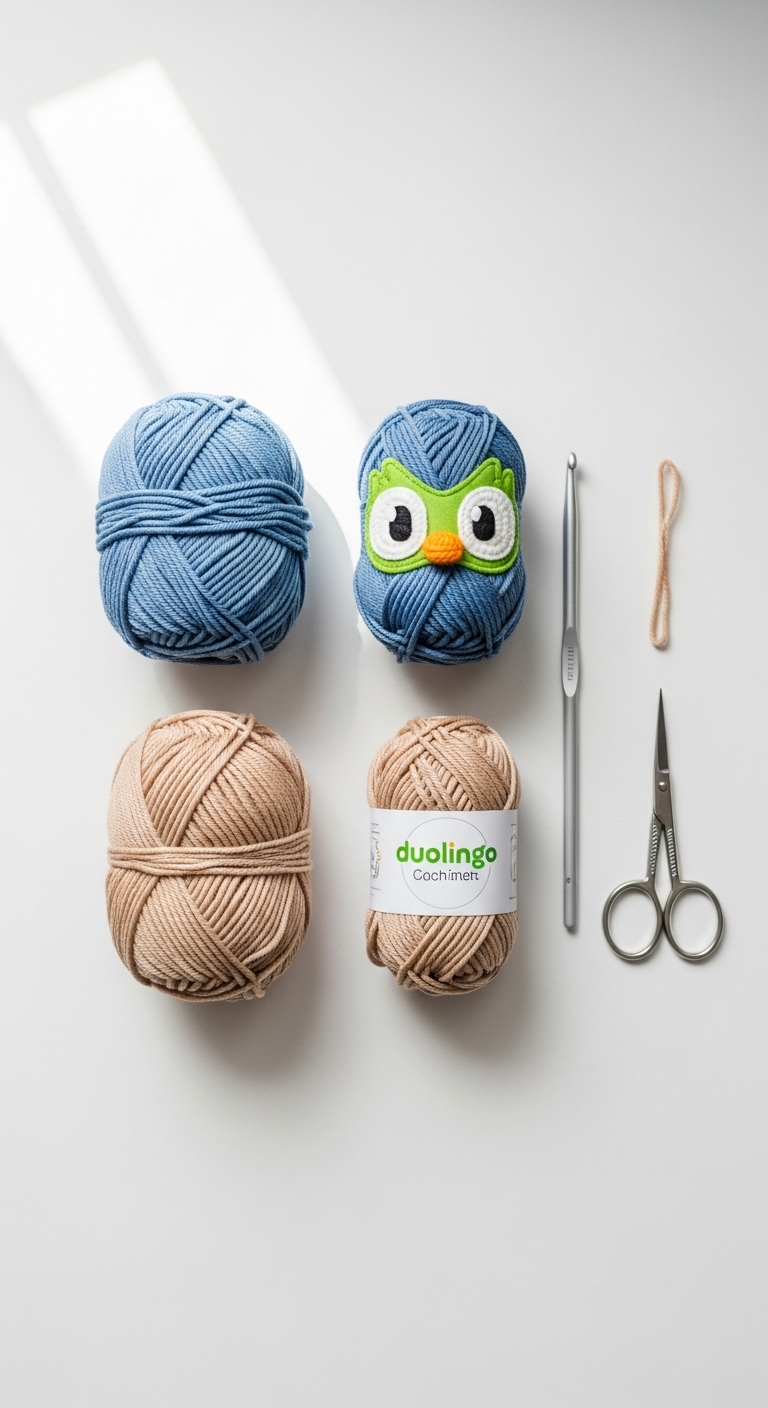
3. Materials Needed
– Yarn: Worsted weight yarn in teal (approx. 150 yards), mustard (approx. 50 yards), cream (approx. 50 yards)
– Hook: 3.5mm crochet hook
– Eyes: 12mm safety eyes
– Stuffing: Polyester fiberfill stuffing
– Needle: Tapestry needle for sewing
– Marker: Stitch marker
– Optional extras: Craft felt for beak, pipe cleaners for stability in wings
4. Designer Notes / Tips
– Stitch technique: The plushie makes use of basic stitches such as single crochet (sc) and increases (inc) to create its round shape. Don’t worry if you’re unfamiliar with these; I’ll guide you through each round!
– Stuffing density: For this plush, consider stuffing it lightly for a soft, squishable feel. If you prefer a firmer plushie, add more stuffing to achieve the desired density.
– Assembly: When joining different pieces, use a tapestry needle to sew them securely. It helps to position the pieces together first and pin them in place to ensure a clean finish.
– Yarn substitutions: If you prefer a different texture, feel free to use a cotton or bamboo blend yarn, which would give your owl a unique look.
– Gauge tips: While gauge isn’t critical for this project, aim for a small enough tension so that your stuffing doesn’t peek through the stitches.
– Safety considerations: If crafting for small children, consider using embroidered eyes instead of safety eyes to avoid choking hazards.
5. Pattern Instructions
For Plushies:
Head:
Body:
Arms:
Ears:
Assembly:
– Attach safety eyes between rounds 8 and 9 of the head, about 7 stitches apart.
– Sew the ears to the top of the head, slightly angled outward.
– Attach arms to the sides of the body, ensuring they align with the head.
– Use the long tails to sew the head to the body securely.
6. Closing & Social Engagement
I hope you enjoy creating your very own Duolingo Owl Plush! Remember, every stitch is a step closer to a cuddly companion you can cherish or gift. I’d love to see your version! Leave a comment below sharing your color choices or any creative tweaks you made. What color combination will you try? Don’t forget to share your finished owls on social media—let’s inspire each other with our crochet creations! Happy crocheting!