donut birthday gnome free crochet gnome pattern
2. Introduction
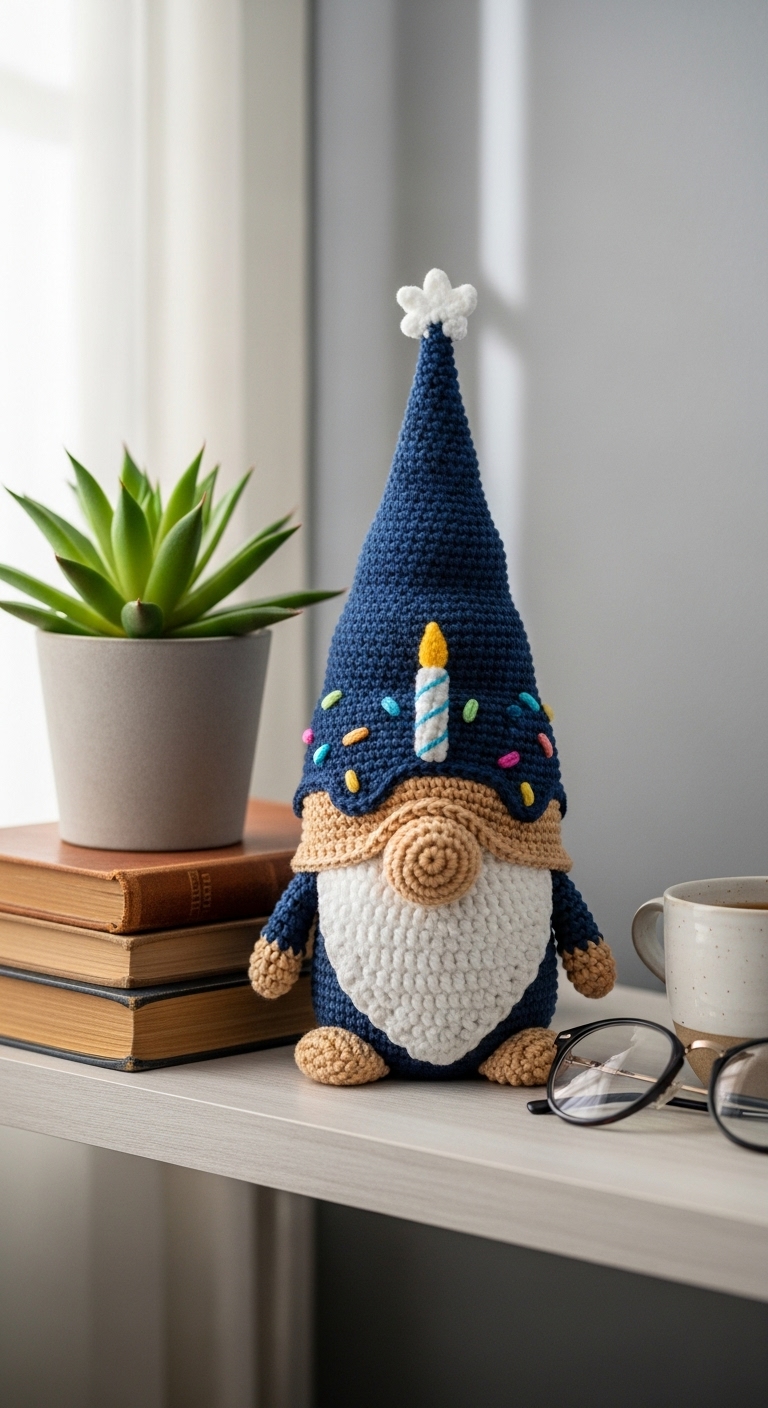
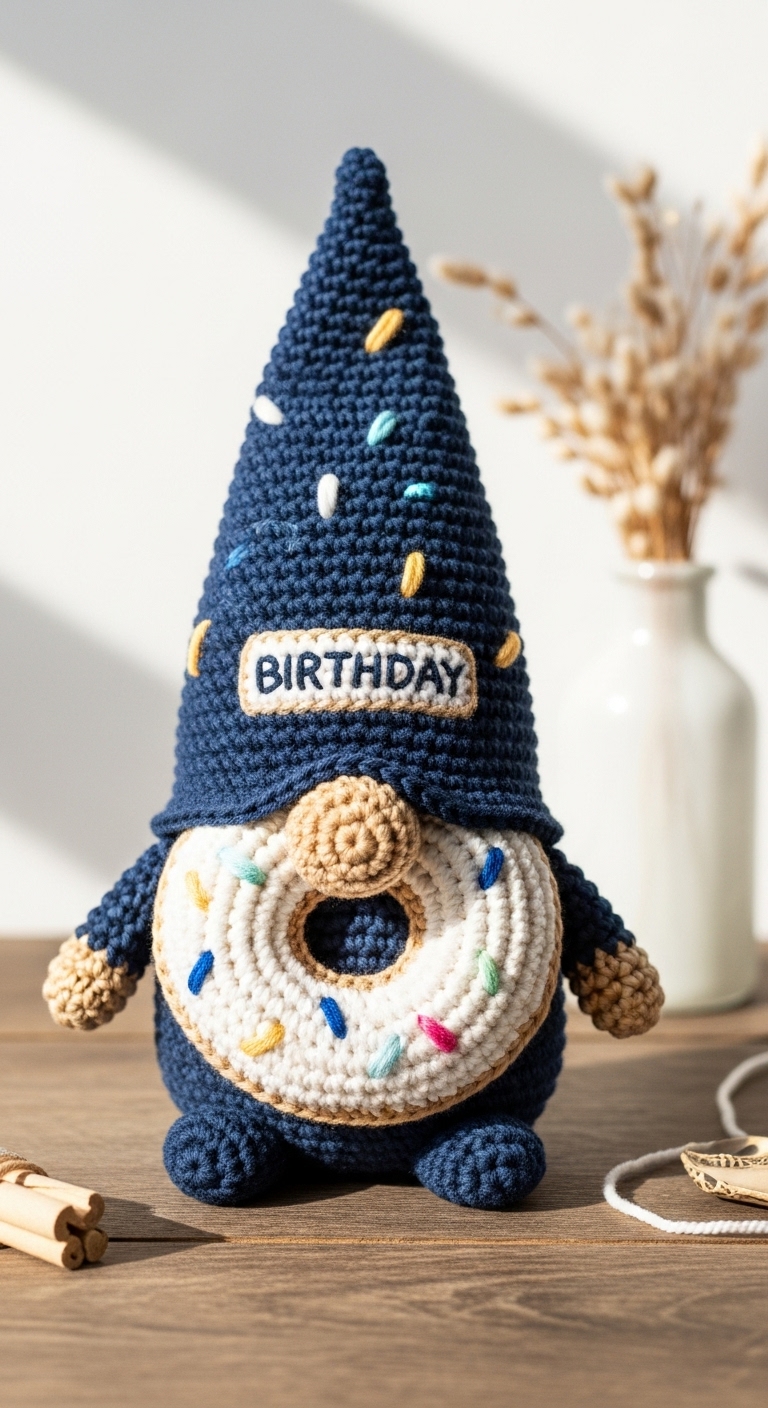
Welcome to the delightful world of crochet with our special project: the Donut Birthday Gnome! This charming little plushie captures the whimsy of a birthday celebration, complete with a colorful donut hat and a cheerful expression. Standing at approximately 12 inches tall, this gnome is perfect for adding a touch of joy to any birthday party or as a whimsical gift for a friend.
For this project, we’re using soft, medium-weight yarn in complementary colors like pastel pink, creamy beige, and vibrant sprinkles of yellow and green. These adult-friendly hues evoke a sense of fun and festivity, making your gnome a charming centerpiece for any celebration. Whether you’re an experienced crocheter or just starting out, you’ll find this pattern to be both quick and enjoyable, perfect for creating a thoughtful gift or adding to your own collection of handmade treasures.
This pattern is beginner-friendly, making it accessible for those new to crocheting or for anyone looking to create a fun, quick project. The Donut Birthday Gnome embodies a spirit of celebration, making it a great gift for birthdays or any festive occasion.
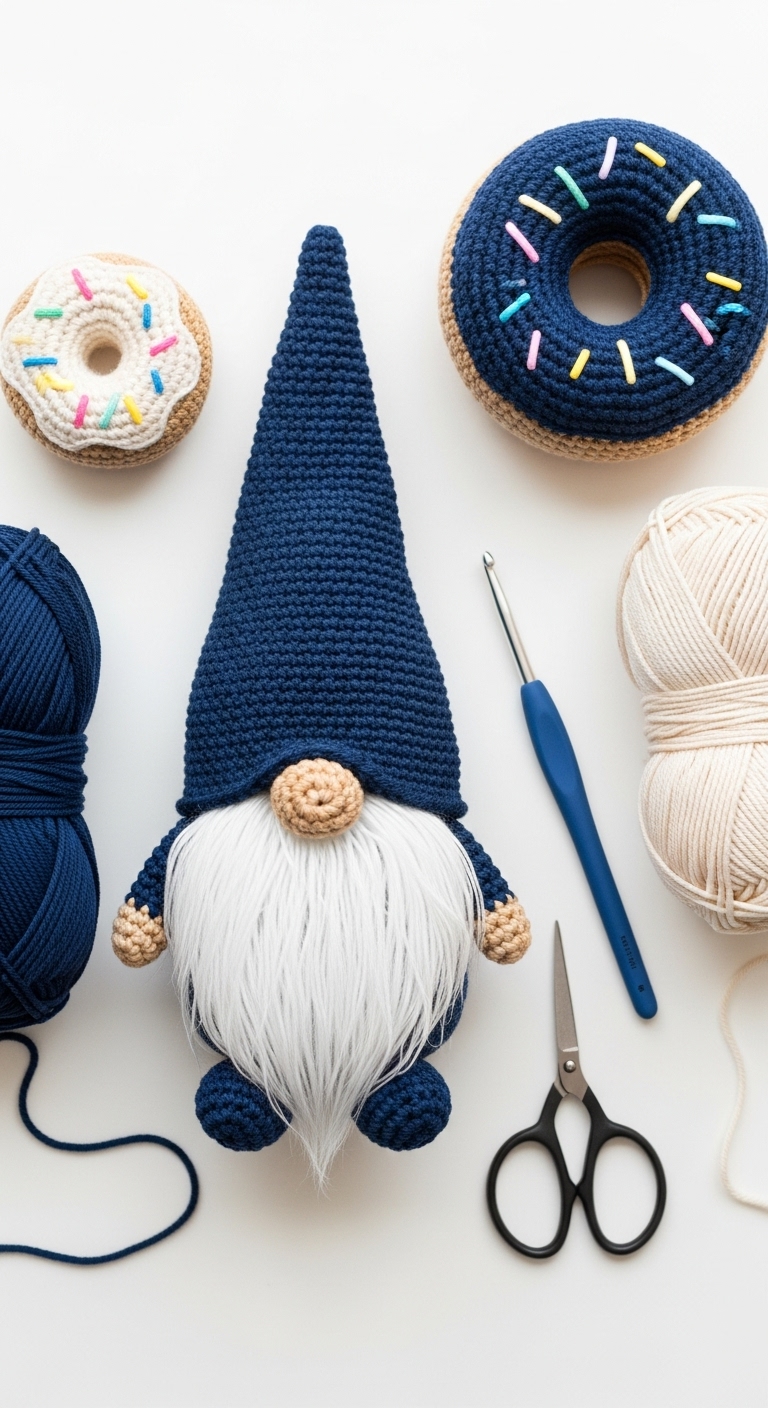
3. Materials Needed
– Yarn: Medium-weight (worsted) yarn in pastel pink (approx. 150 yards), creamy beige (approx. 100 yards), and yellow/green sprinkles (approx. 50 yards)
– Hook: 3.5mm or 4.0mm crochet hook
– Eyes: Safety eyes (12mm) OR black embroidery thread
– Stuffing: Polyester fiberfill stuffing
– Needle: Tapestry needle for sewing
– Marker: Stitch marker
– Optional extras: Craft felt for embellishments, buttons for decoration
4. Designer Notes / Tips
– Stitch technique: This pattern primarily uses single crochet (sc) and increases (inc). You’ll also use the magic ring technique to create a seamless start for round pieces.
– Stuffing density: A light stuffing works well for the gnome’s body, giving it a soft, cuddly feel. For the head, aim for a firmer stuffing to maintain its shape.
– Assembly: When assembling, be sure to place the gnome’s hat at an angle for added character. Use your tapestry needle to sew pieces securely, ensuring they stay in place.
– Yarn substitutions: If you want to change the colors, consider cotton yarn for a more structured finish or a boucle yarn for added texture.
– Gauge tips: While gauge isn’t critical for this project, aim for a tension that allows you to maintain shape and avoid large gaps between stitches.
– Safety considerations: For children, you can use embroidered eyes instead of safety eyes to ensure safety.
5. Pattern Instructions
For Plushies:
Head:
Body:
Arms:
Hat:
Assembly:
1. Attach the head to the body, ensuring it is centered.
2. Sew the arms to the sides of the body.
3. Position the hat at an angle on top of the head and sew it into place.
4. Add safety eyes (or embroider) to the head before finishing.
5. Use the yarn sprinkles to create the donut toppings and sew them onto the hat.
6. Closing & Social Engagement
I hope you enjoy making your Donut Birthday Gnome as much as I do! These little gnomes are sure to bring smiles and excitement to any celebration. I’d love to see your version! Leave a comment below sharing your color combinations or any fun variations you’ve added. Don’t forget to share your finished gnome on social media with friends and fellow crafters. Happy crocheting!