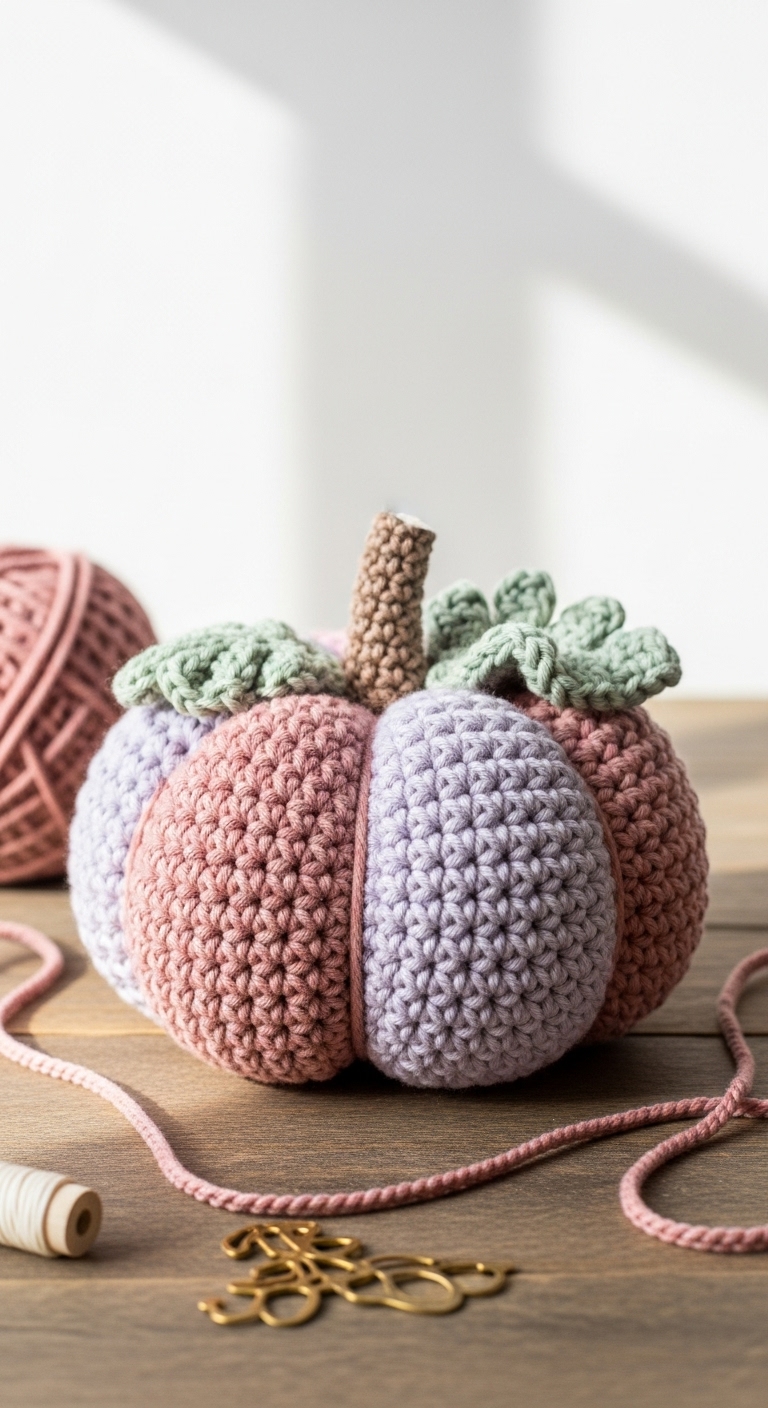
diy crochet christmas tree ornament free pattern

2. Introduction
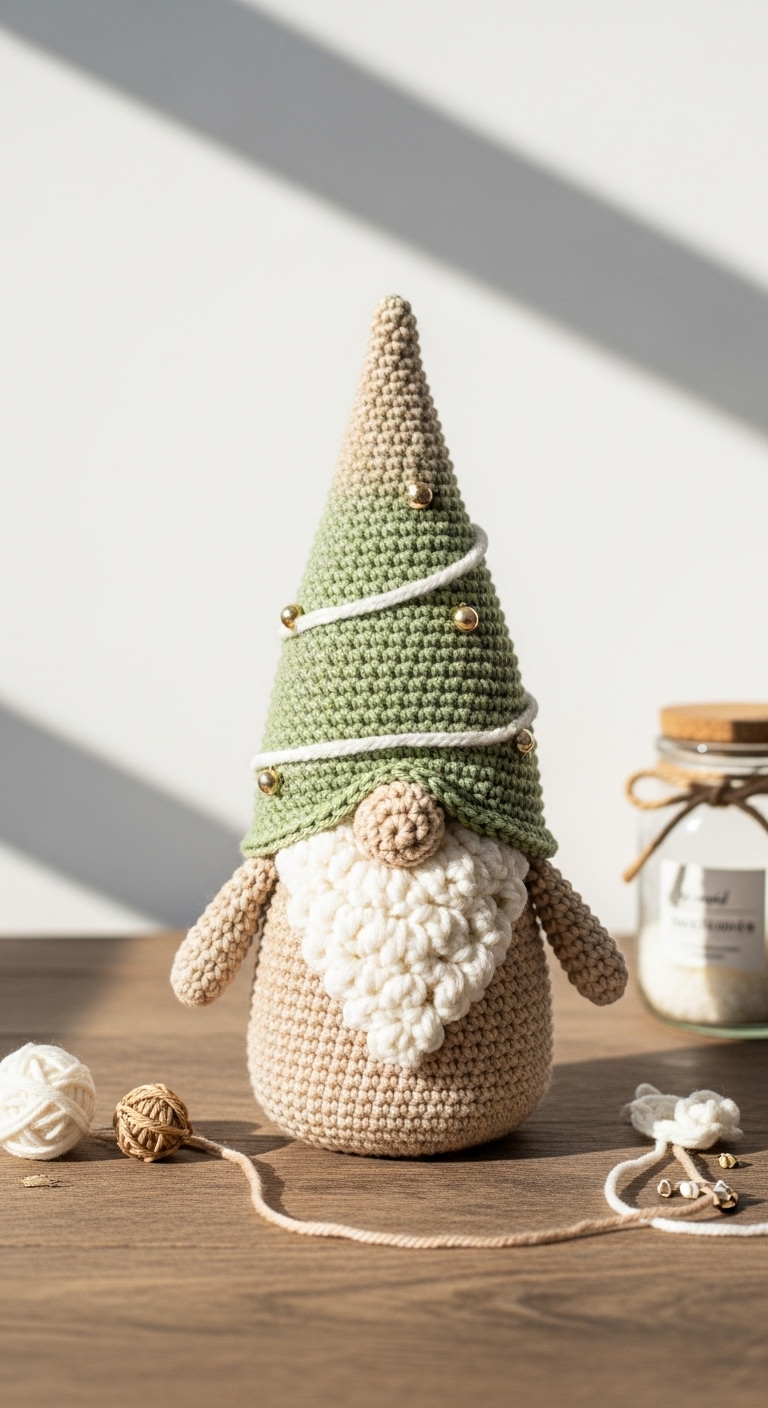
Welcome to a festive crochet project that will surely add a handmade touch to your holiday décor! In this article, you’ll learn how to create a delightful crochet Christmas tree ornament. The finished ornament measures approximately 4 inches in height, making it the perfect size to adorn your Christmas tree or to give as a thoughtful gift.
For this project, I recommend using a lightweight yarn such as cotton or acrylic in complementary adult-friendly colors like deep green, rich burgundy, and a touch of cream. These colors not only evoke the traditional holiday spirit but also lend a modern twist to your decorations. What makes this project especially fun is its quick turnaround time – you can whip up a few ornaments in just an afternoon, making them great for last-minute decor or gifts!
This pattern is rated as beginner-friendly, so whether you’re just starting out or looking to refresh your skills, you’ll find the straightforward instructions easy to follow. Plus, these ornaments are perfect for seasonal relevance, adding a handmade charm to your celebrations while making heartwarming gifts for friends and family.
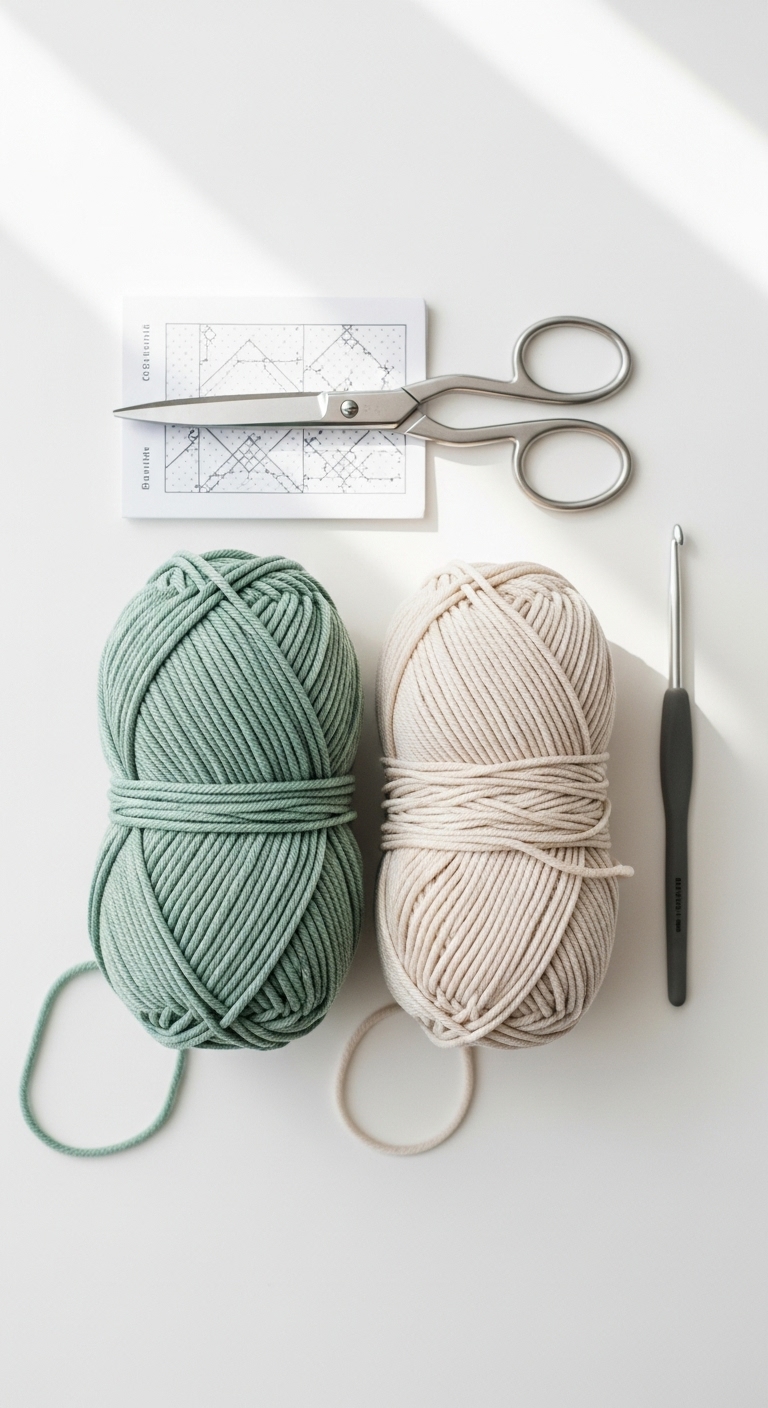
3. Materials Needed
– Yarn: Worsted weight yarn in deep green, rich burgundy, and cream – approximately 50 yards of each color
– Hook: 3.5mm or 4.0mm crochet hook
– Eyes: Safety eyes (6mm) OR black embroidery thread for eyes
– Stuffing: Polyester fiberfill stuffing
– Needle: Tapestry needle for sewing
– Marker: Stitch marker
– Optional extras: Jingle bell or ribbon for decoration
4. Designer Notes / Tips
– Stitch technique: For texture, this pattern uses half double crochet (hdc) and single crochet (sc). Don’t worry if you’re unfamiliar with hdc; it’s easy to learn and adds dimension to your ornament.
– Stuffing density: For this ornament, a light to medium stuffing is recommended, allowing it to maintain its shape without becoming overly bulky.
– Assembly: When joining pieces, use the whip stitch method for a seamless look. It’s simple and effective, making your final assembly clean and professional.
– Yarn substitutions: If you don’t have the suggested yarn on hand, any worsted weight yarn will work well. Just remember to adjust your hook size as necessary for different yarn types.
– Gauge tips: While gauge isn’t critical for this project, maintaining consistent tension will help ensure that your ornament has a uniform look.
– Safety considerations: If making the ornament for small children, consider using embroidery thread to create eyes instead of safety eyes, ensuring it’s safe for play.
5. Pattern Instructions
For the Ornament:
Base:
Body:
Top Reduction:
Finish off and leave a long tail for sewing.
Decoration:
You can add a jingle bell or a decorative ribbon around the neck for a festive touch.
Assembly:
– Attach the safety eyes or embroider eyes in round 11 before closing the top.
– Sew a loop with the yarn tail at the top of the ornament for hanging.
– Optional: Create additional ornaments in different colors using the same pattern for variety!
6. Closing & Social Engagement
I hope you enjoy making these lovely crochet Christmas tree ornaments as much as I did! They are not only a fun project to dive into but also a wonderful way to personalize your holiday celebrations. I’d love to see your version! Leave a comment below sharing your color combinations or any unique embellishments you’ve added.
What color combination will you try for your ornaments? Don’t forget to share your finished creations on social media using the hashtag #CrochetOrnament! Happy crocheting!


