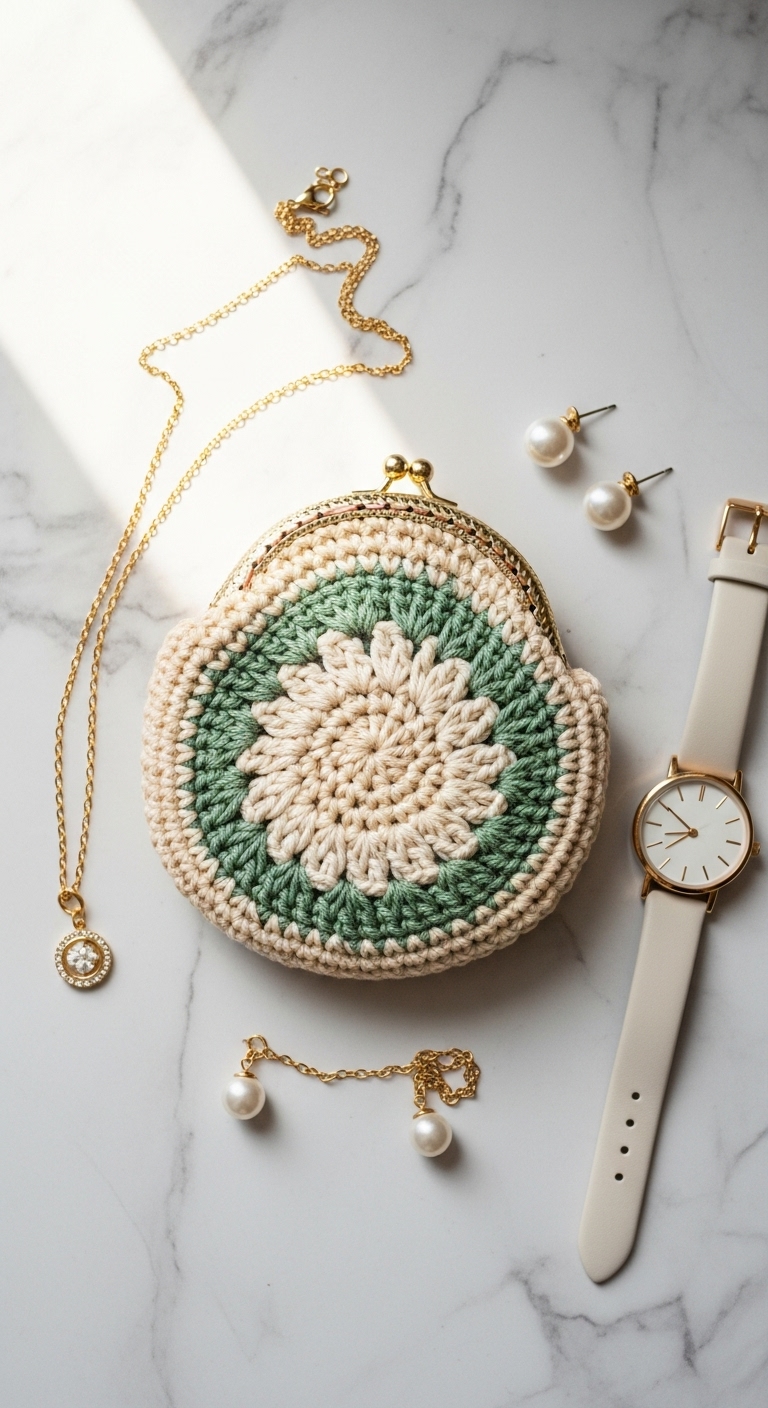
Daisy Coin Pouch – Free Crochet Pattern
2. Introduction
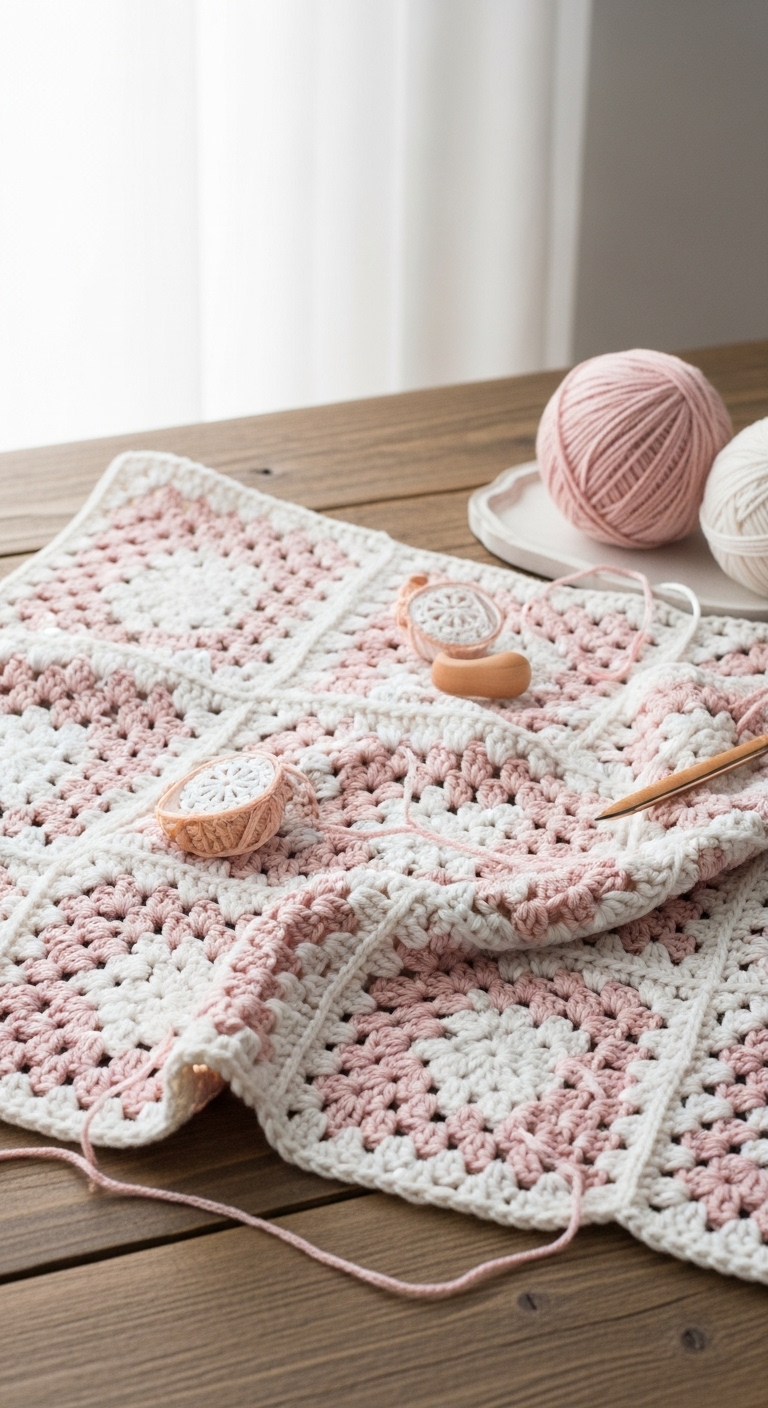
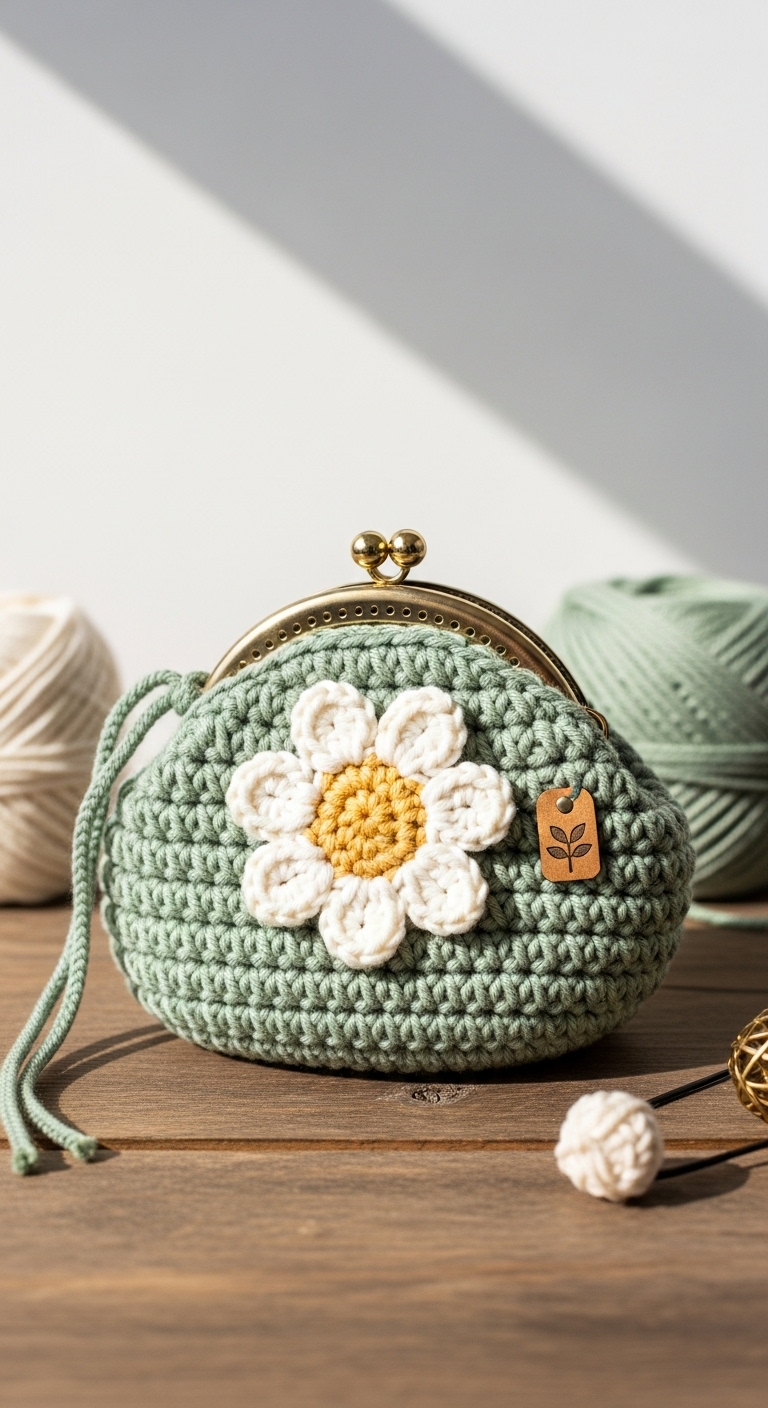
Introduce a touch of floral charm to your accessory collection with the Daisy Coin Pouch! This delightful little coin pouch measures approximately 4 inches in diameter, making it the perfect size for holding coins, cards, and small treasures. Crafted with an array of vibrant, adult-friendly colors, you can easily customize it to suit your personal style or the season.
For this project, we recommend using a soft cotton yarn in complementary colors like sunny yellow, fresh green, and crisp white. These colors not only evoke a sense of springtime freshness but also add a sophisticated touch to this cute accessory. The best part? This coin pouch is a quick project, perfect for whipping up in an afternoon or two, making it a fun and rewarding experience for crocheters of all skill levels. It also makes for a thoughtful gift for friends or family, especially during spring celebrations or as a delightful addition to a gift basket.
Designed with beginner crocheters in mind, this pattern provides simple yet effective stitches, ensuring that you’ll be able to create your very own Daisy Coin Pouch without any stress. So, grab your hook and let’s get started on this lovely project!
3. Materials Needed
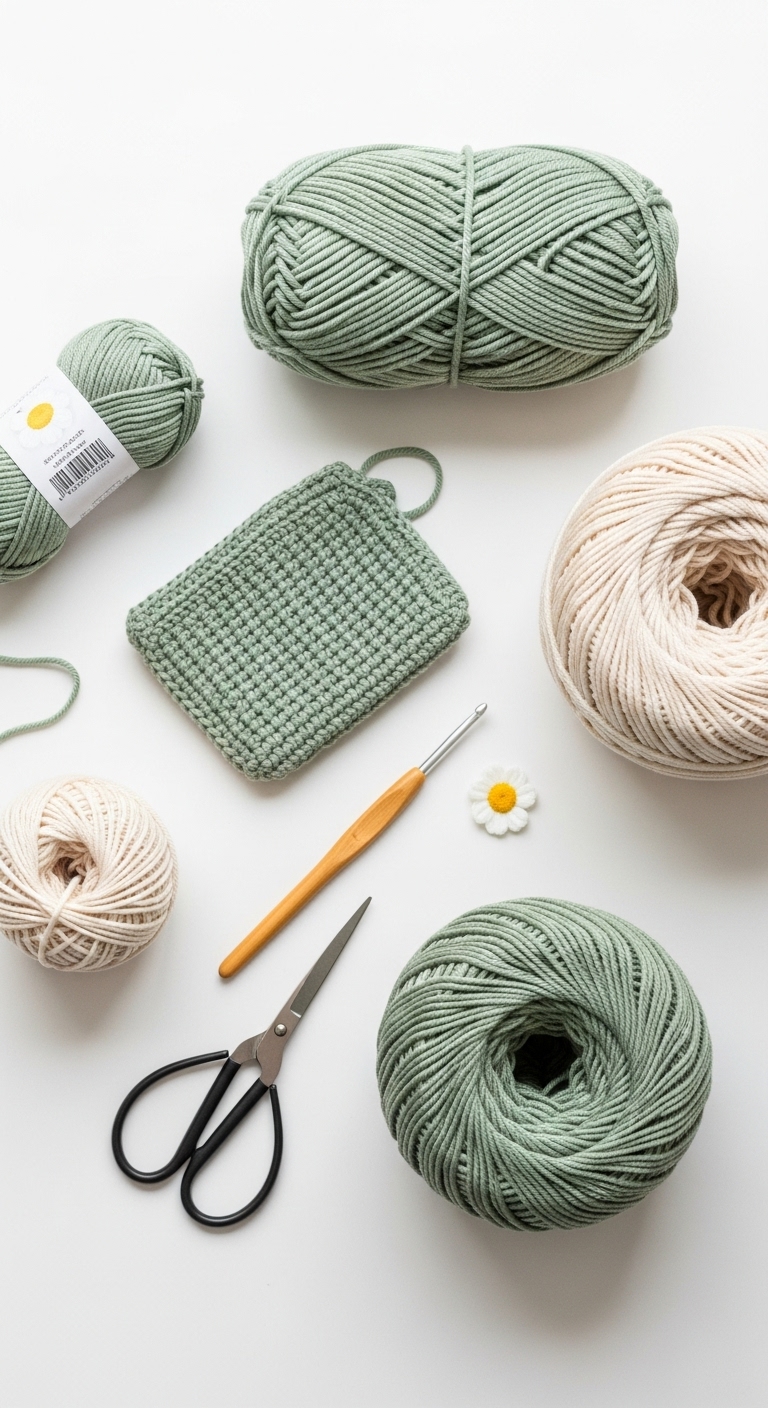
– Yarn: Worsted weight cotton yarn in yellow (100 yards), green (50 yards), and white (50 yards)
– Hook: 3.5mm or 4.0mm crochet hook
– Eyes: Safety eyes (8mm) or black embroidery thread
– Stuffing: Polyester fiberfill stuffing (optional)
– Needle: Tapestry needle for sewing
– Marker: Stitch marker
– Optional extras: Zipper (for a secure closure), lining fabric (for added sturdiness), or buttons (for decoration)
4. Designer Notes / Tips
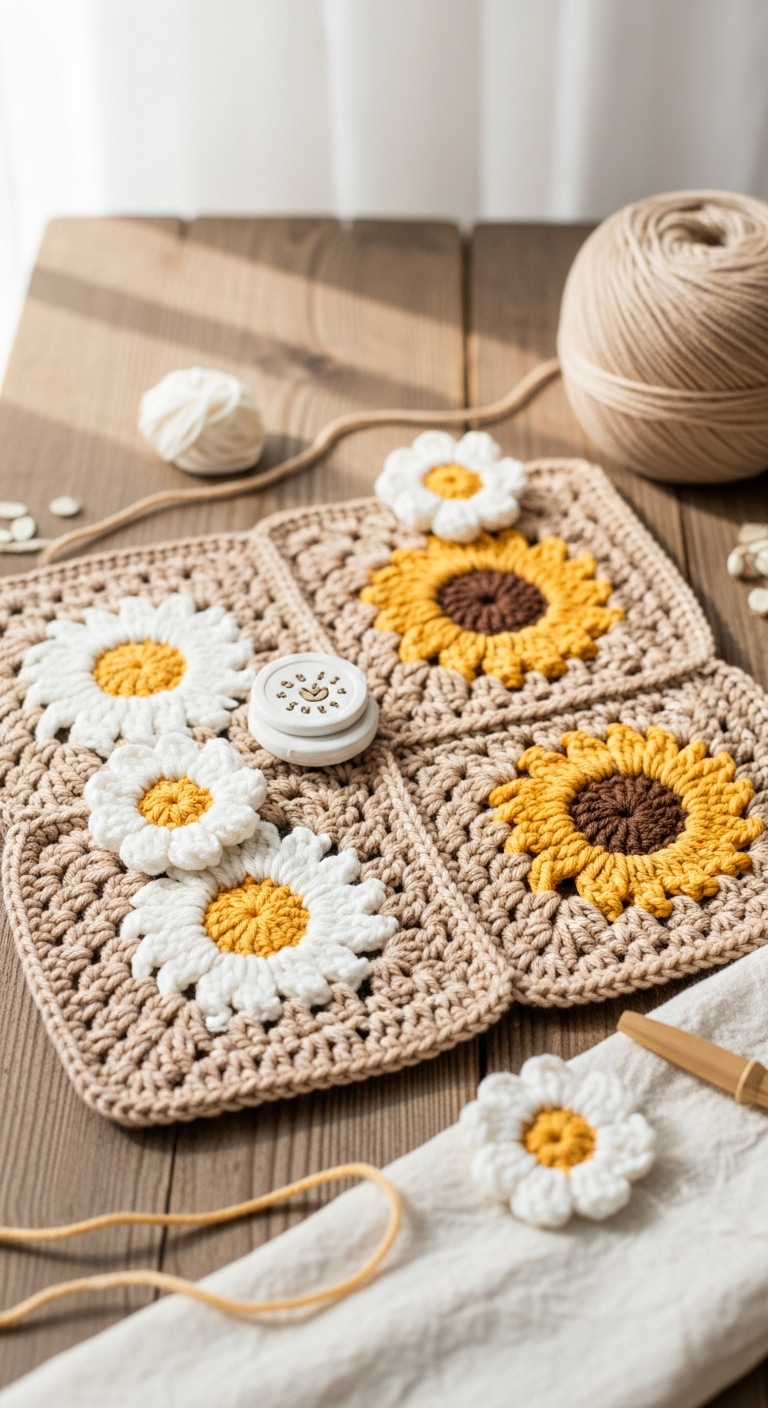
– Stitch technique: The Daisy Coin Pouch utilizes basic stitches like single crochet (sc) and increases (inc), making it accessible for beginners. Consider using a contrasting color for the flower to create a striking effect.
– Stuffing density: If you choose to add stuffing, keep it light to maintain the pouch’s flexibility. However, if you opt for a flat design, feel free to skip the stuffing altogether.
– Assembly: When joining the flower to the body, use a slip stitch for a seamless look. Ensure to hide any loose ends neatly to keep the pouch tidy.
– Yarn substitutions: If you prefer a different texture, you can substitute cotton yarn with acrylic or bamboo yarn, just be mindful of the weight.
– Gauge tips: To ensure the correct size, make a small swatch. The gauge is not critical for this project, but consistent tension will yield a more polished finish.
– Safety considerations: If you’re making this pouch for a child, consider using embroidered features instead of safety eyes to avoid choking hazards.
5. Pattern Instructions
Main Panel
Foundation: Chain 4 and join with a slip stitch to form a ring.
Flower Detail
Using white yarn, attach to the top of the last round:
Body
Transition back to the main color (yellow):
Closure
If adding a zipper:
– Attach the zipper to the top edge of the pouch, ensuring it aligns evenly for a smooth opening.
Finishing
– Weave in all loose ends securely.
– If desired, sew on buttons or additional embellishments for personality.
6. Closing & Social Engagement
Congratulations on completing your very own Daisy Coin Pouch! I’d love to see your version—leave a comment below sharing your color choices and your creation process. What color combination will you try? Remember, there’s no right or wrong here; let your creativity shine! Share your finished Daisy Coin Pouch on social media using the hashtag #DaisyCoinPouch, and connect with fellow crafters who are just as excited about their crochet journeys!